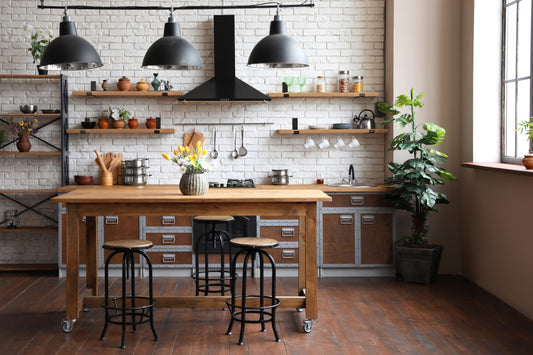
Installing metal bracket shelves is easier than you might think. All you need is a little preparation, the right tools, and this step-by-step guide. (Note: We always recommend installing brackets into wall studs to maximize weight capacity.)
Before You Begin: Tools and Prep Work
- Recommended Tools: You will need an electric drill, a 7/16” wrench or socket, a level, a pencil, masking tape, and a stud finder.
- Check Your Brackets: Confirm that you have the right size and number of brackets for your shelf.
- Find Your Line: Decide on a location and use your level to draw a straight, horizontal line on the wall where the top of your brackets will go.
Step 1: Locate and Mark Studs
Use your stud finder to locate the wall studs along the pencil line you drew. Mark each stud location. (Note: If your shelf is long, you may not have studs for every bracket. In this case, install at least one bracket into a stud and use toggle anchors for the others in the drywall.)
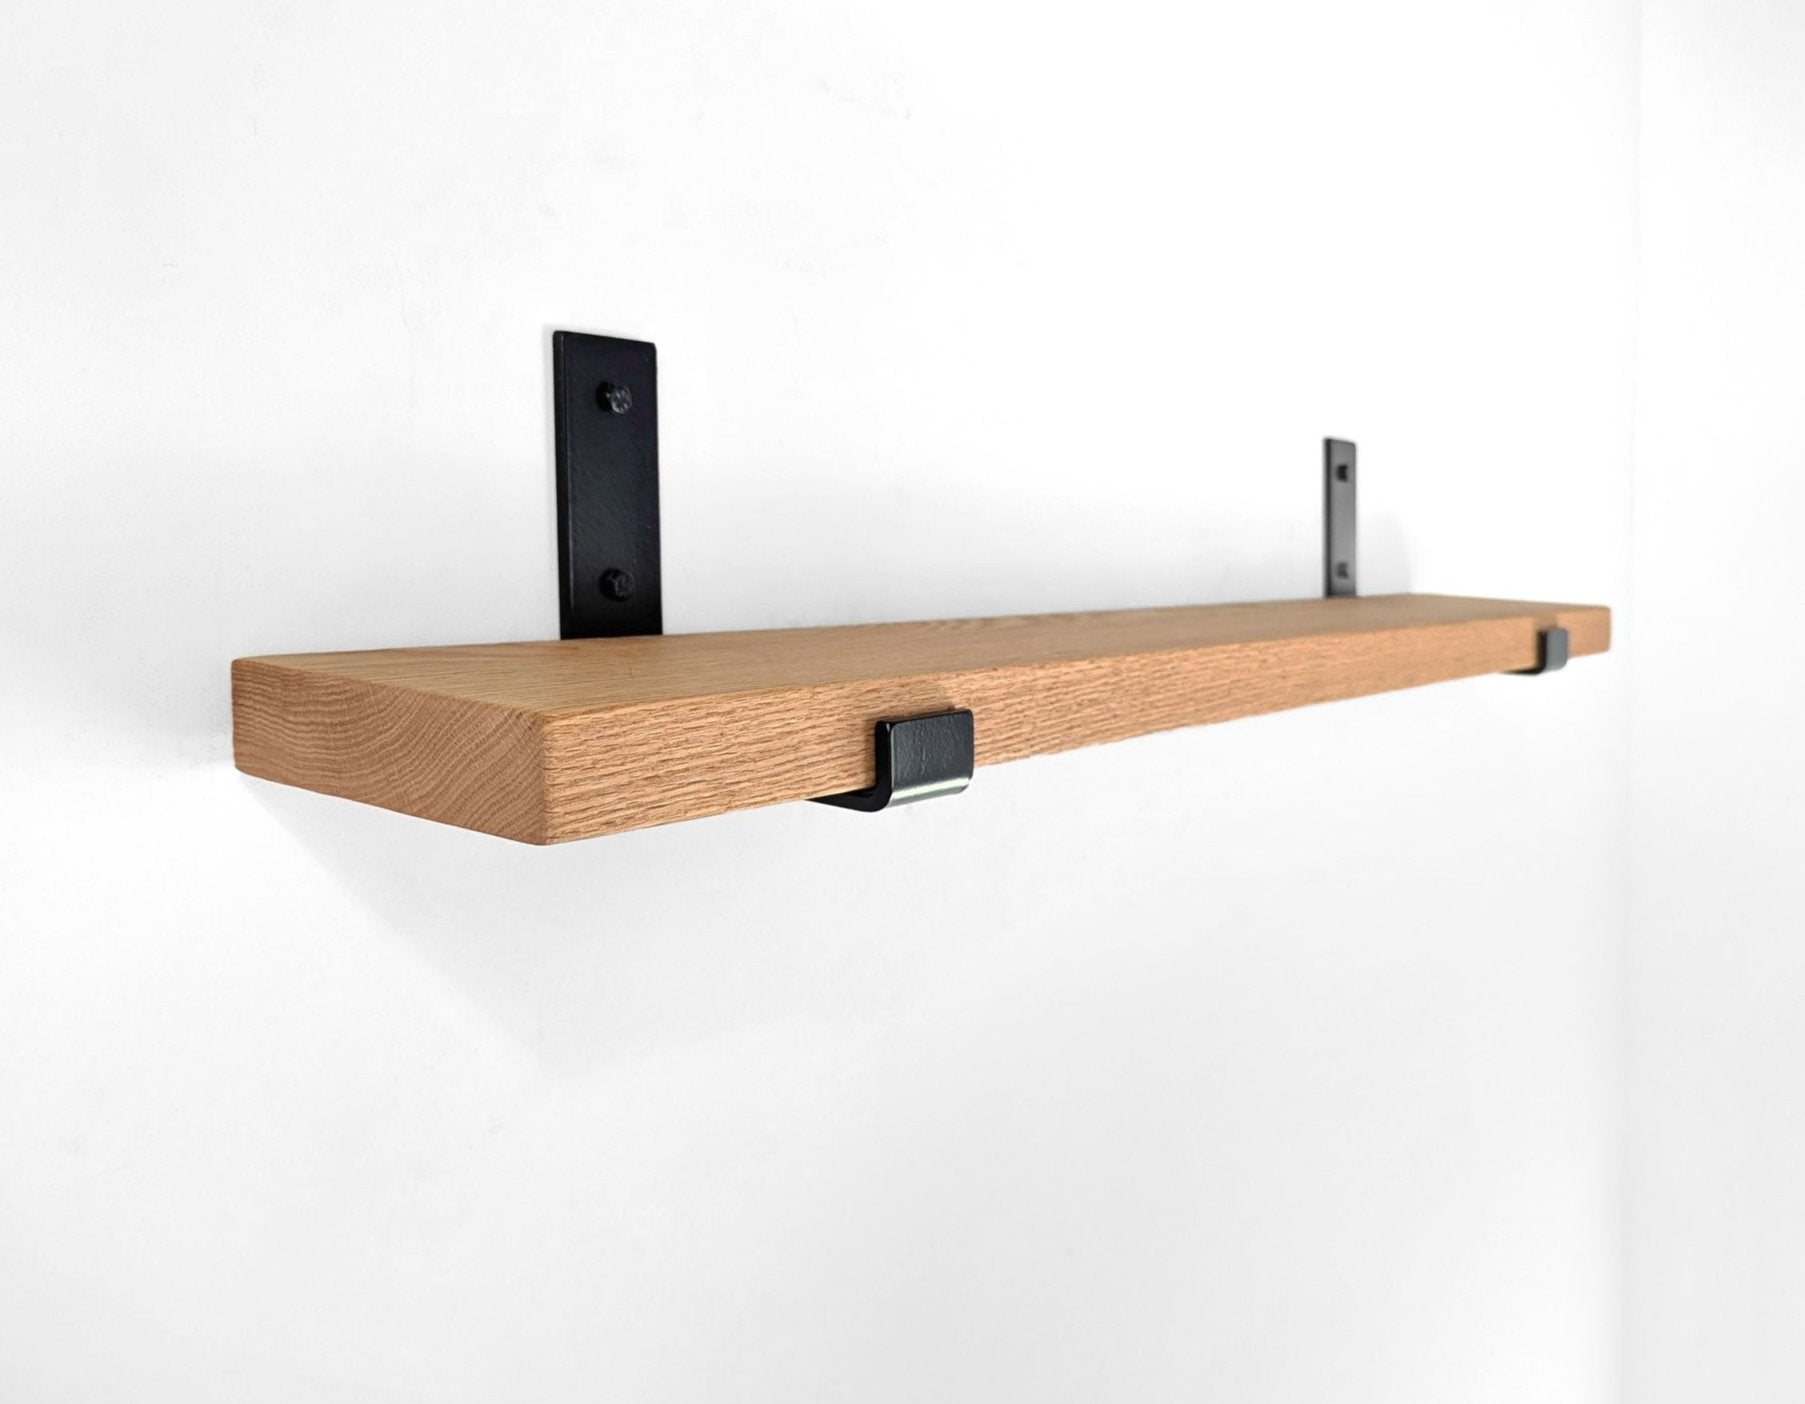
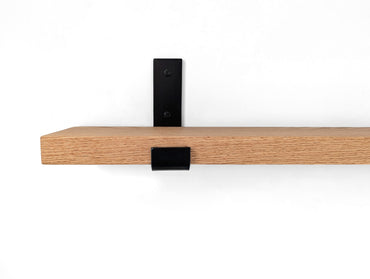
Step 2: Attach Your Brackets
Pre-drill pilot holes into your marked stud locations (or for your drywall anchors). Hold the first bracket in place and use the bolts from your installation kit to secure it. Make sure it's level before fully tightening! Repeat for all your brackets.
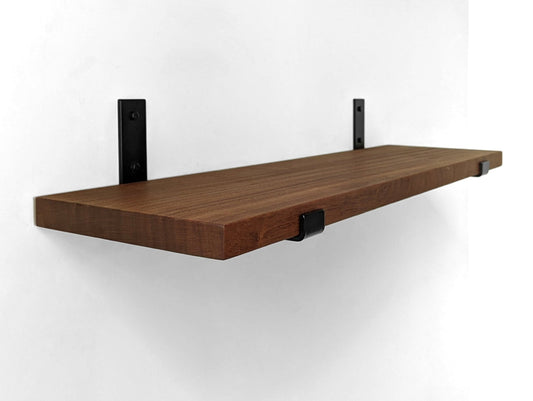
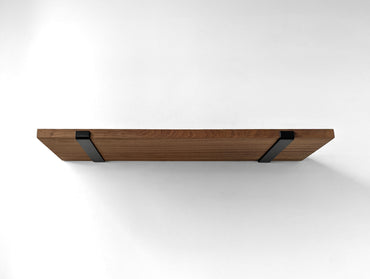
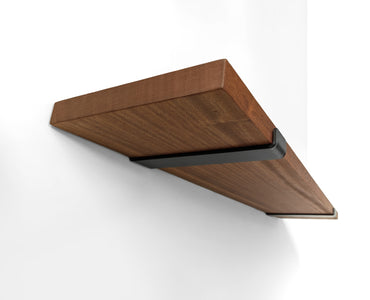
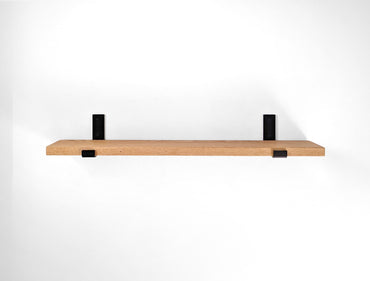
Step 3: Place Your Shelf
Carefully position the shelf on top of the brackets. If you're using a J-bracket, you're done! If you have an L-bracket, you will need to attach the shelf to the bracket from underneath (see your specific guide for details). Confirm the shelf is level and stable before placing any items on it.