While specific instructions vary, these three steps are essential for any successful bracket installation project.
1.Consider the Shelf’s Purpose and Placement
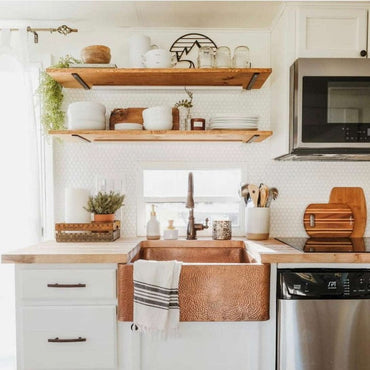
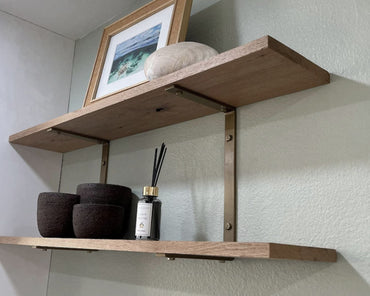
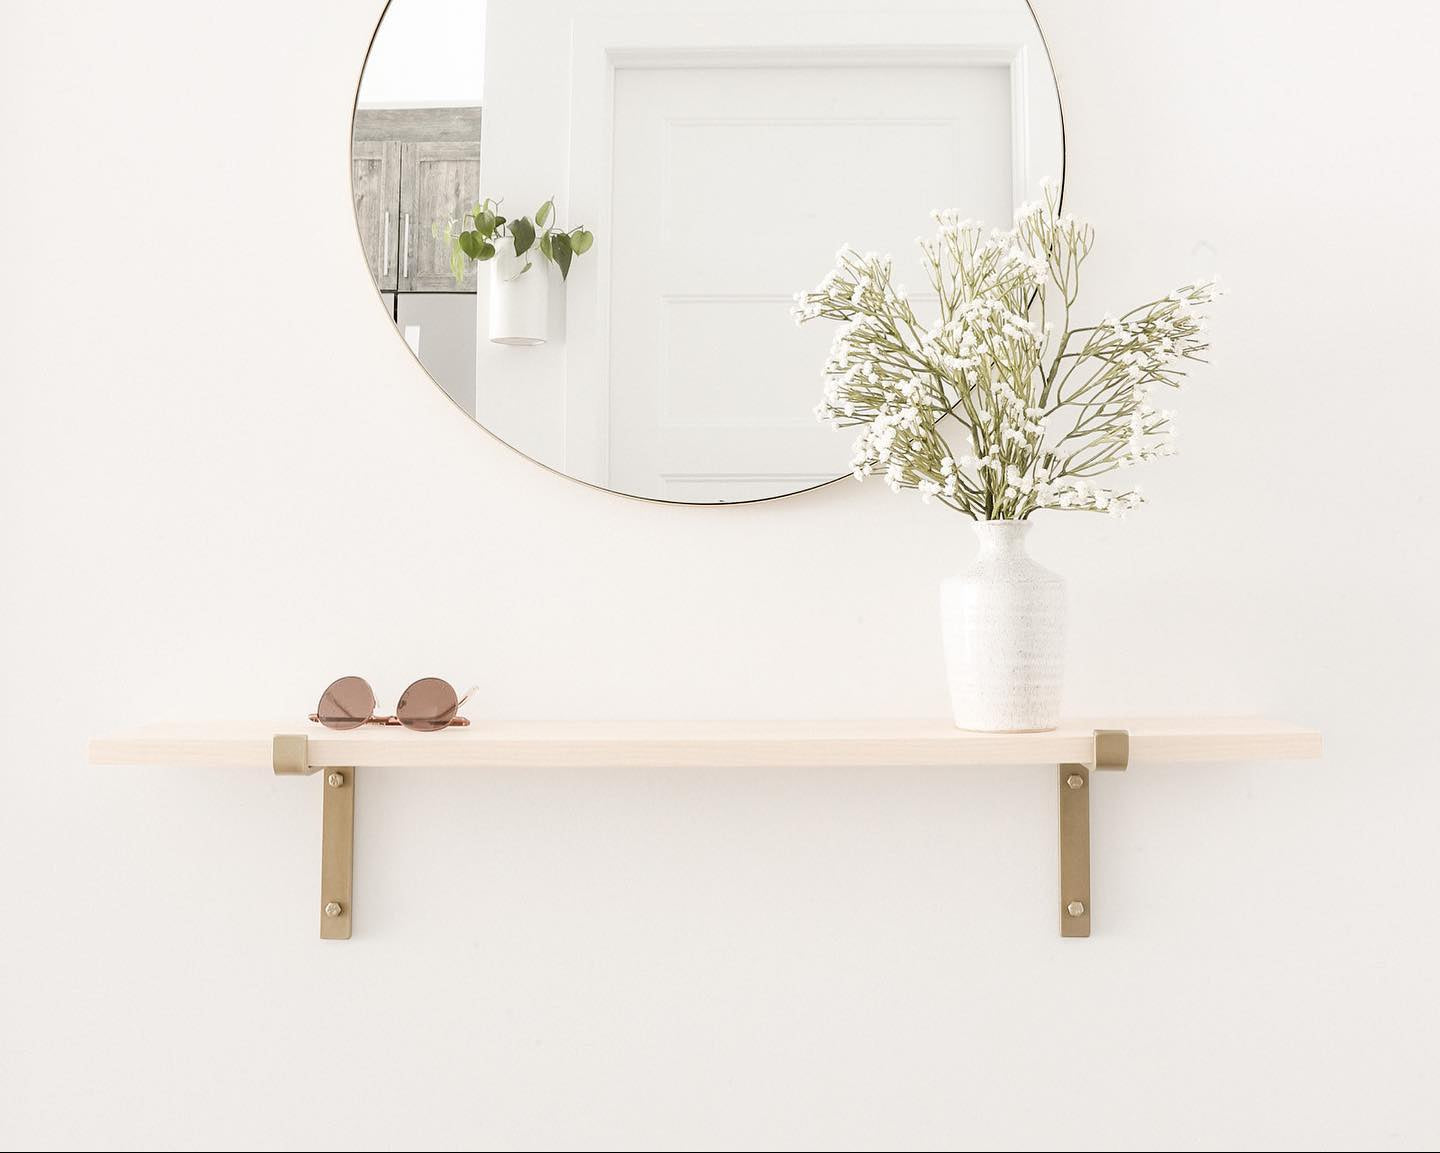
How you plan to use the shelf determines the type of bracket, spacing, and placement needed.
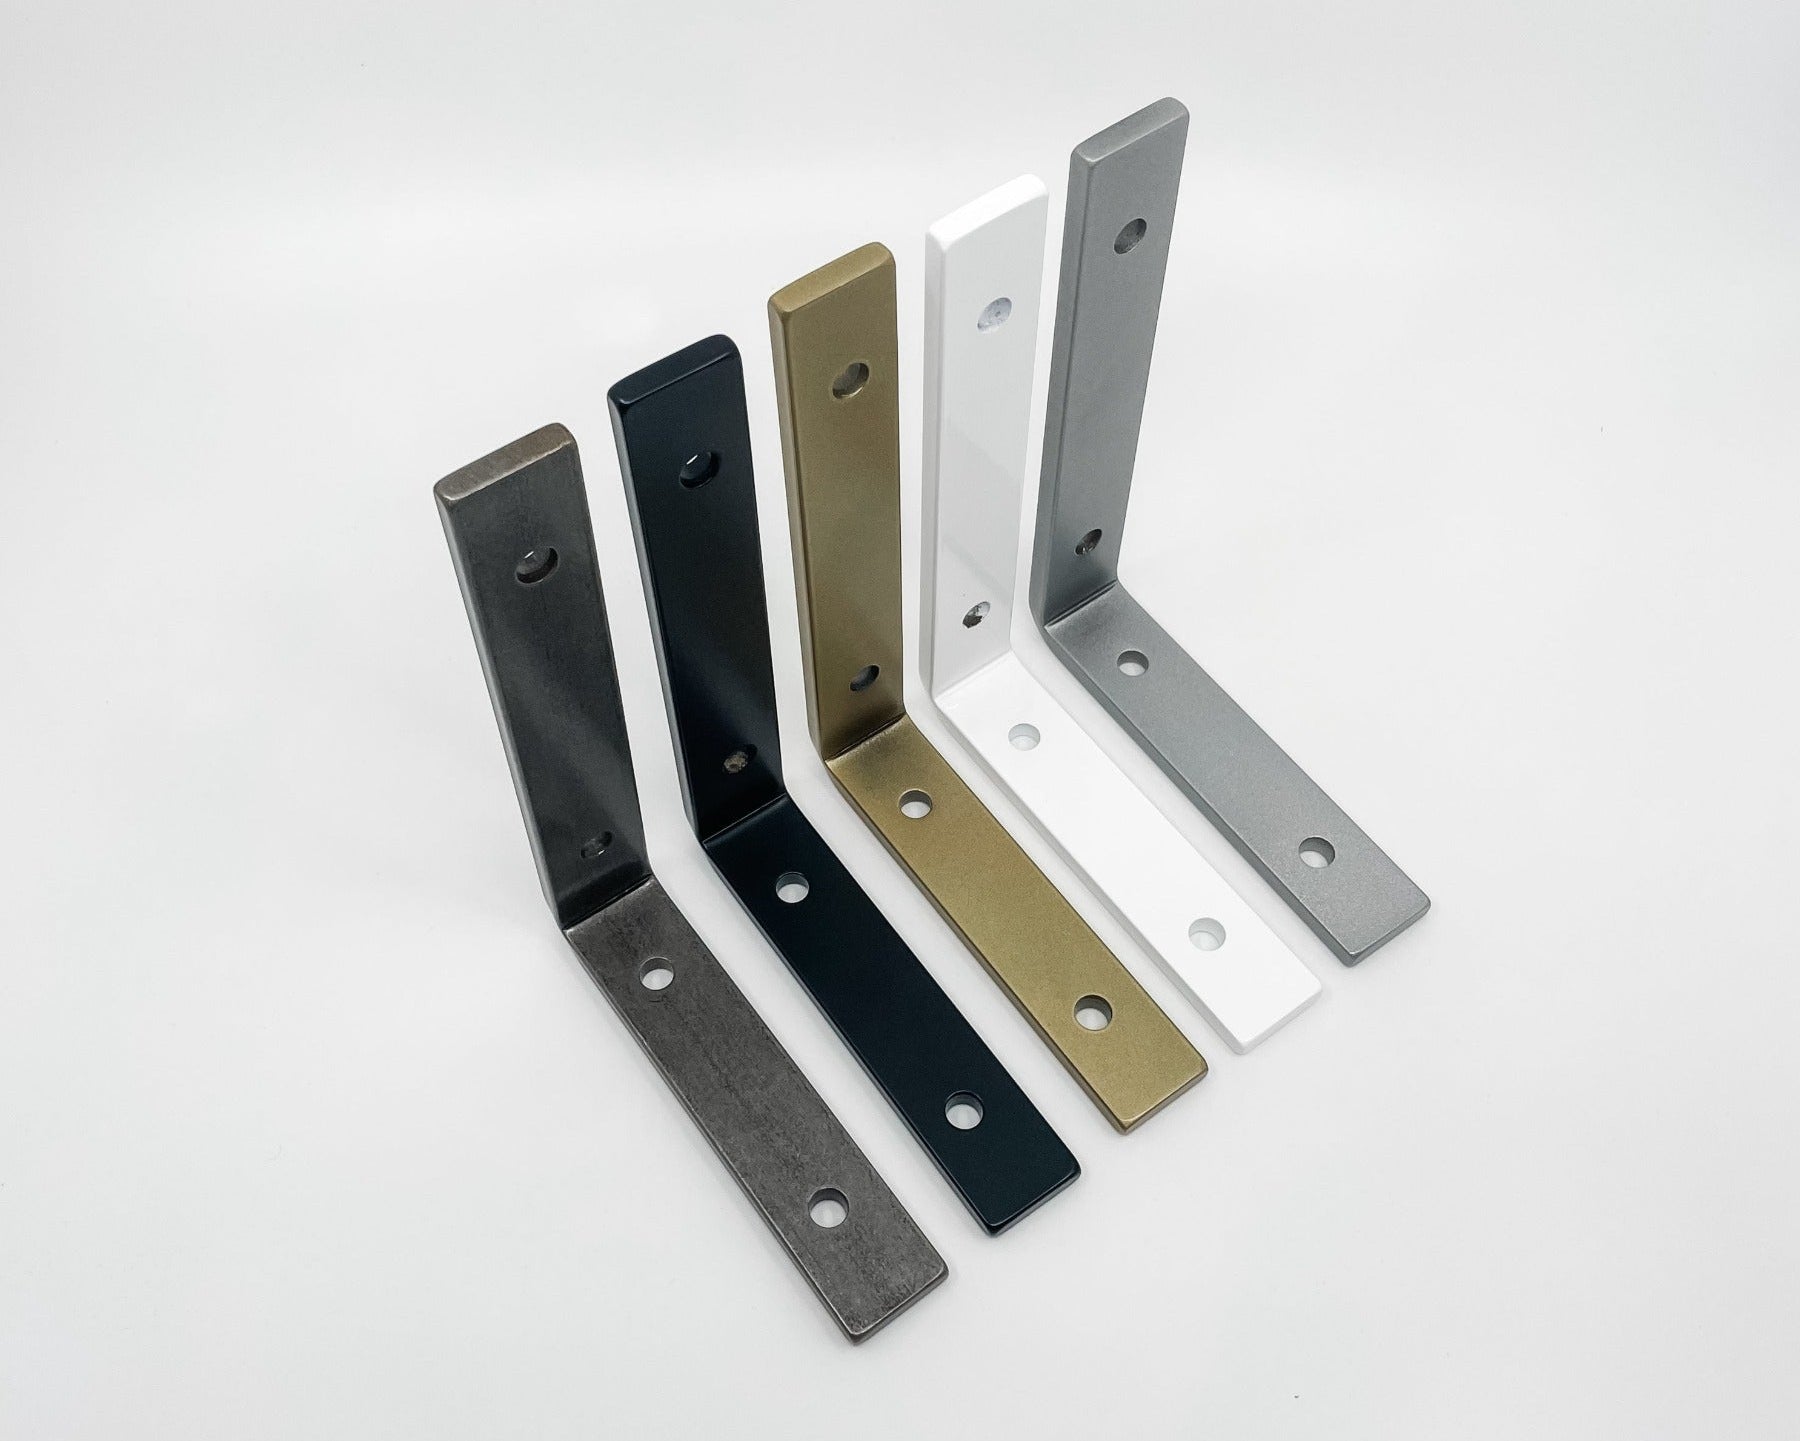
- Purpose & Load: A shelf for lightweight decor can have greater spacing between brackets. Shelves supporting heavier loads will require larger brackets spaced closer together.
- Placement & Accessibility: A shelf for daily-use items needs to be easily accessible. A decorative shelf allows for more flexibility. Consider the required wall space for the
2. Gather the Right Tools and Materials
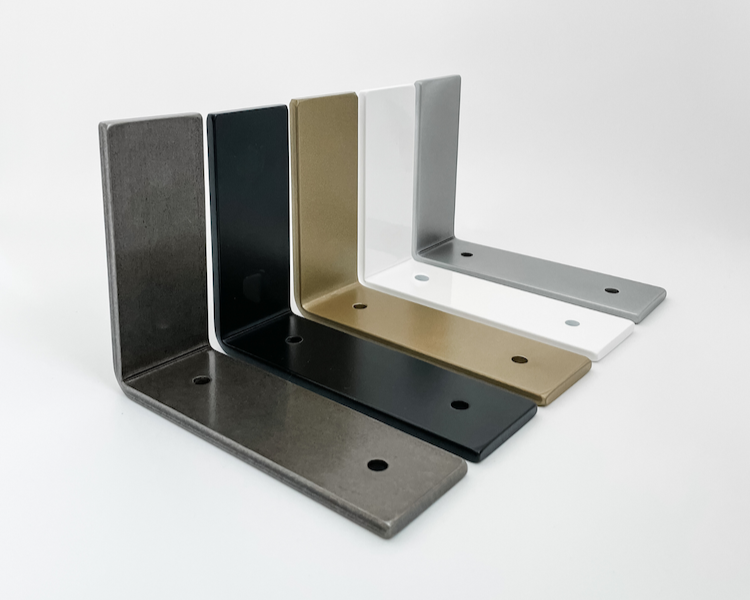
Before starting, ensure you have everything you need. NookWoodworking shelves include installation hardware (brackets, anchors, screws), but you will need your own tools.
- Commonly Used Tools: A power drill, level, measuring tape, and a stud finder.
3. Locate Your Wall Studs
For maximum security and weight capacity, the best installation method is to mount brackets directly into a wall stud. If your desired placement doesn't align with the studs, you must either reconsider the location or use the appropriate wall anchors.
Following these three rules, in addition to all provided instructions, will set you up for a successful installation.