-
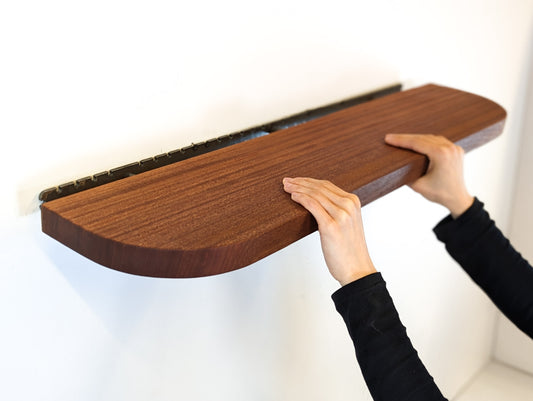
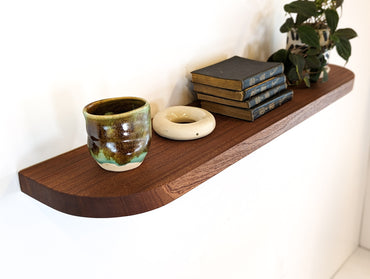
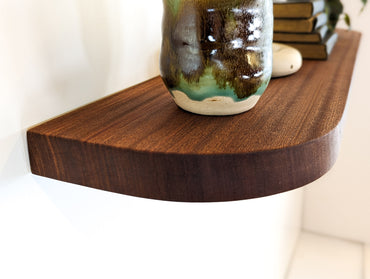


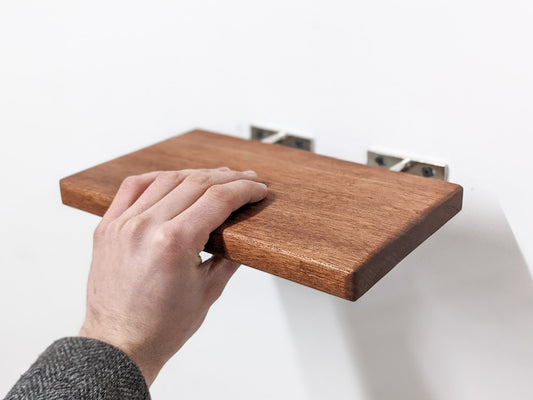
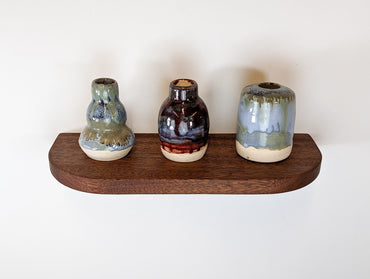
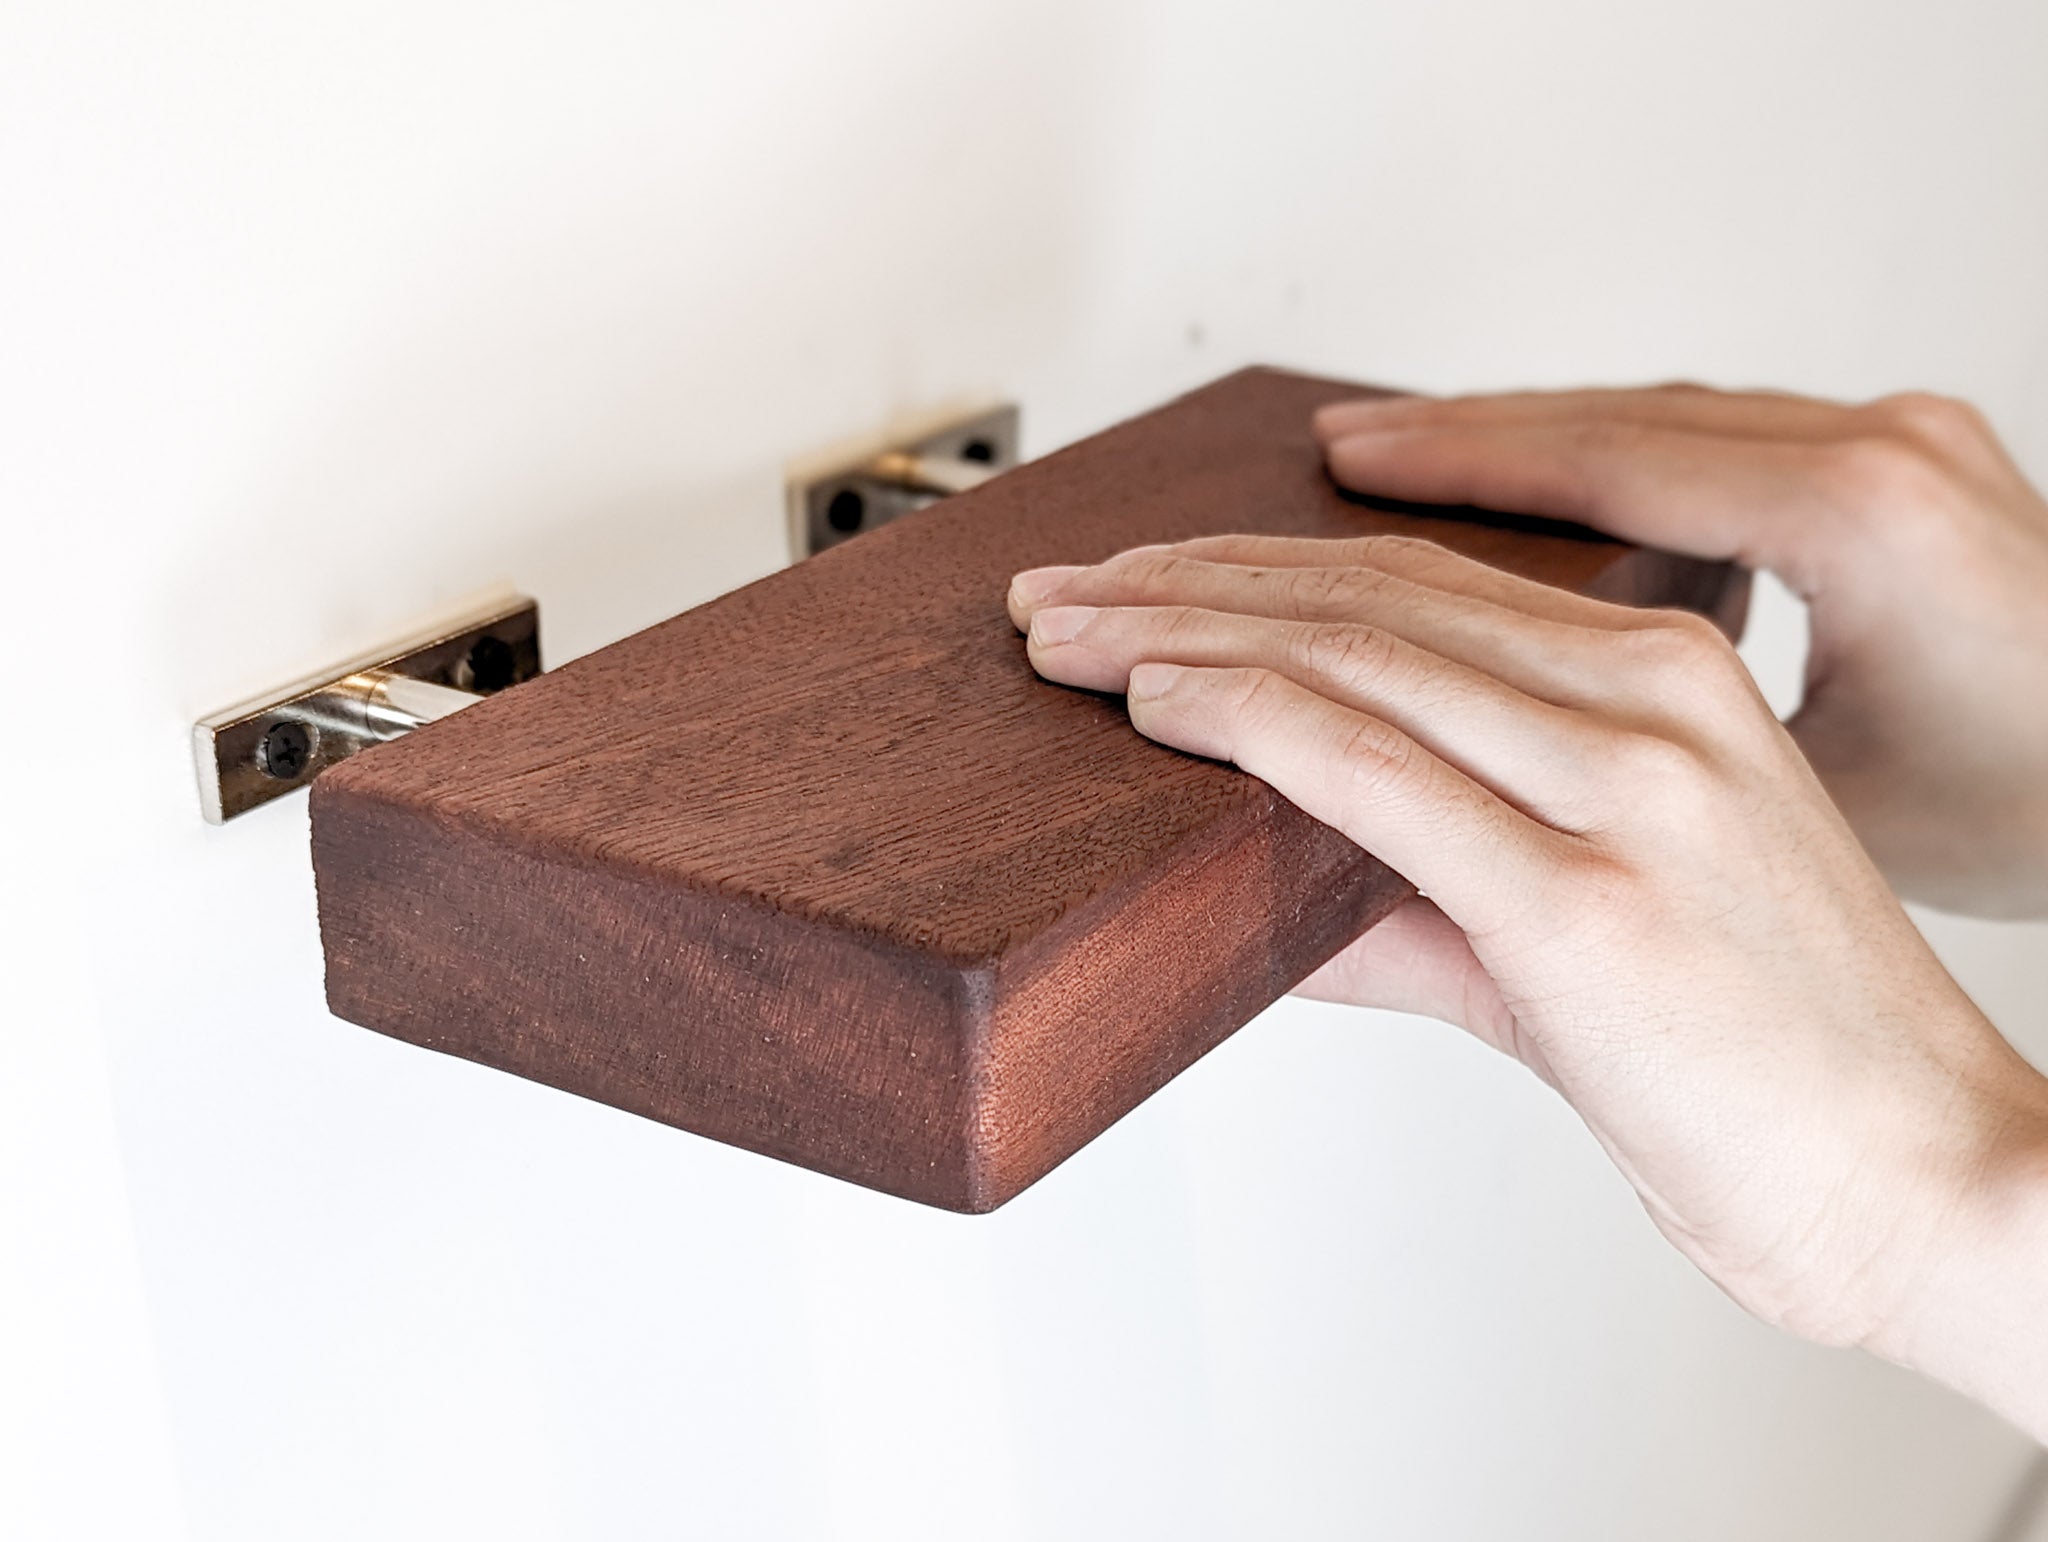
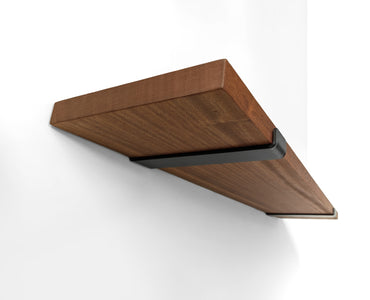
Thick Mahogany Floating Shelf with Rounded Corners
From $98.00From $98.00FREE Shipping in USSolid Hardwood + Hidden BracketOrder Any Size -


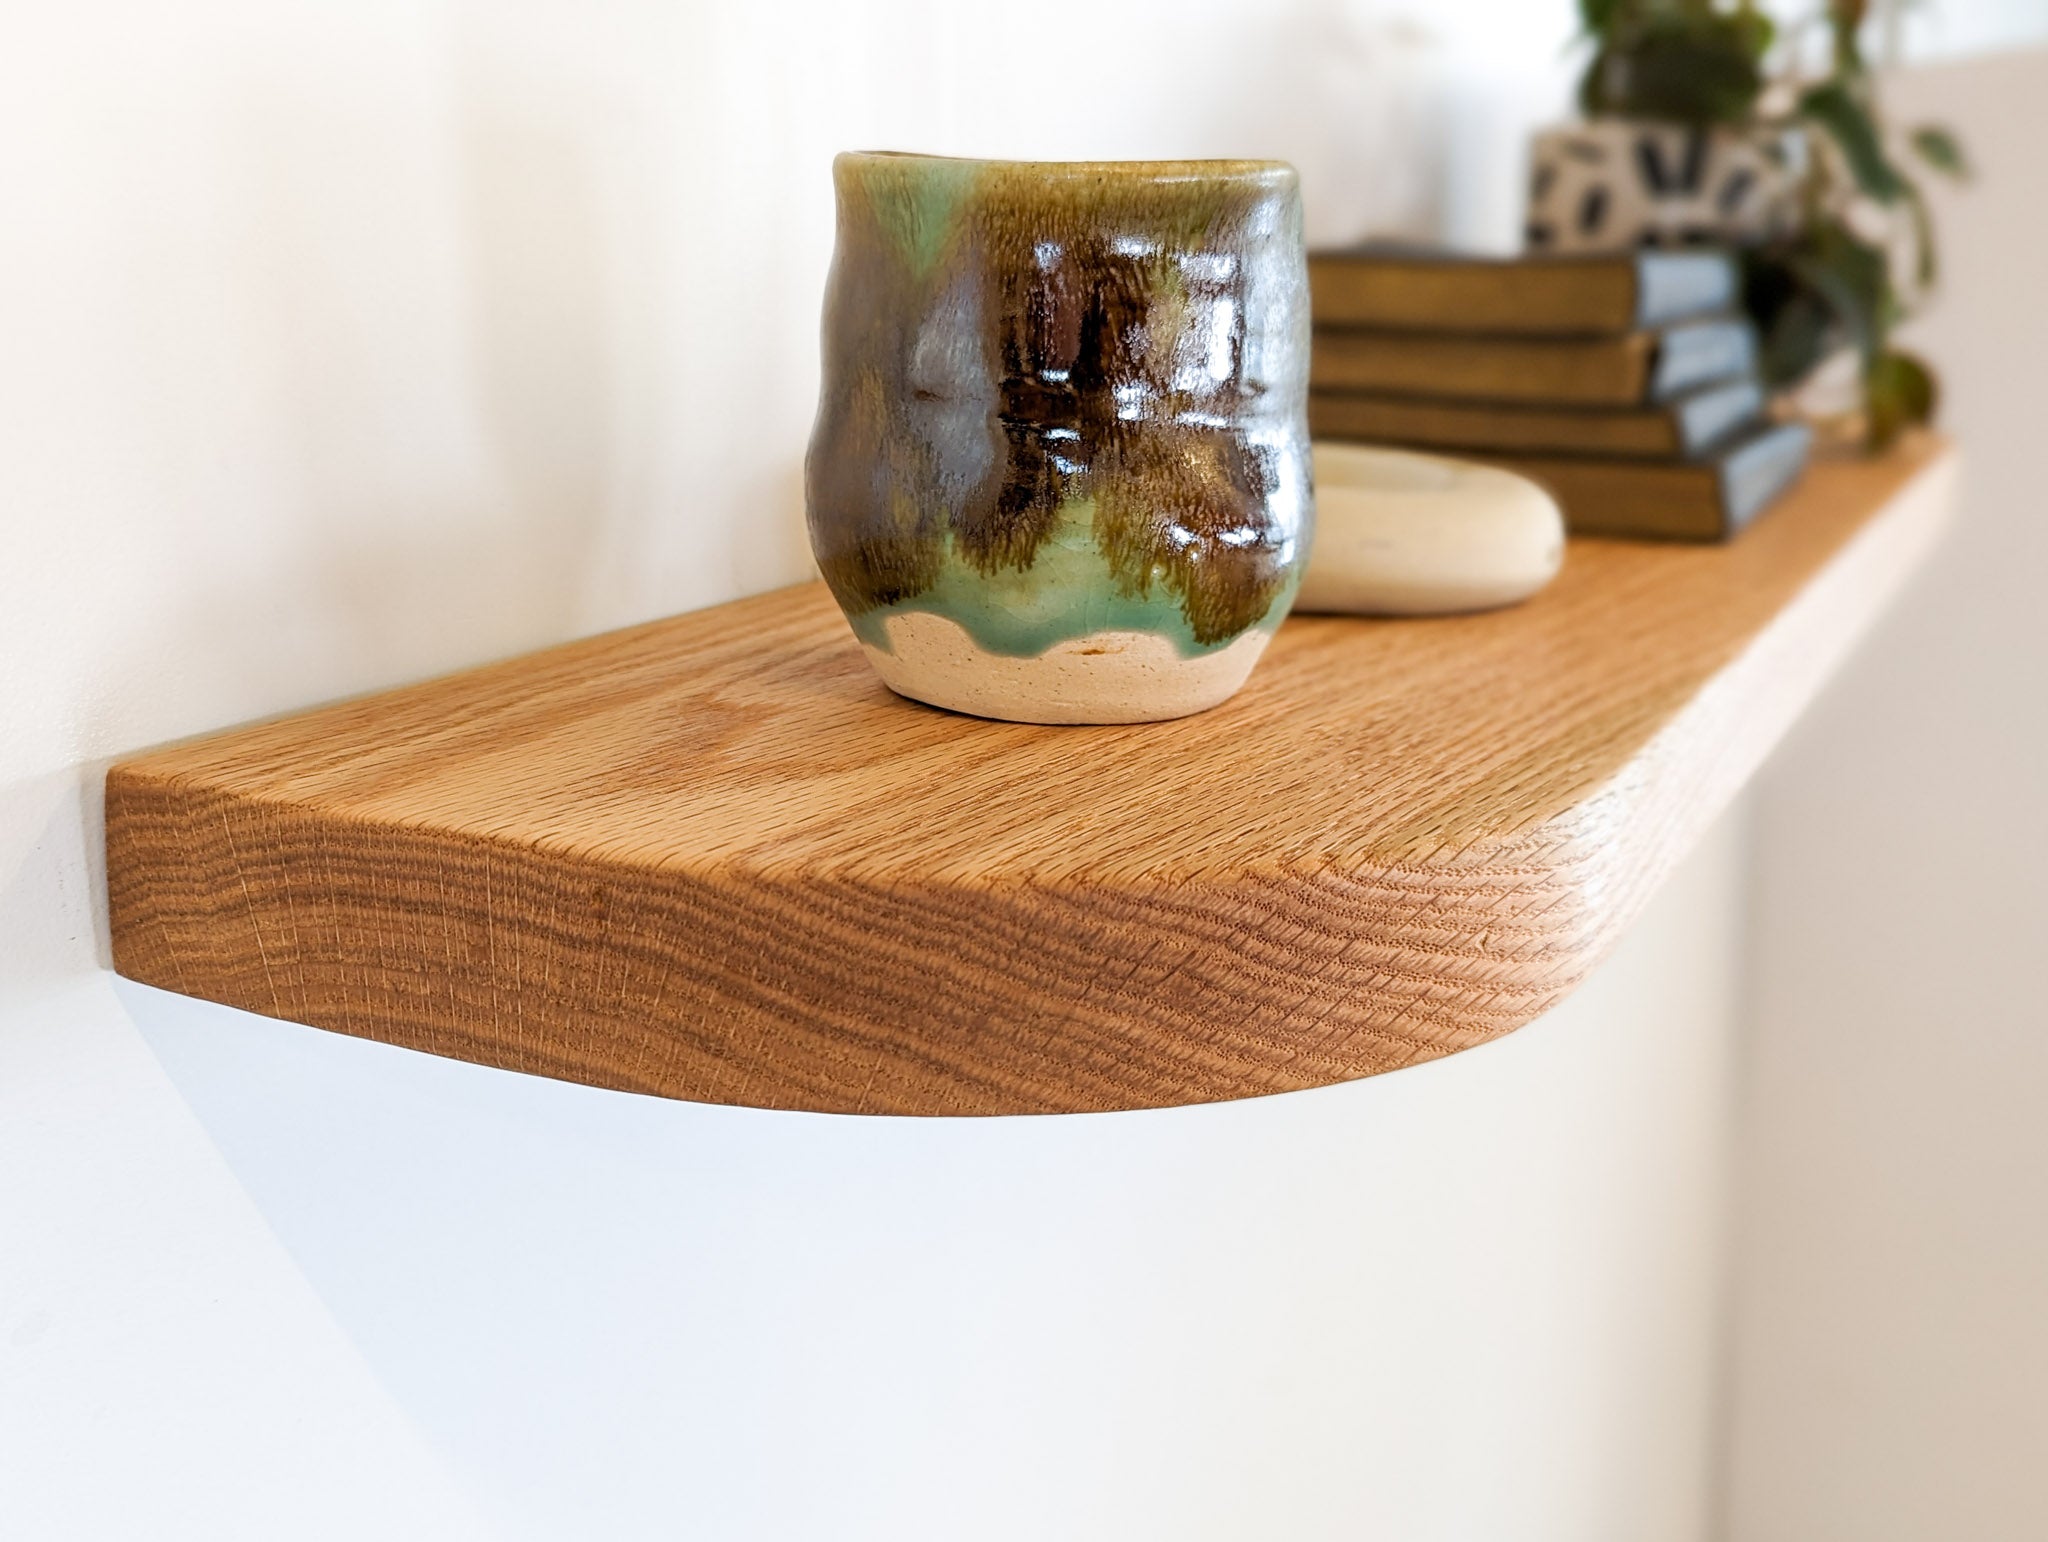
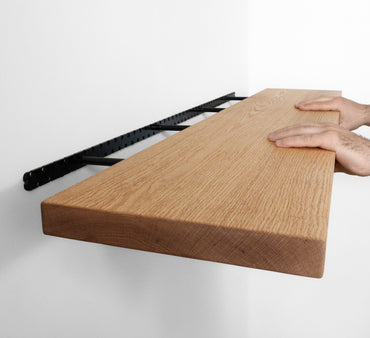
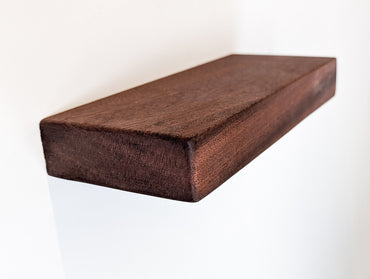
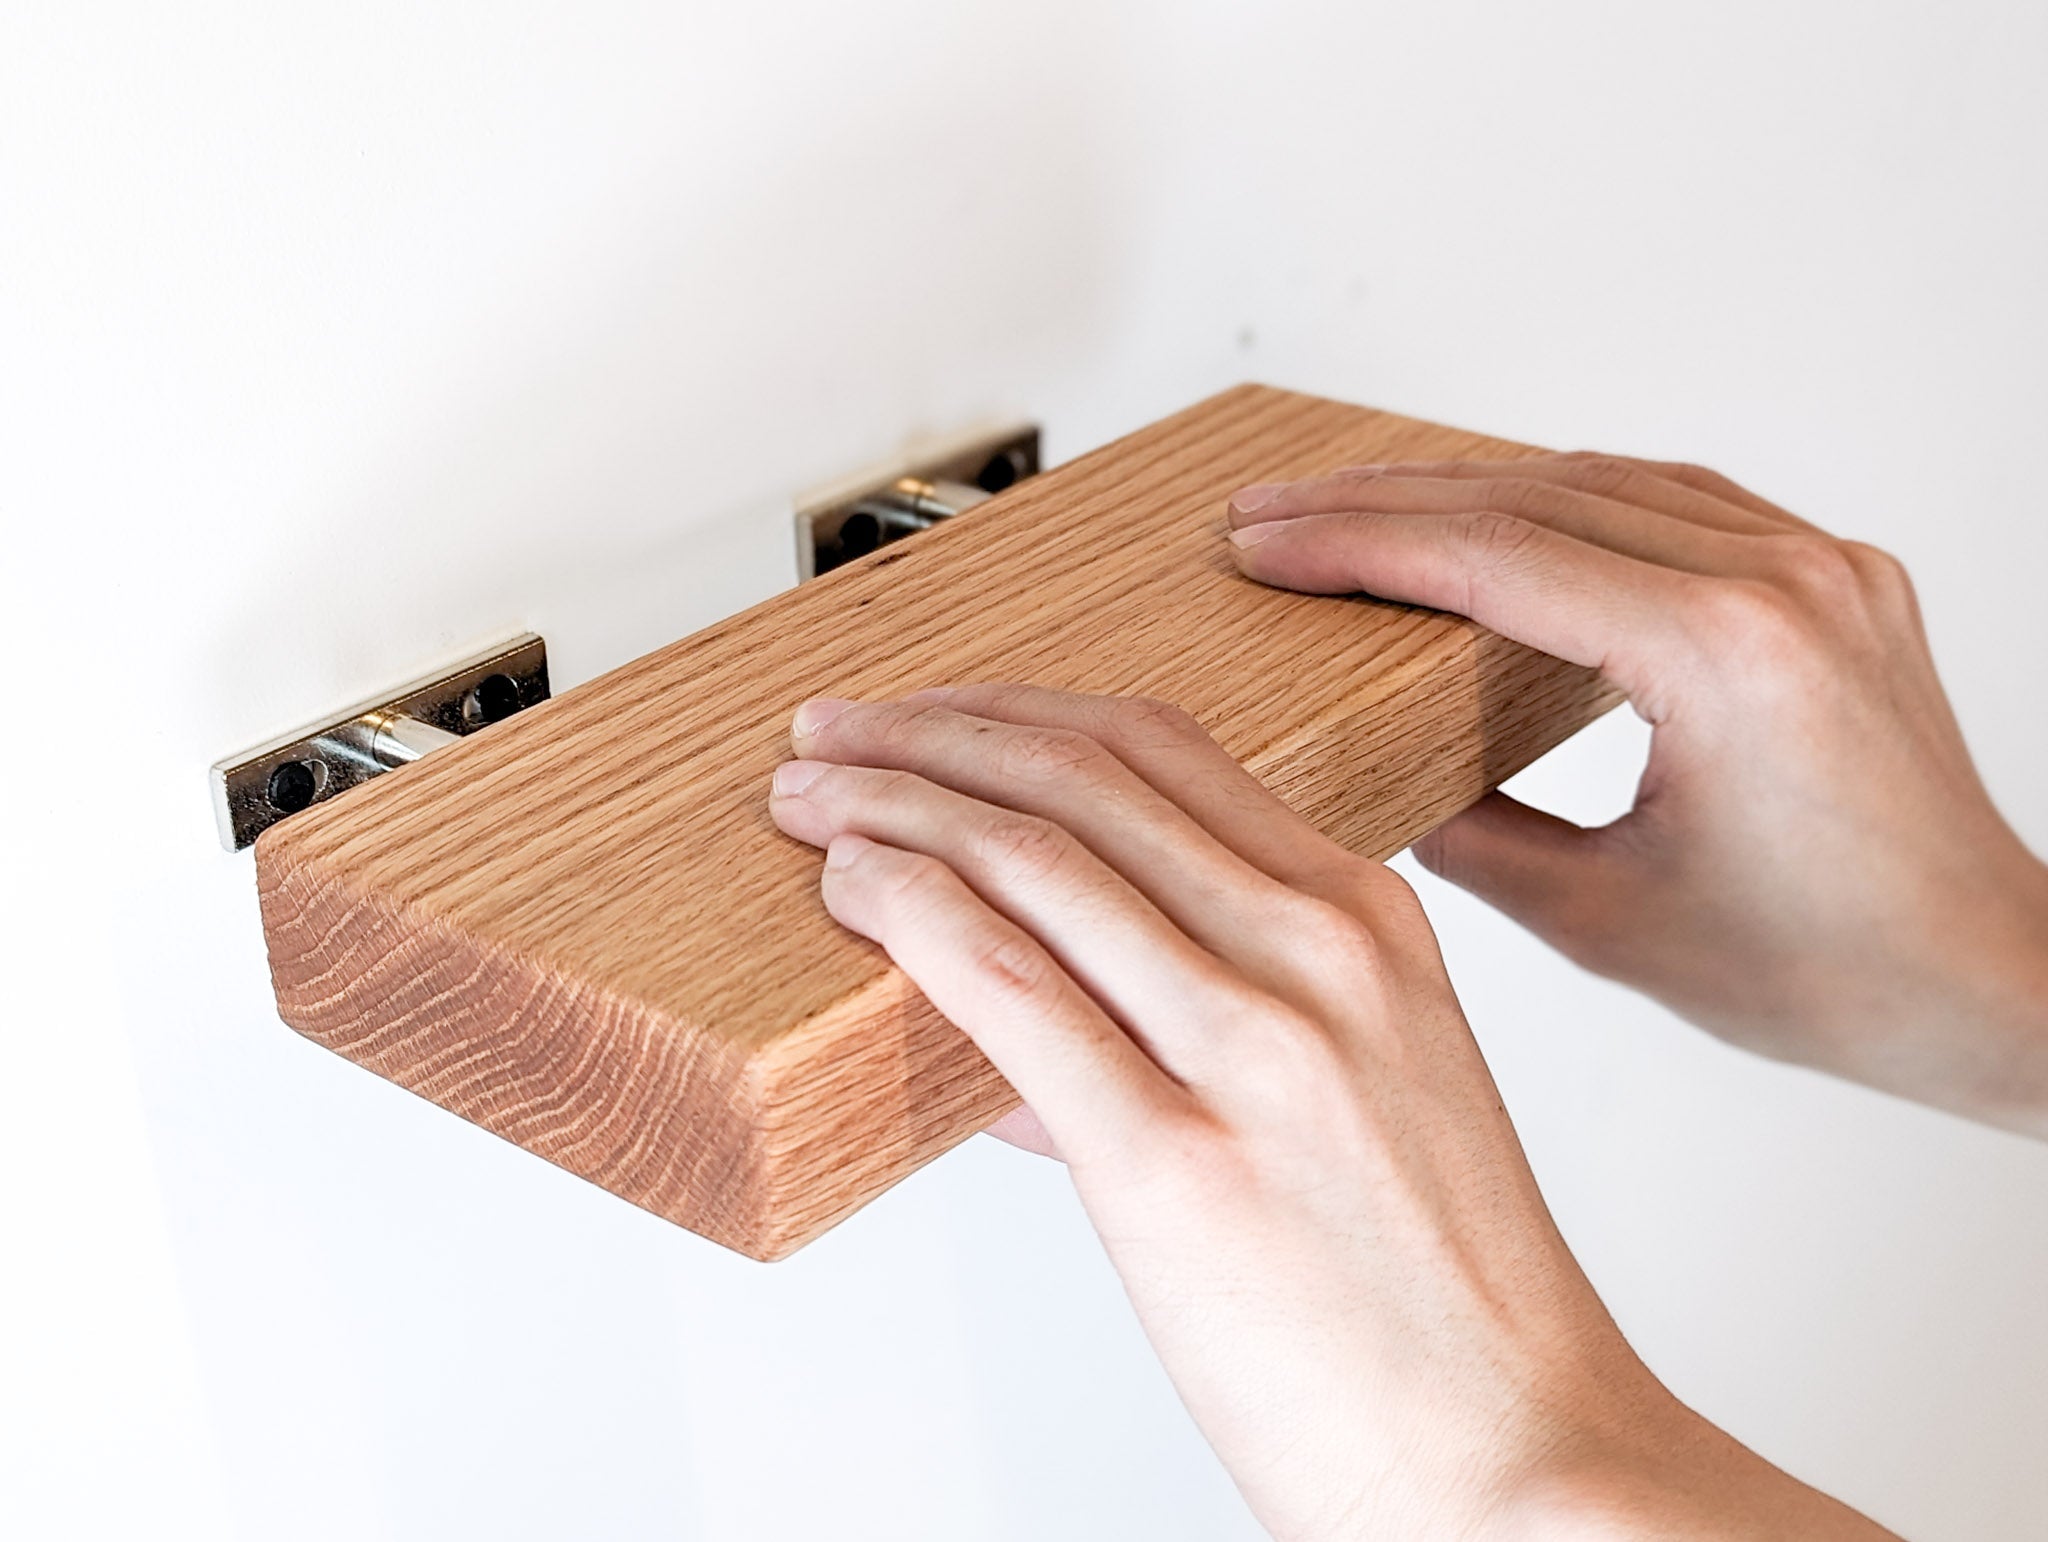
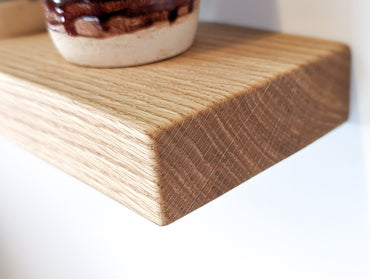
Thick Oak Floating Shelf with Rounded Corners
From $98.00From $98.00FREE Shipping in USSolid Hardwood + Hidden BracketOrder Any Size -


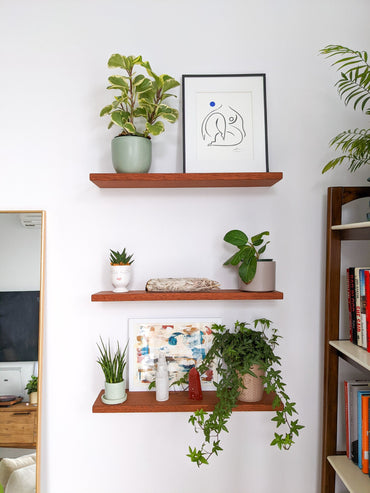
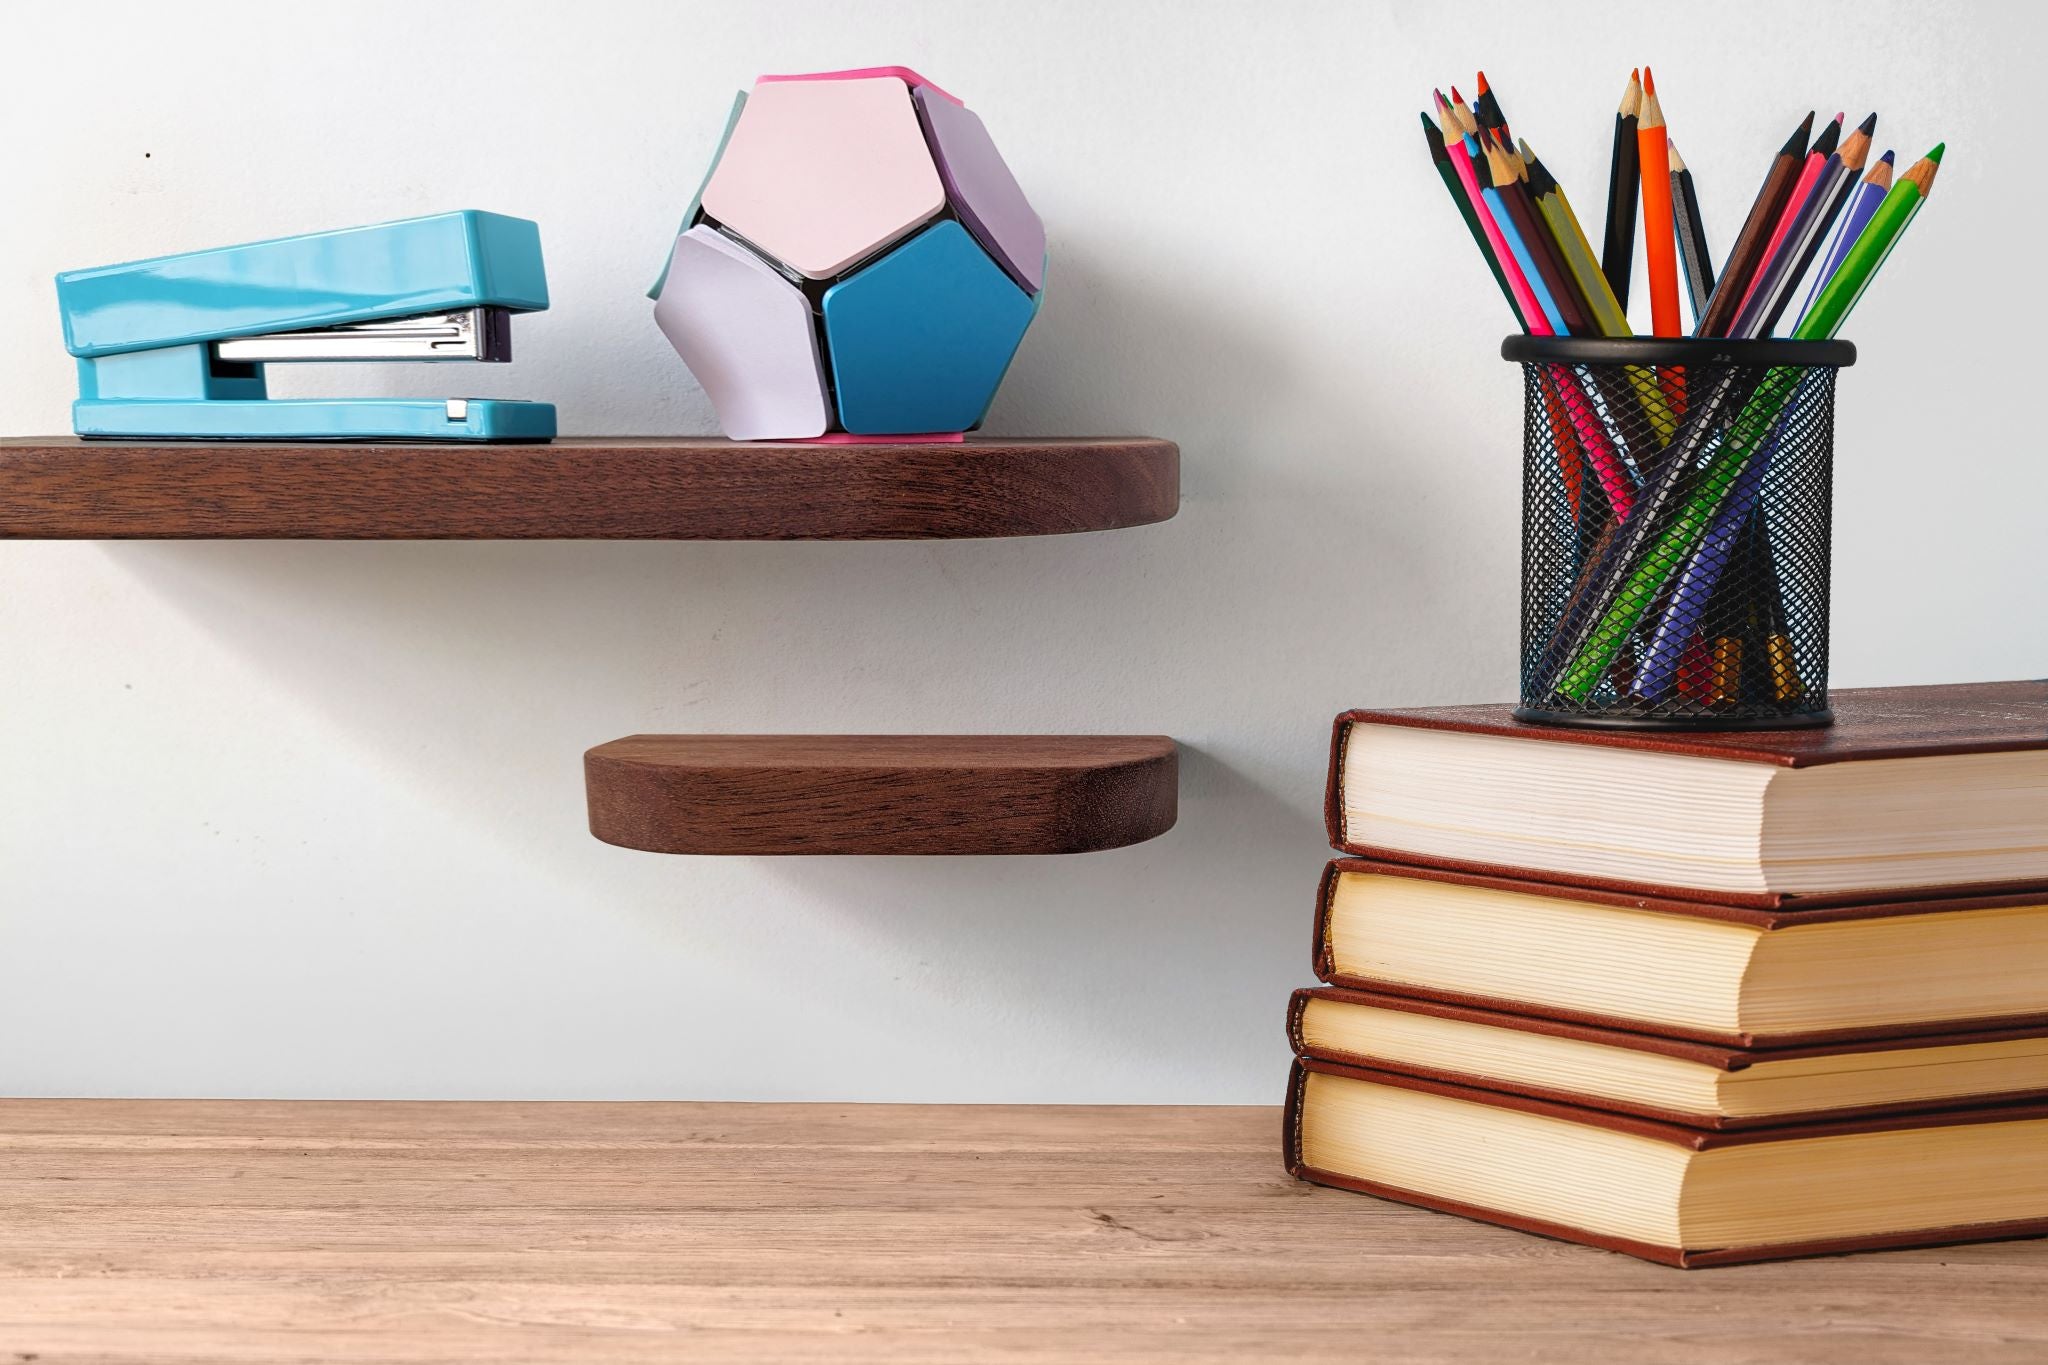
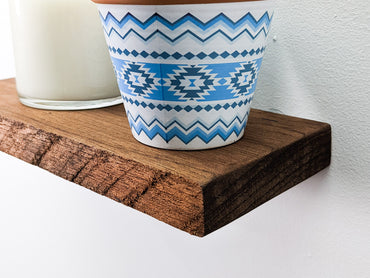
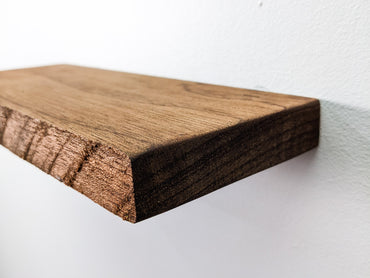
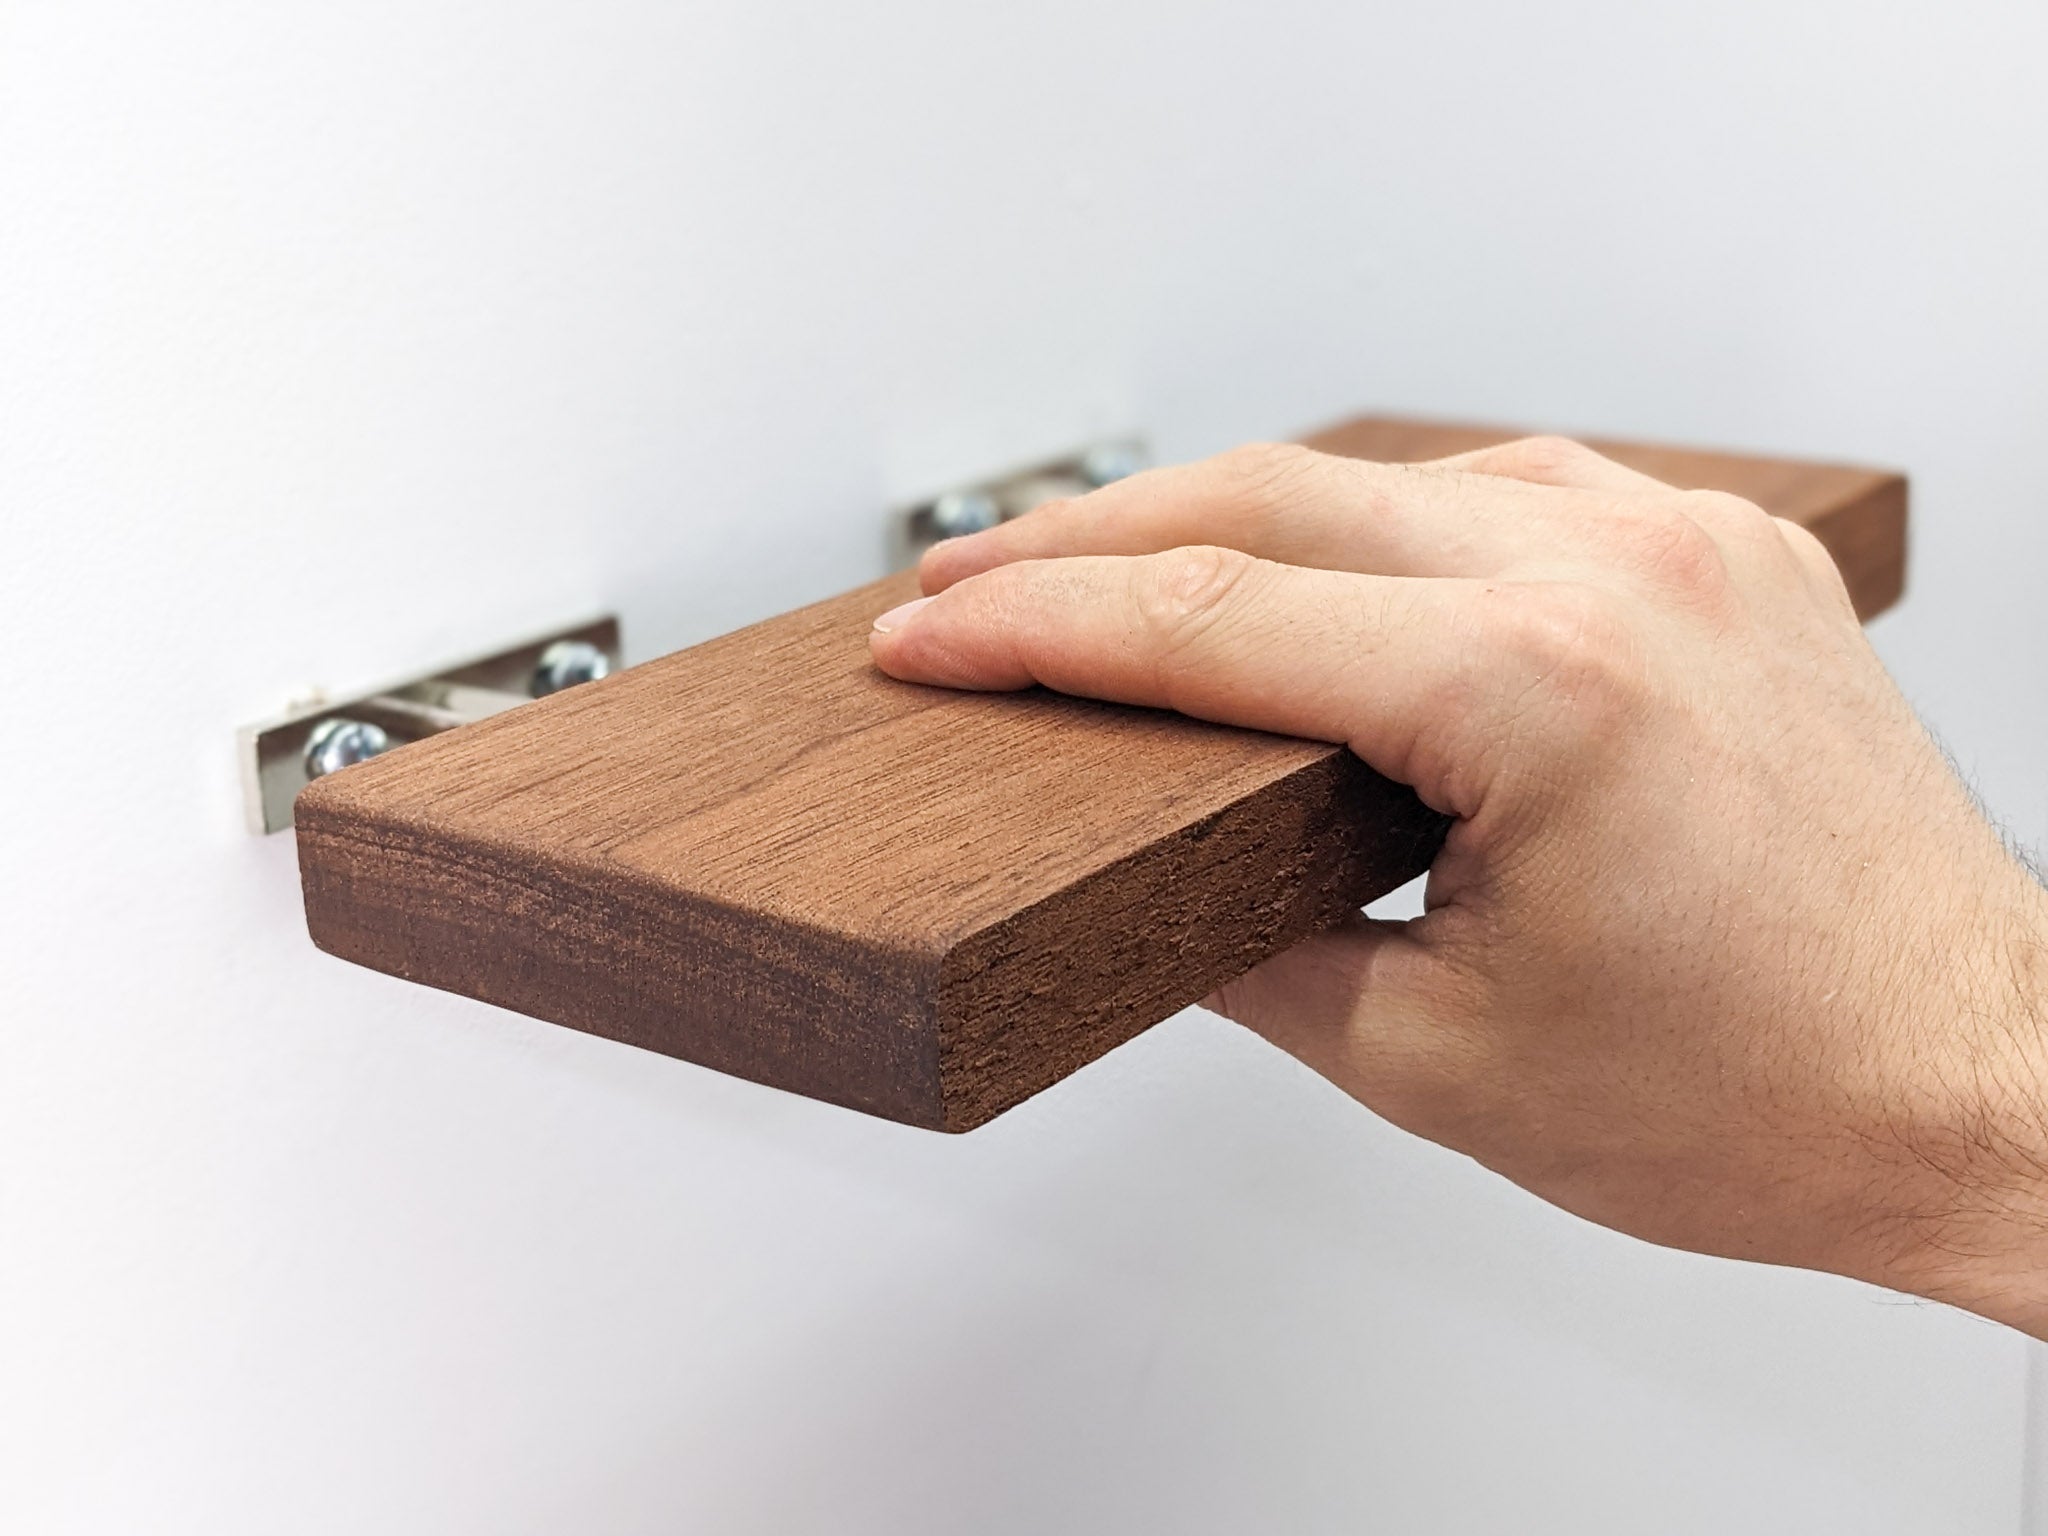
Thick Mahogany Floating Shelf in 12" to 84" lengths
From $80.00From $80.00 $0.00FREE Shipping in USSolid Hardwood + Hidden BracketOrder Any Size -


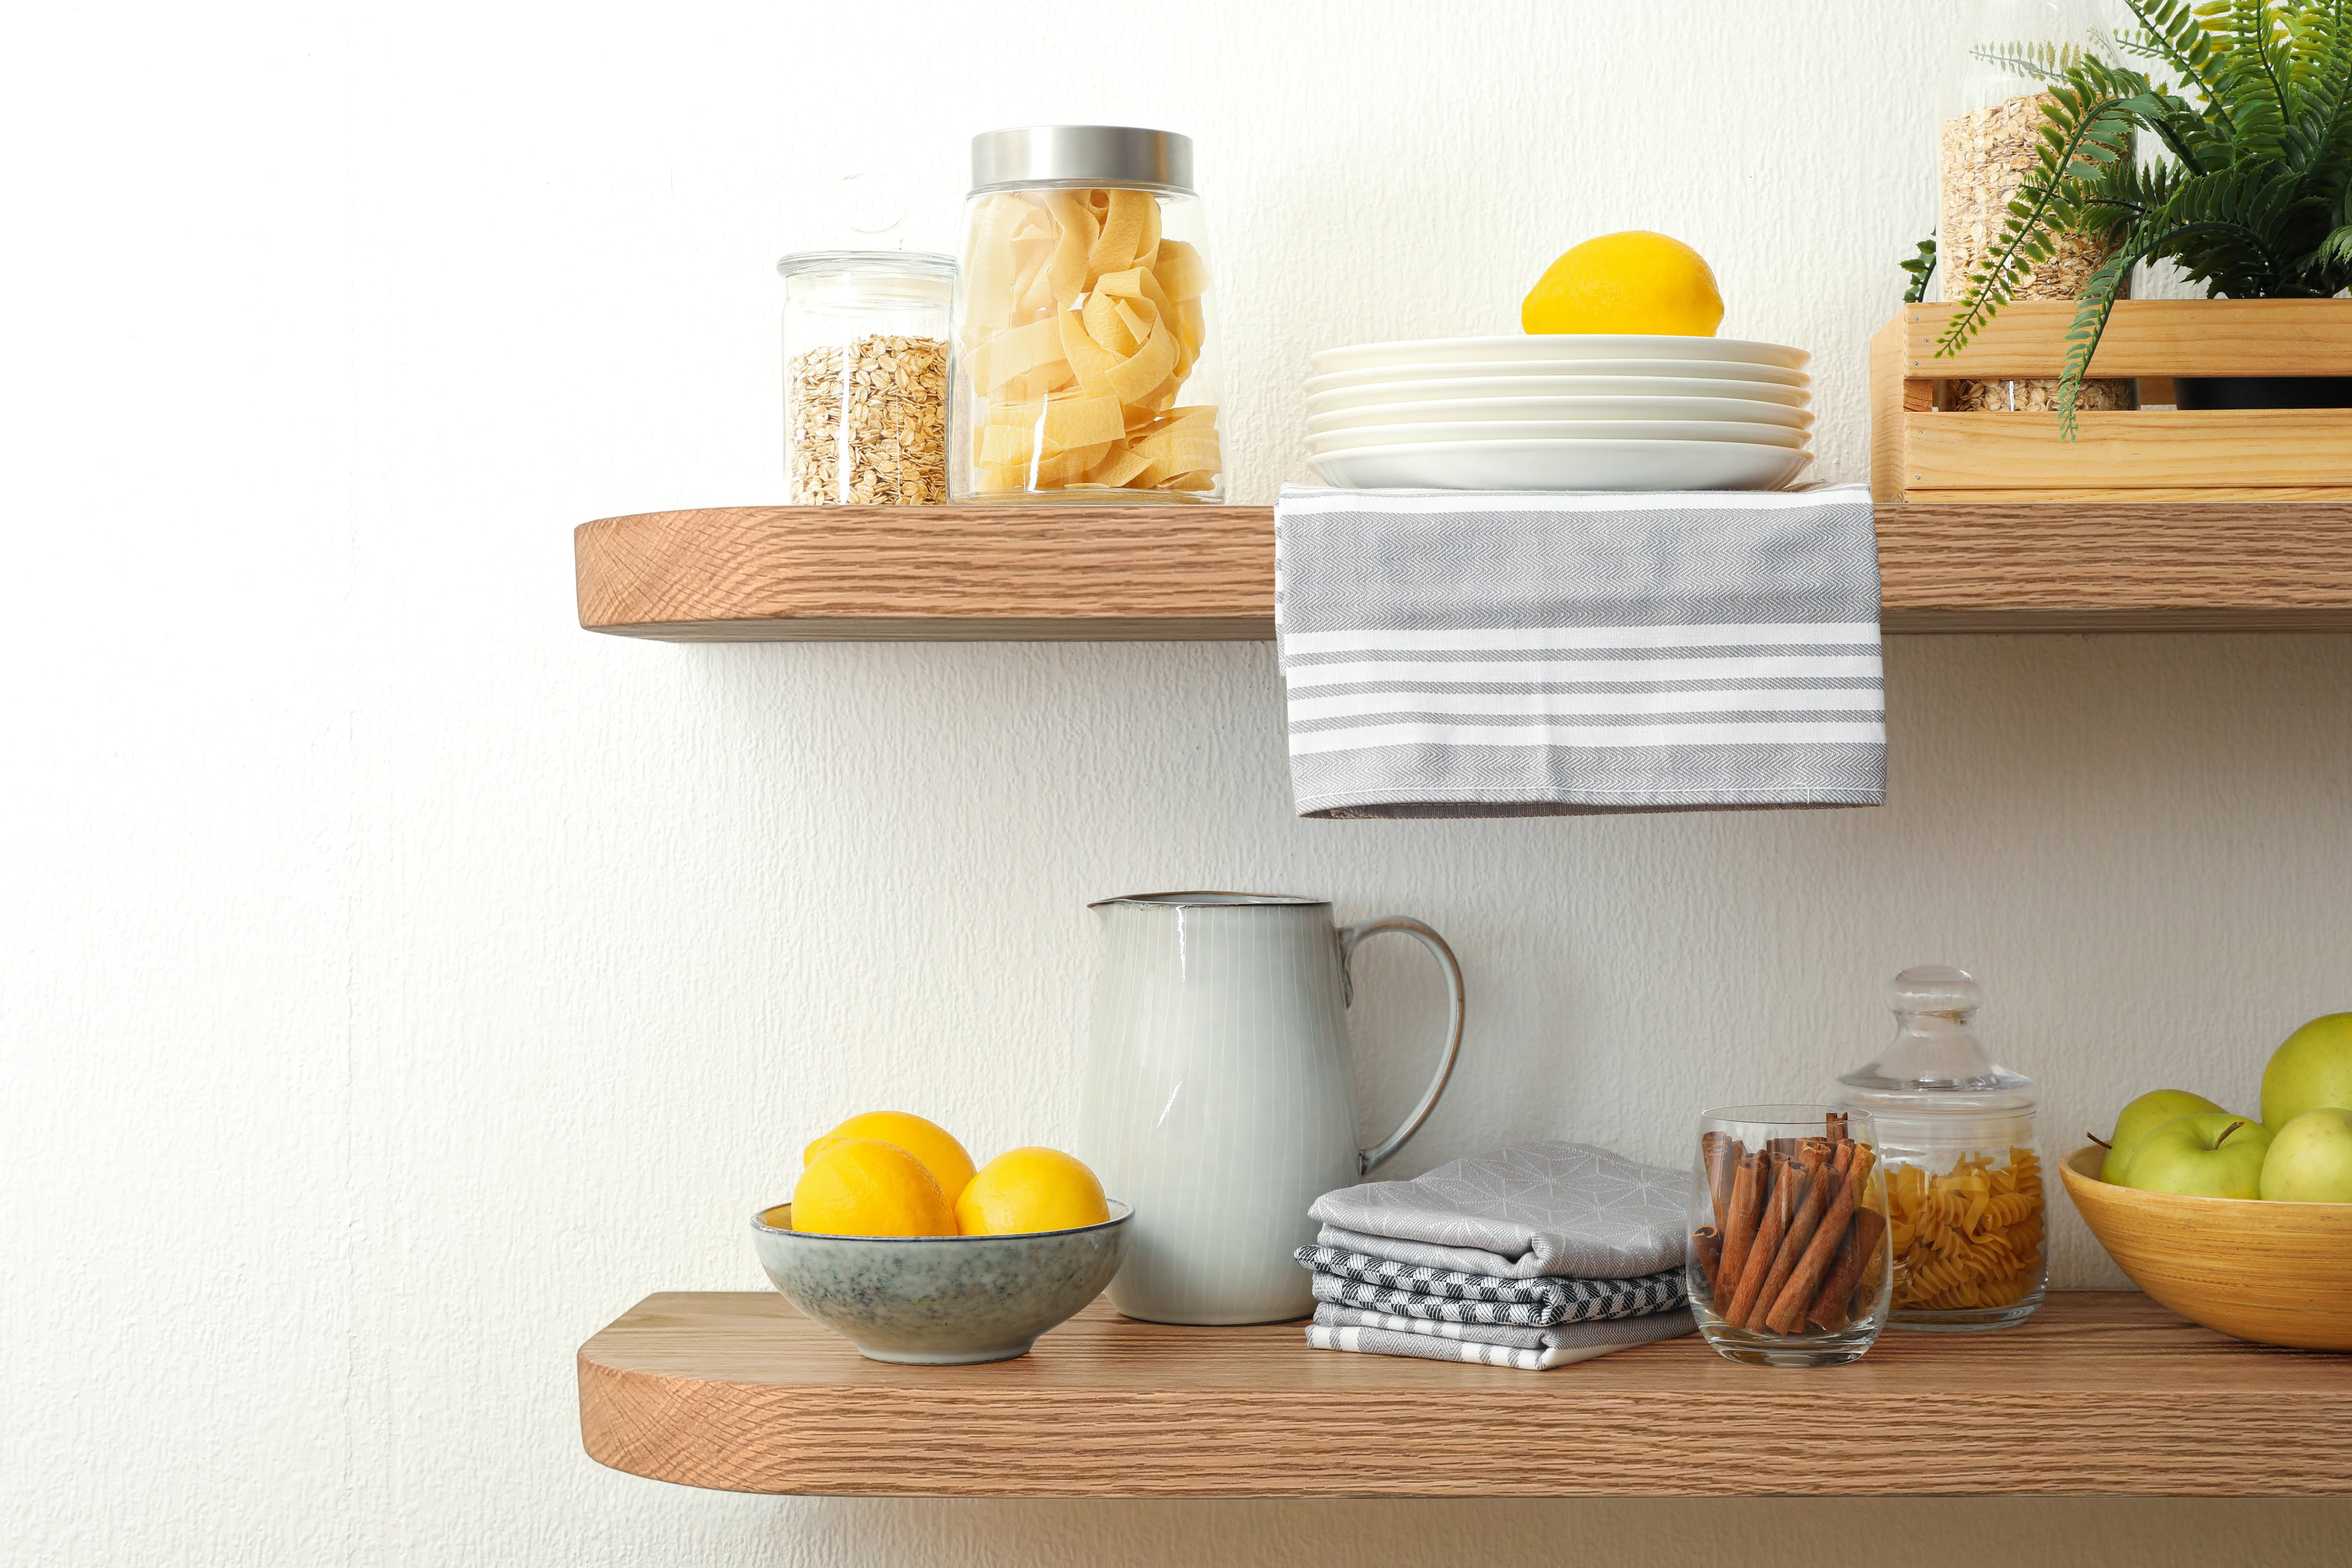
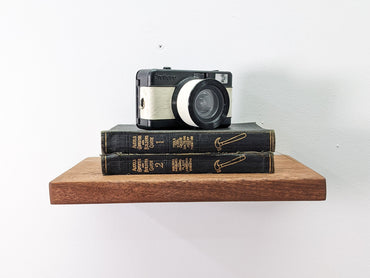
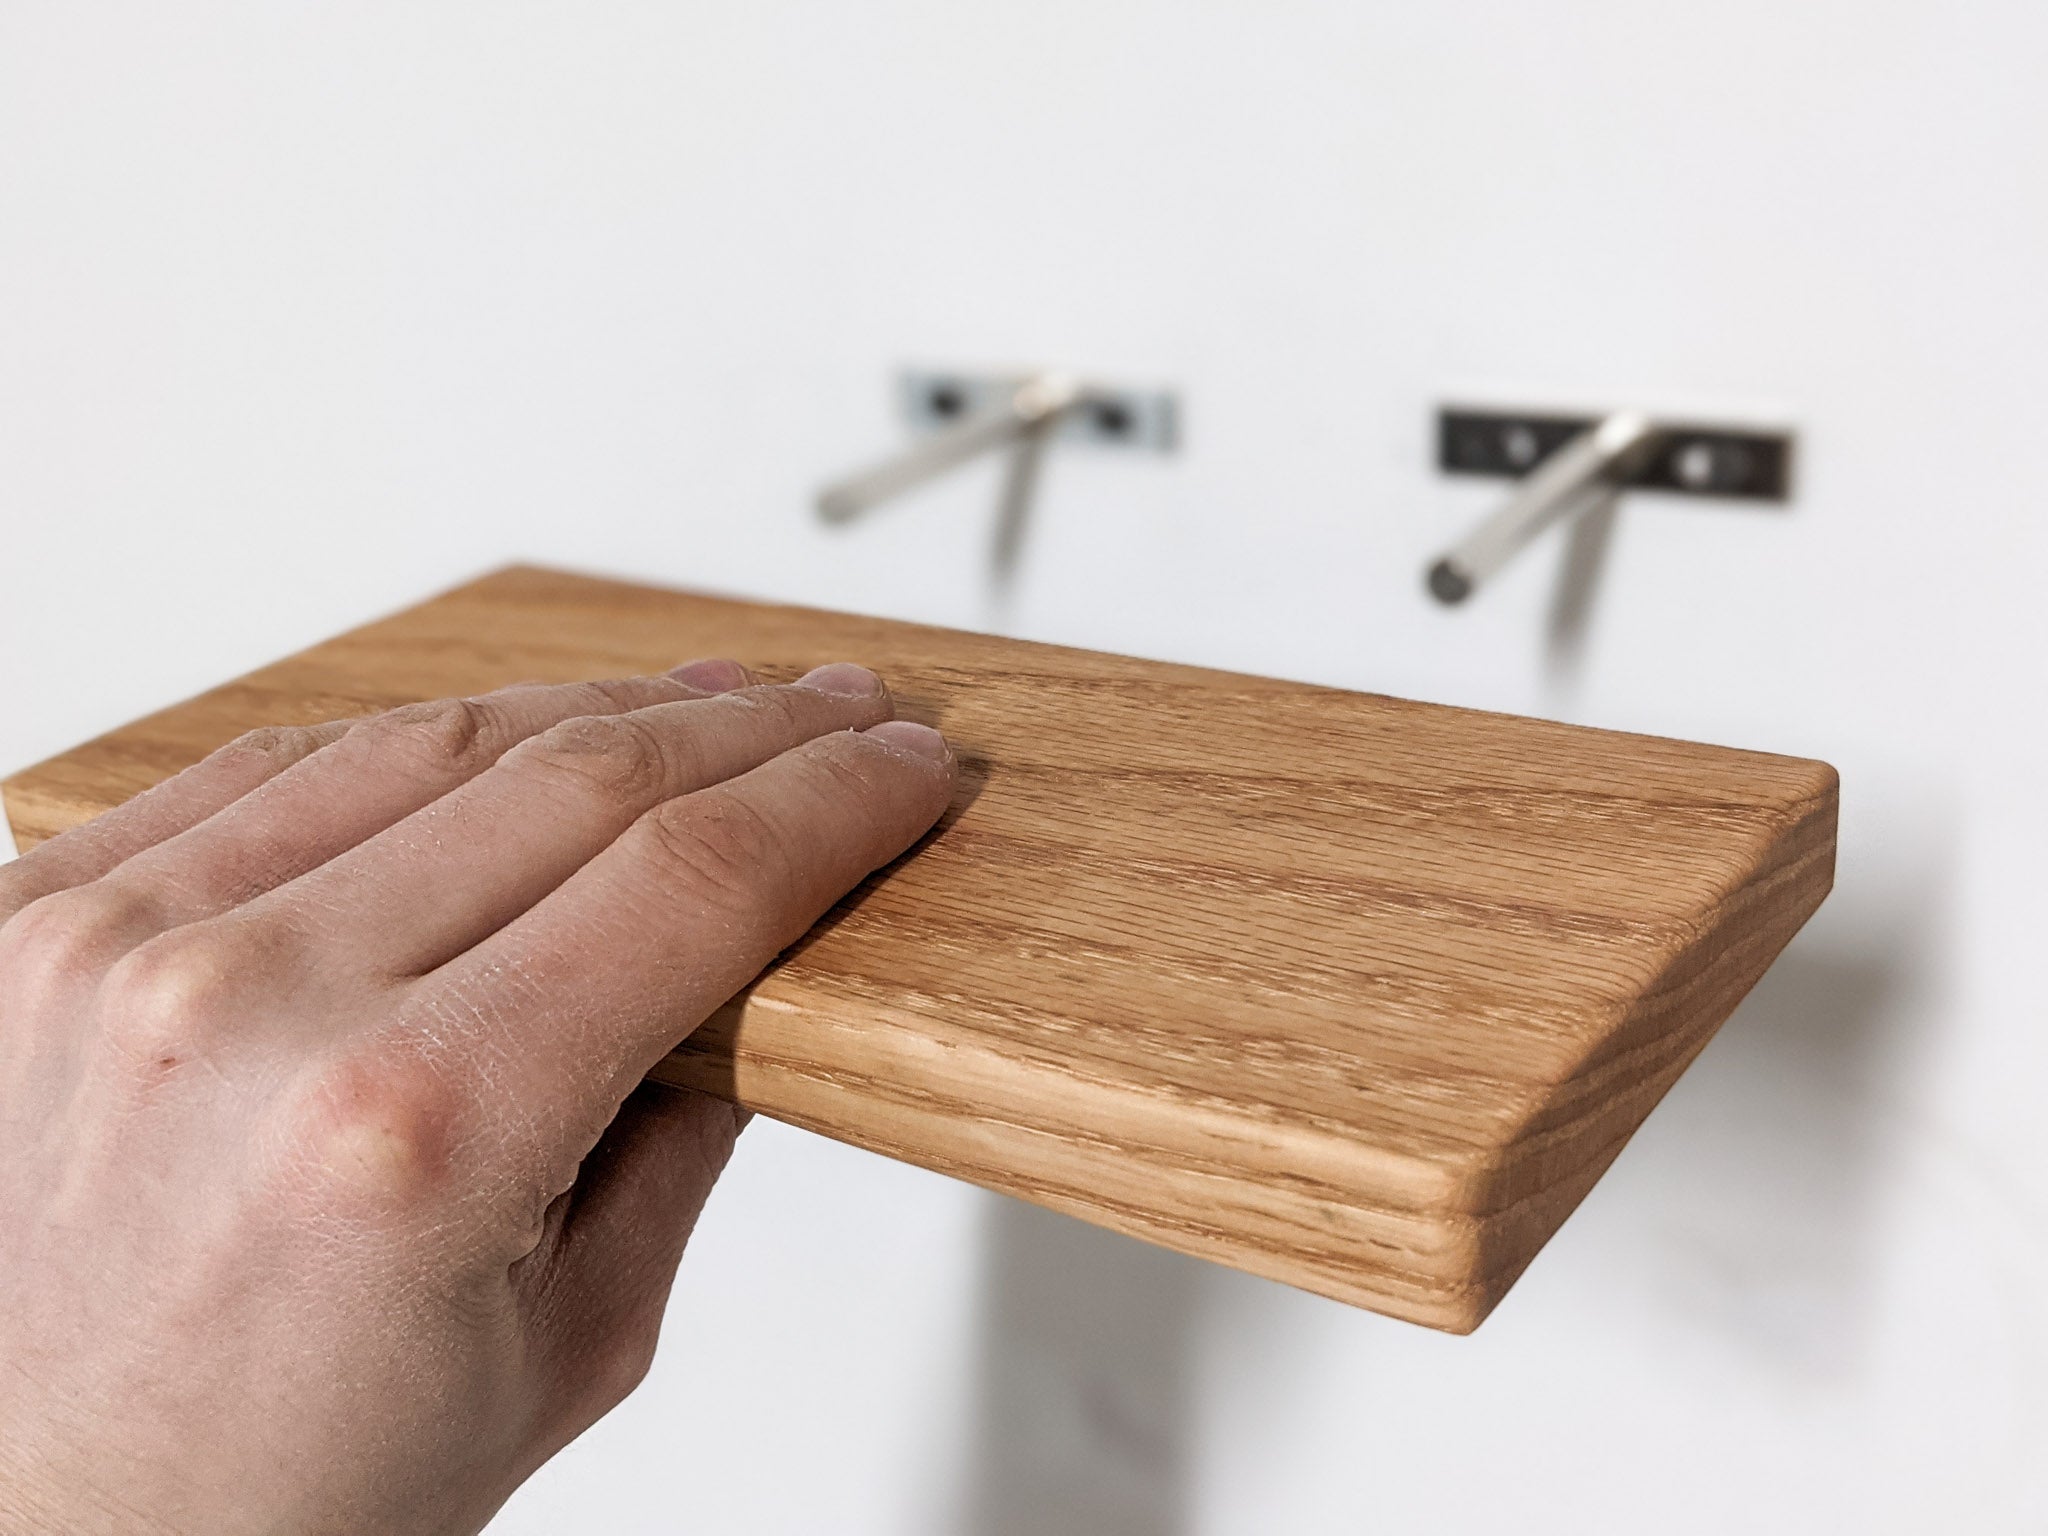
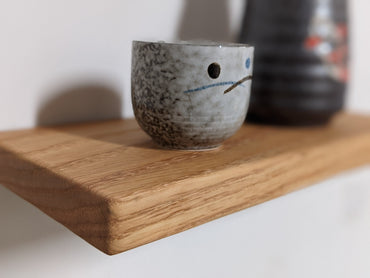
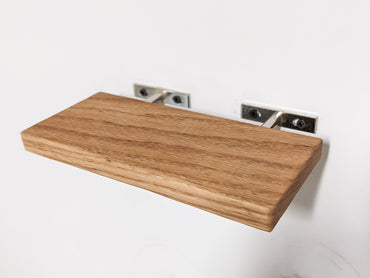
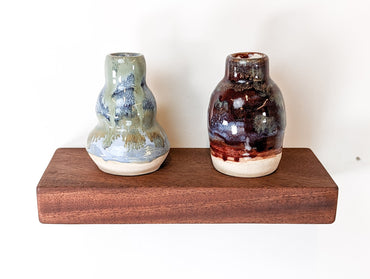
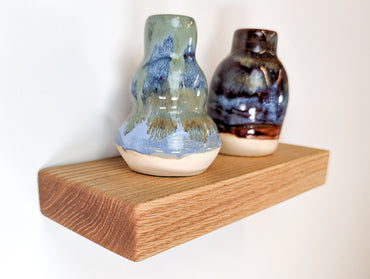
Thick Oak Floating Shelf in 12" to 84" lengths
From $80.00From $80.00 $0.00FREE Shipping in USSolid Hardwood + Hidden BracketOrder Any Size -

Thin Mahogany Floating Shelf in 6" to 36" lengths
From $29.00From $29.00 $0.00FREE Shipping in USSolid Hardwood + Hidden BracketsOrder Any Size -


Thin Oak Floating Shelf in 6" to 36" lengths
From $29.00From $29.00 $0.00FREE Shipping in USSolid Hardwood + Hidden BracketsOrder Any Size -

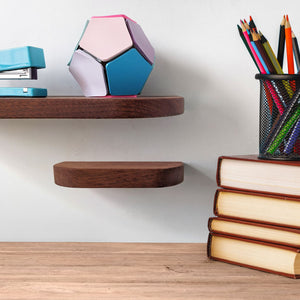
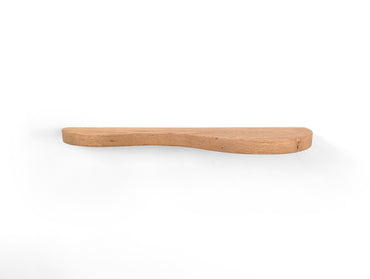
Thin Mahogany Floating Shelf with Rounded Corners
From $39.00From $39.00FREE Shipping in USSolid Hardwood + Hidden BracketsOrder Any Size -

Thin Oak Floating Shelf with Rounded Corners
From $39.00From $39.00FREE Shipping in USSolid Hardwood + Hidden BracketsOrder Any Size -


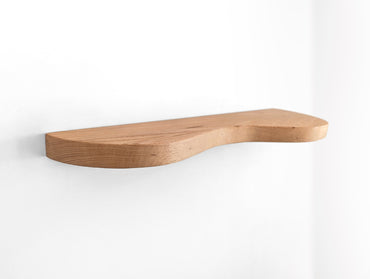
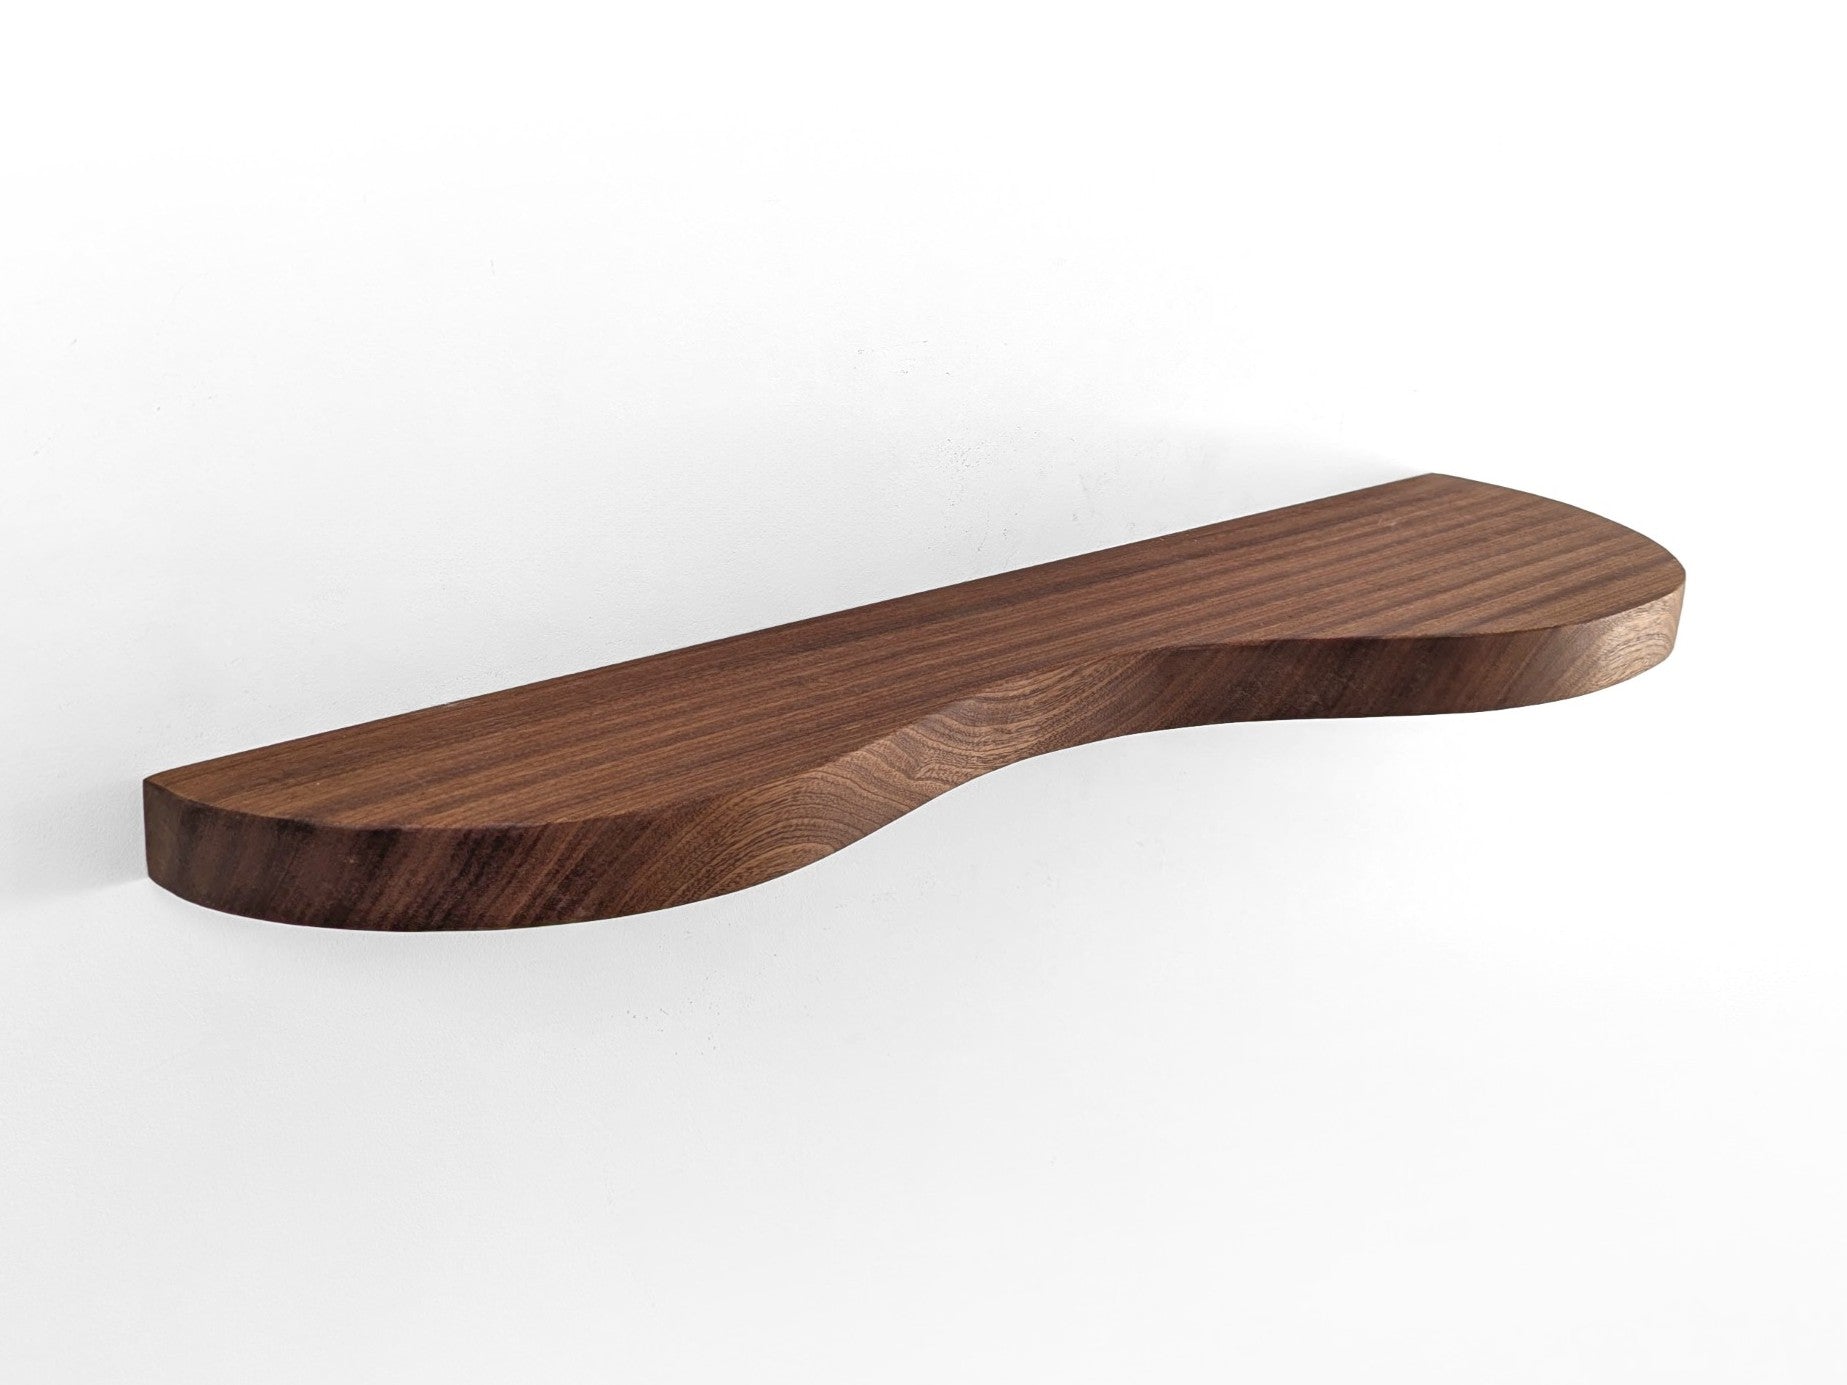
Double Curve Thick Mahogany Floating Shelf
From $105.00From $105.00FREE Shipping in USSolid Hardwood + Hidden BracketOrder Any Size -


Double Curve Thick Oak Floating Shelf
From $105.00From $105.00FREE Shipping in USSolid Hardwood + Hidden BracketOrder Any Size -

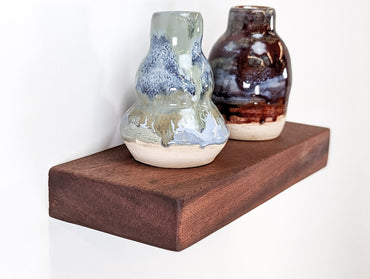
Thick Mahogany Floating Shelf in 6" to 10" lengths
From $36.00From $36.00 $0.00FREE Shipping in USSolid Hardwood + Hidden BracketsOrder Any Size -


Thick Oak Floating Shelf in 6" to 10" lengths
From $36.00From $36.00 $0.00FREE Shipping in USSolid Hardwood + Hidden BracketsOrder Any Size -
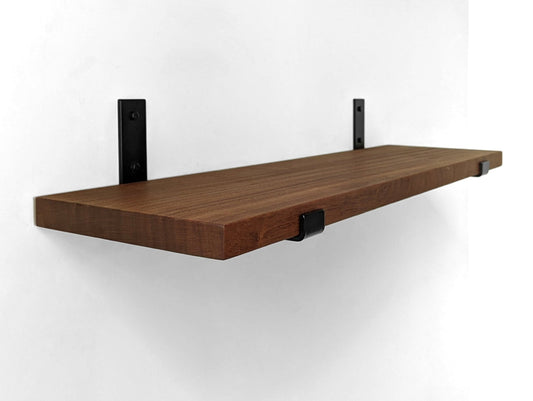
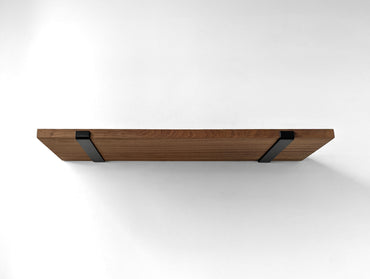
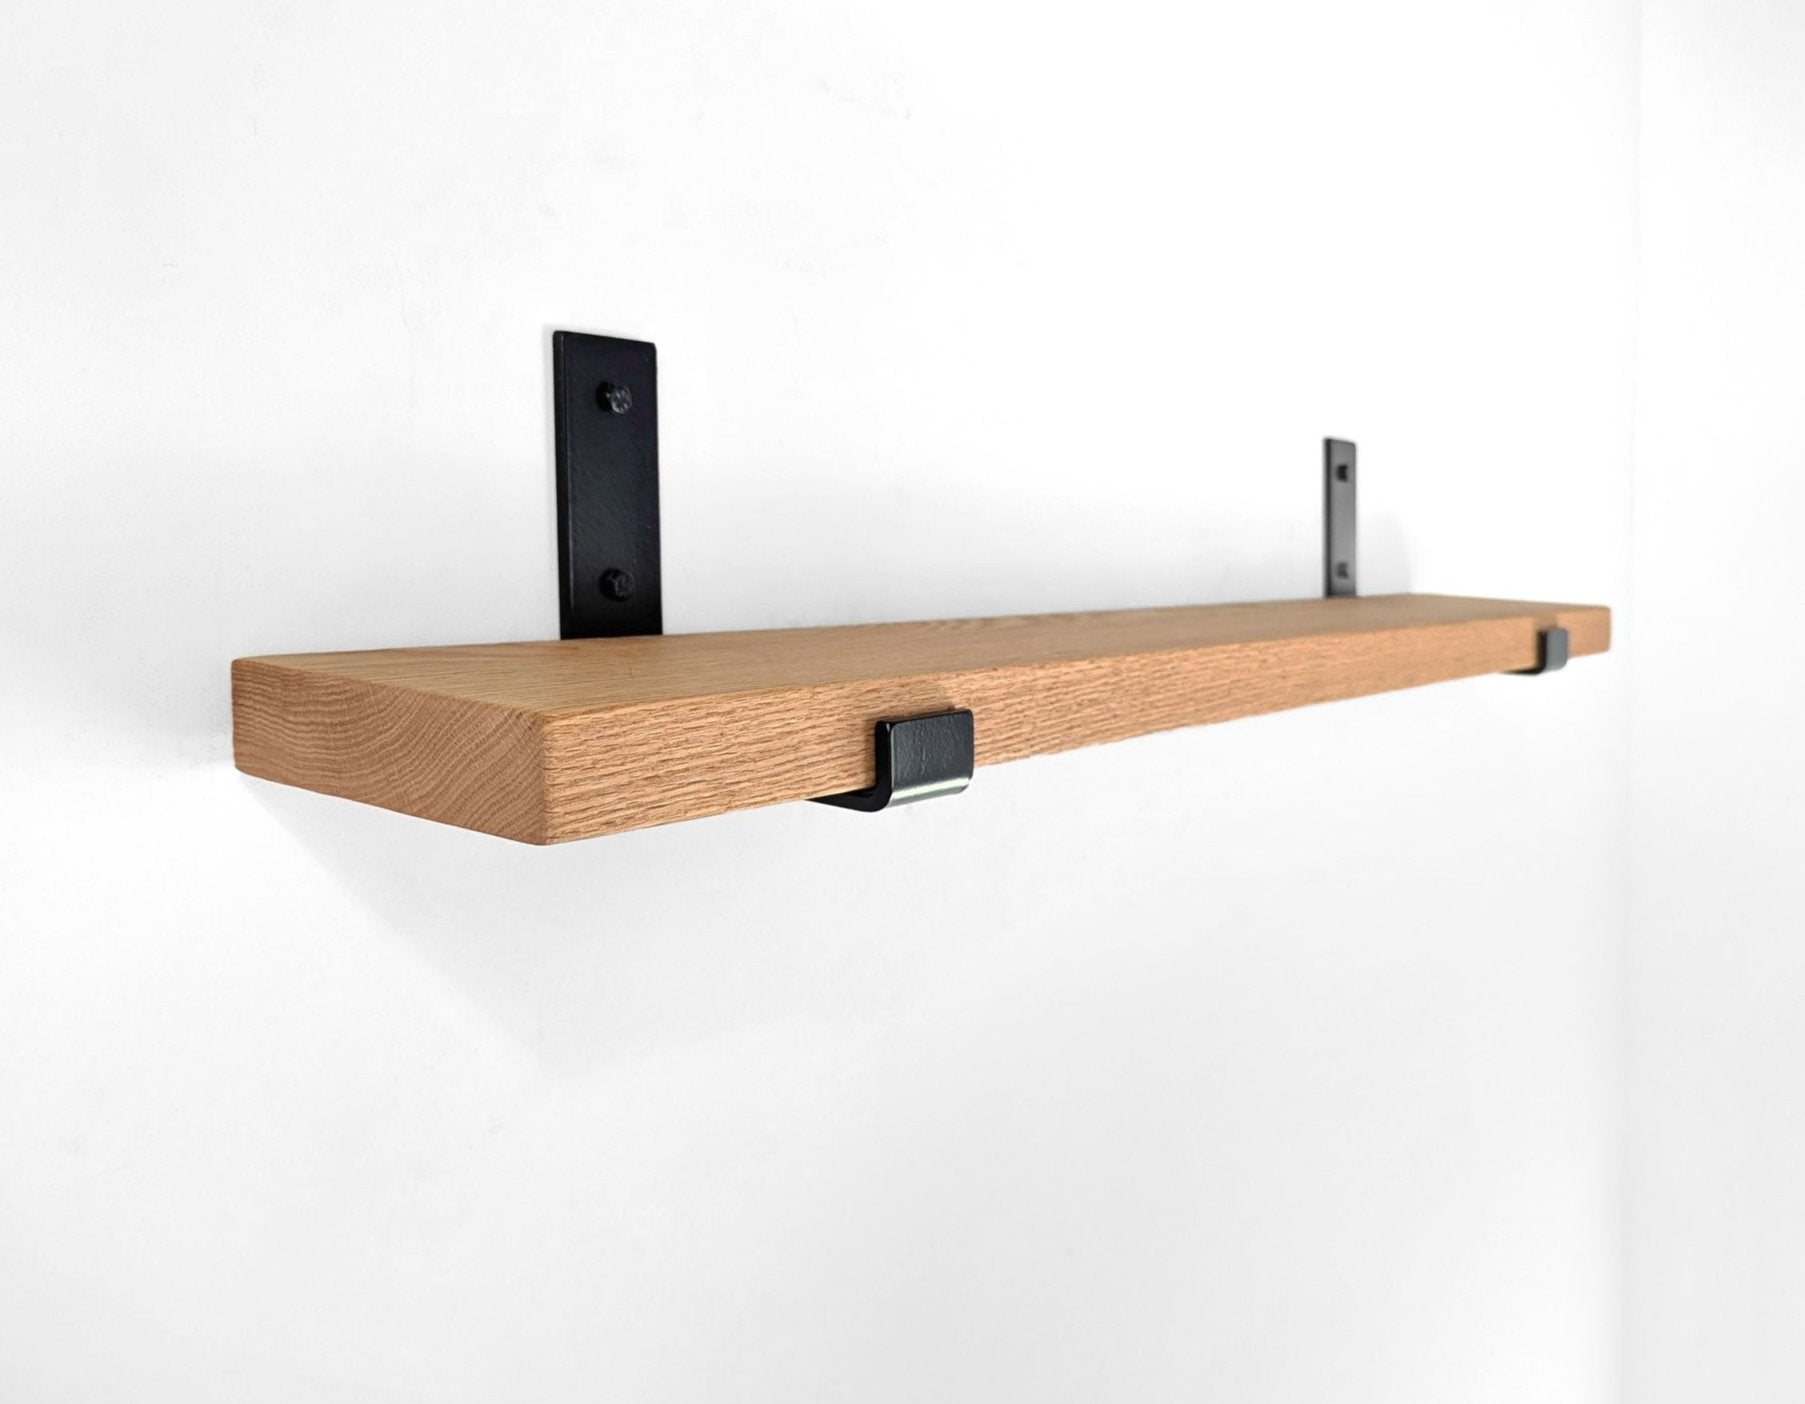
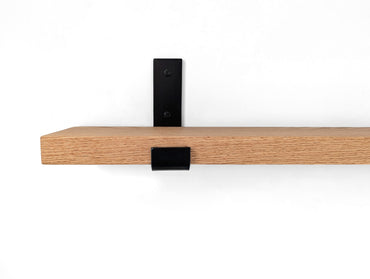
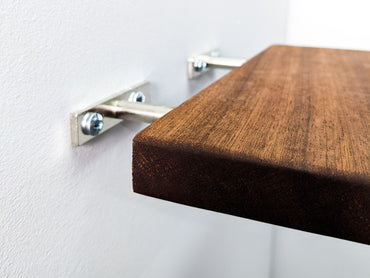
Thick Mahogany Shelf with Black Steel J Brackets
From $79.00From $79.00FREE Shipping in USSolid Hardwood + Steel J BracketsPowder Coated Black Brackets -

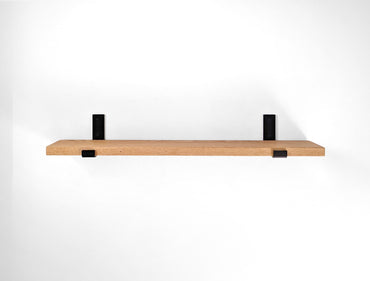


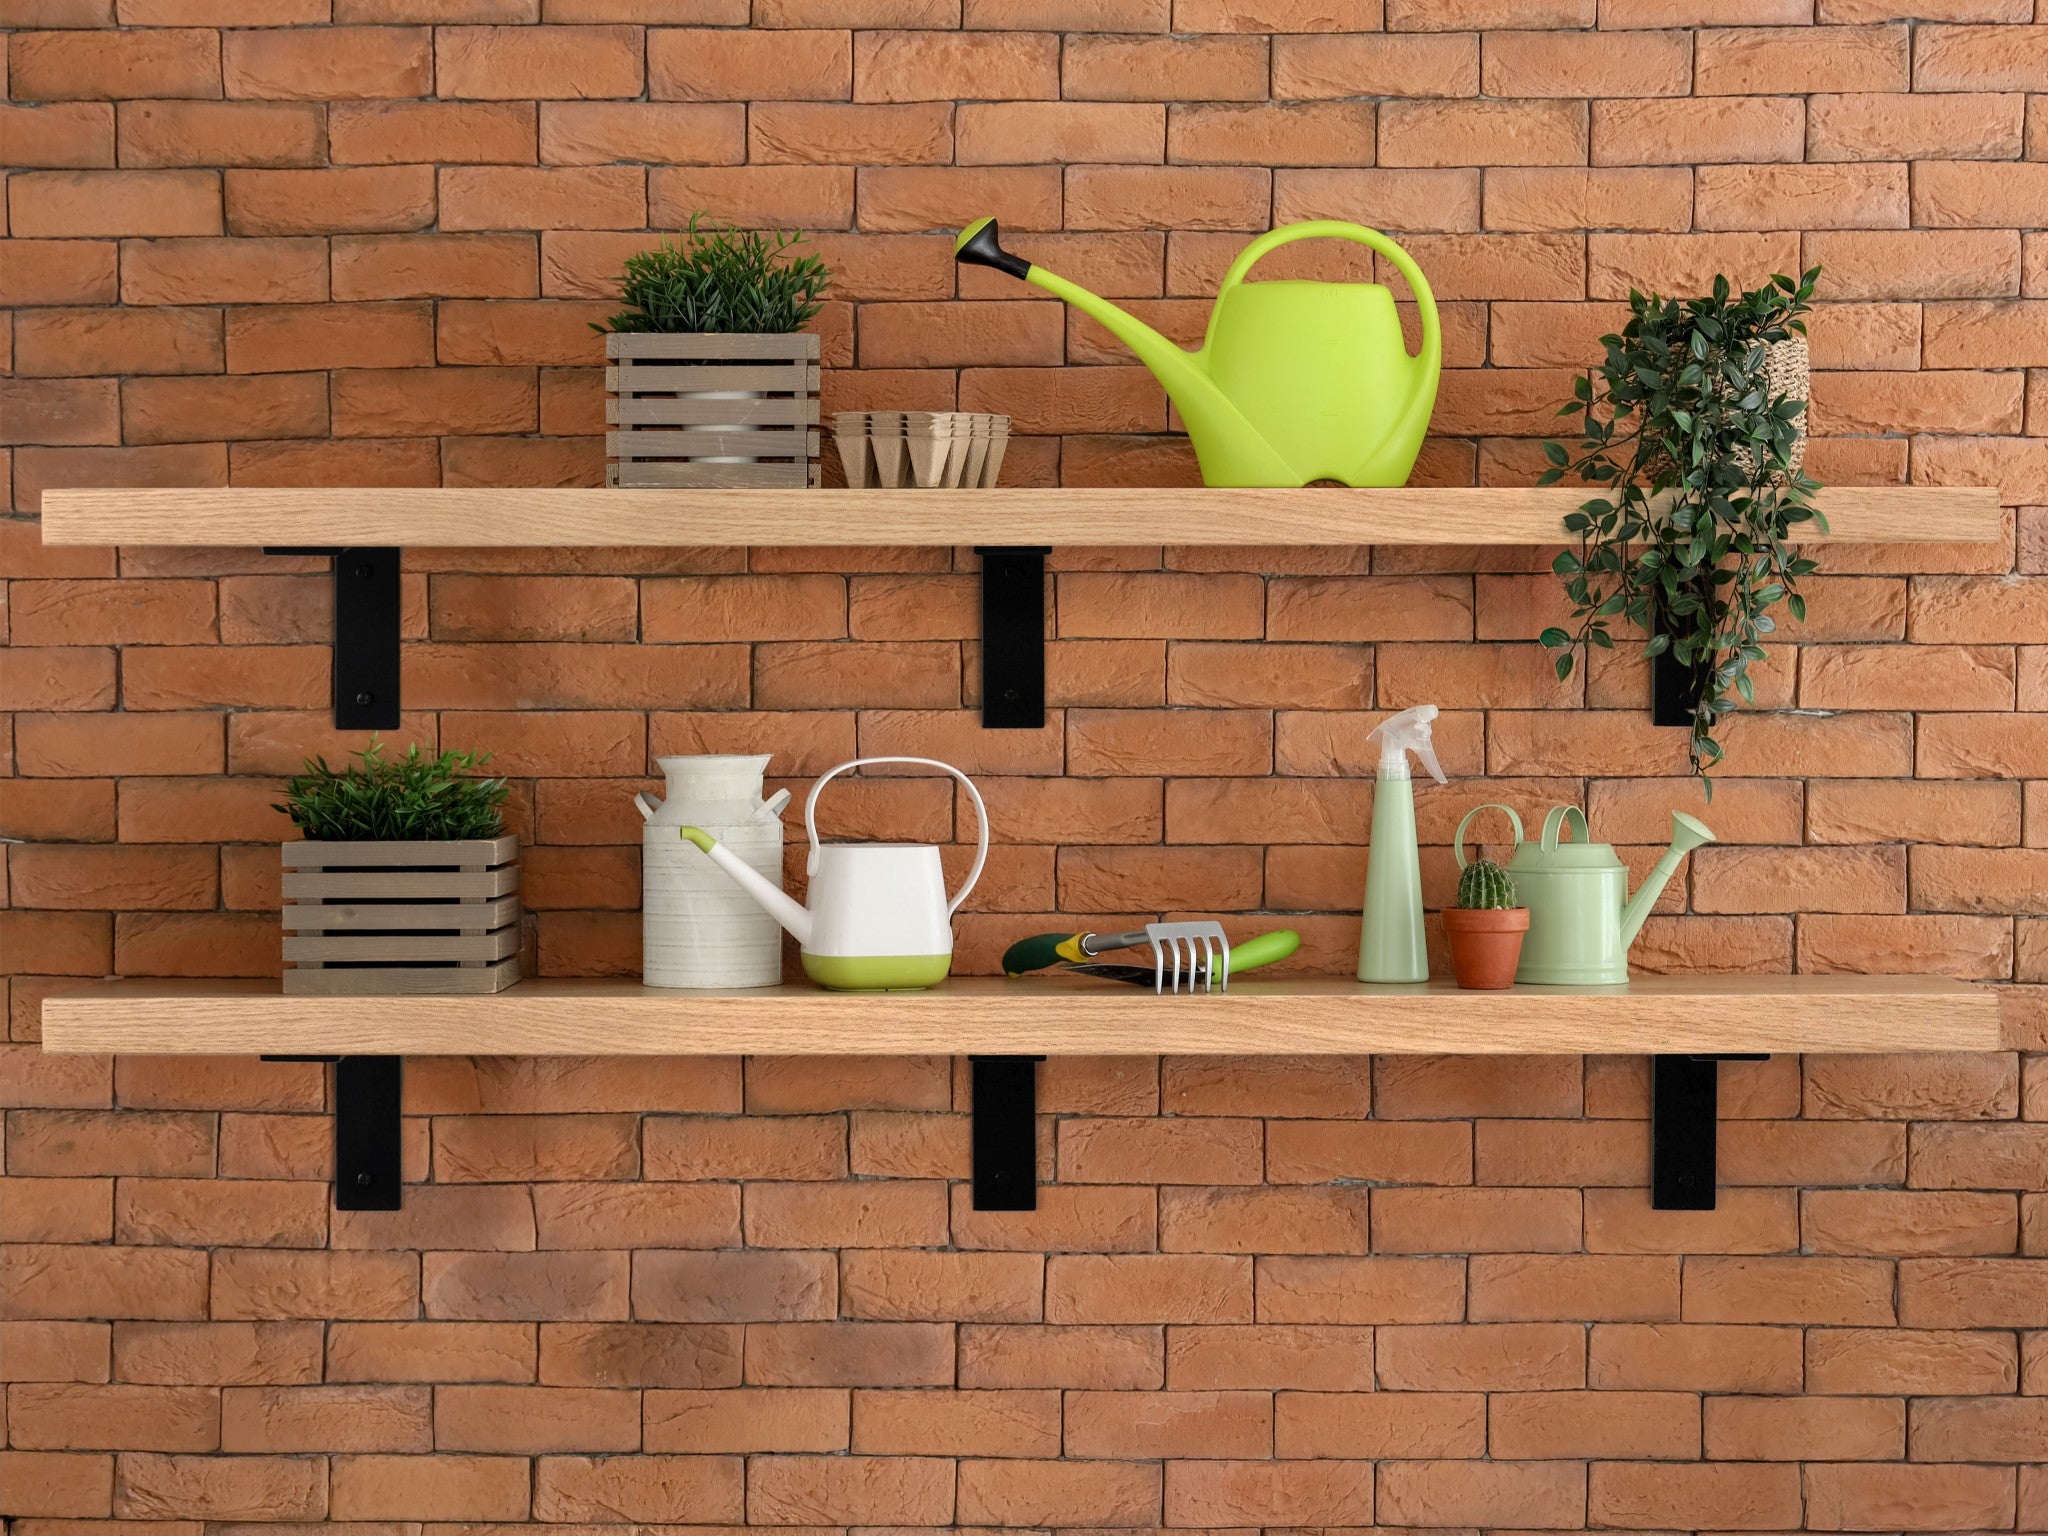
Thick Oak Shelf with Black Steel J Brackets
From $79.00From $79.00FREE Shipping in USSolid Hardwood + Steel J BracketsPowder Coated Black Brackets -


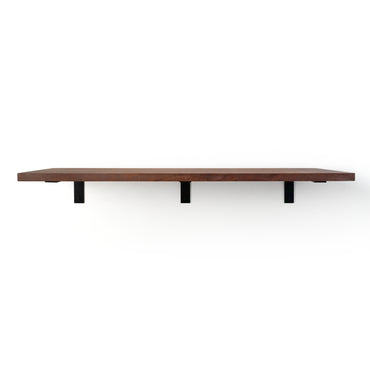
 NEW!
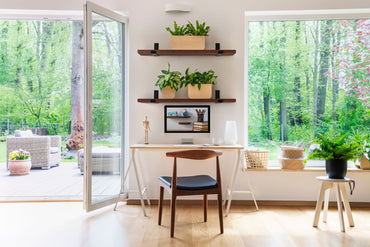
NEW!Deep Shelf with Black Steel L Brackets
From $259.00From $259.00FREE Shipping in USSolid Hardwood + Steel L BracketsPowder Coated Black Brackets -
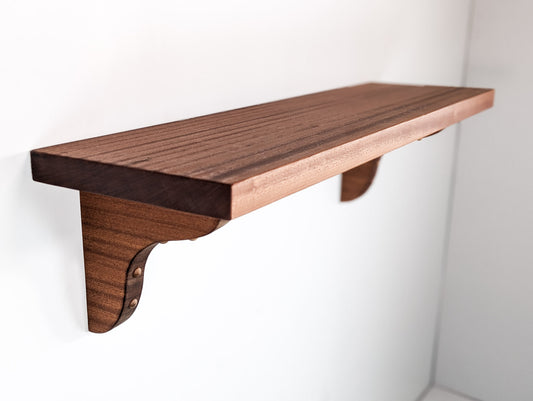
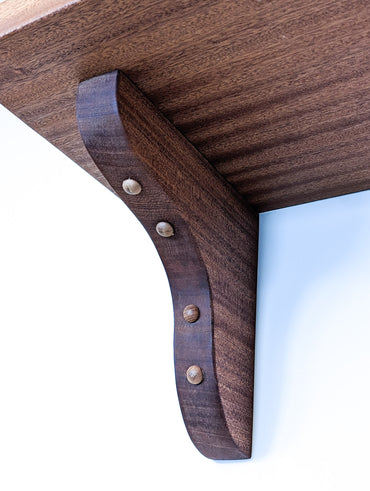
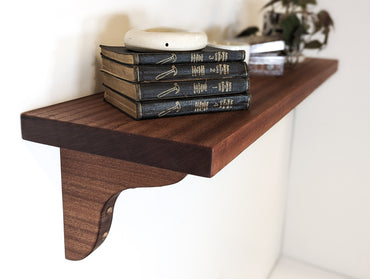

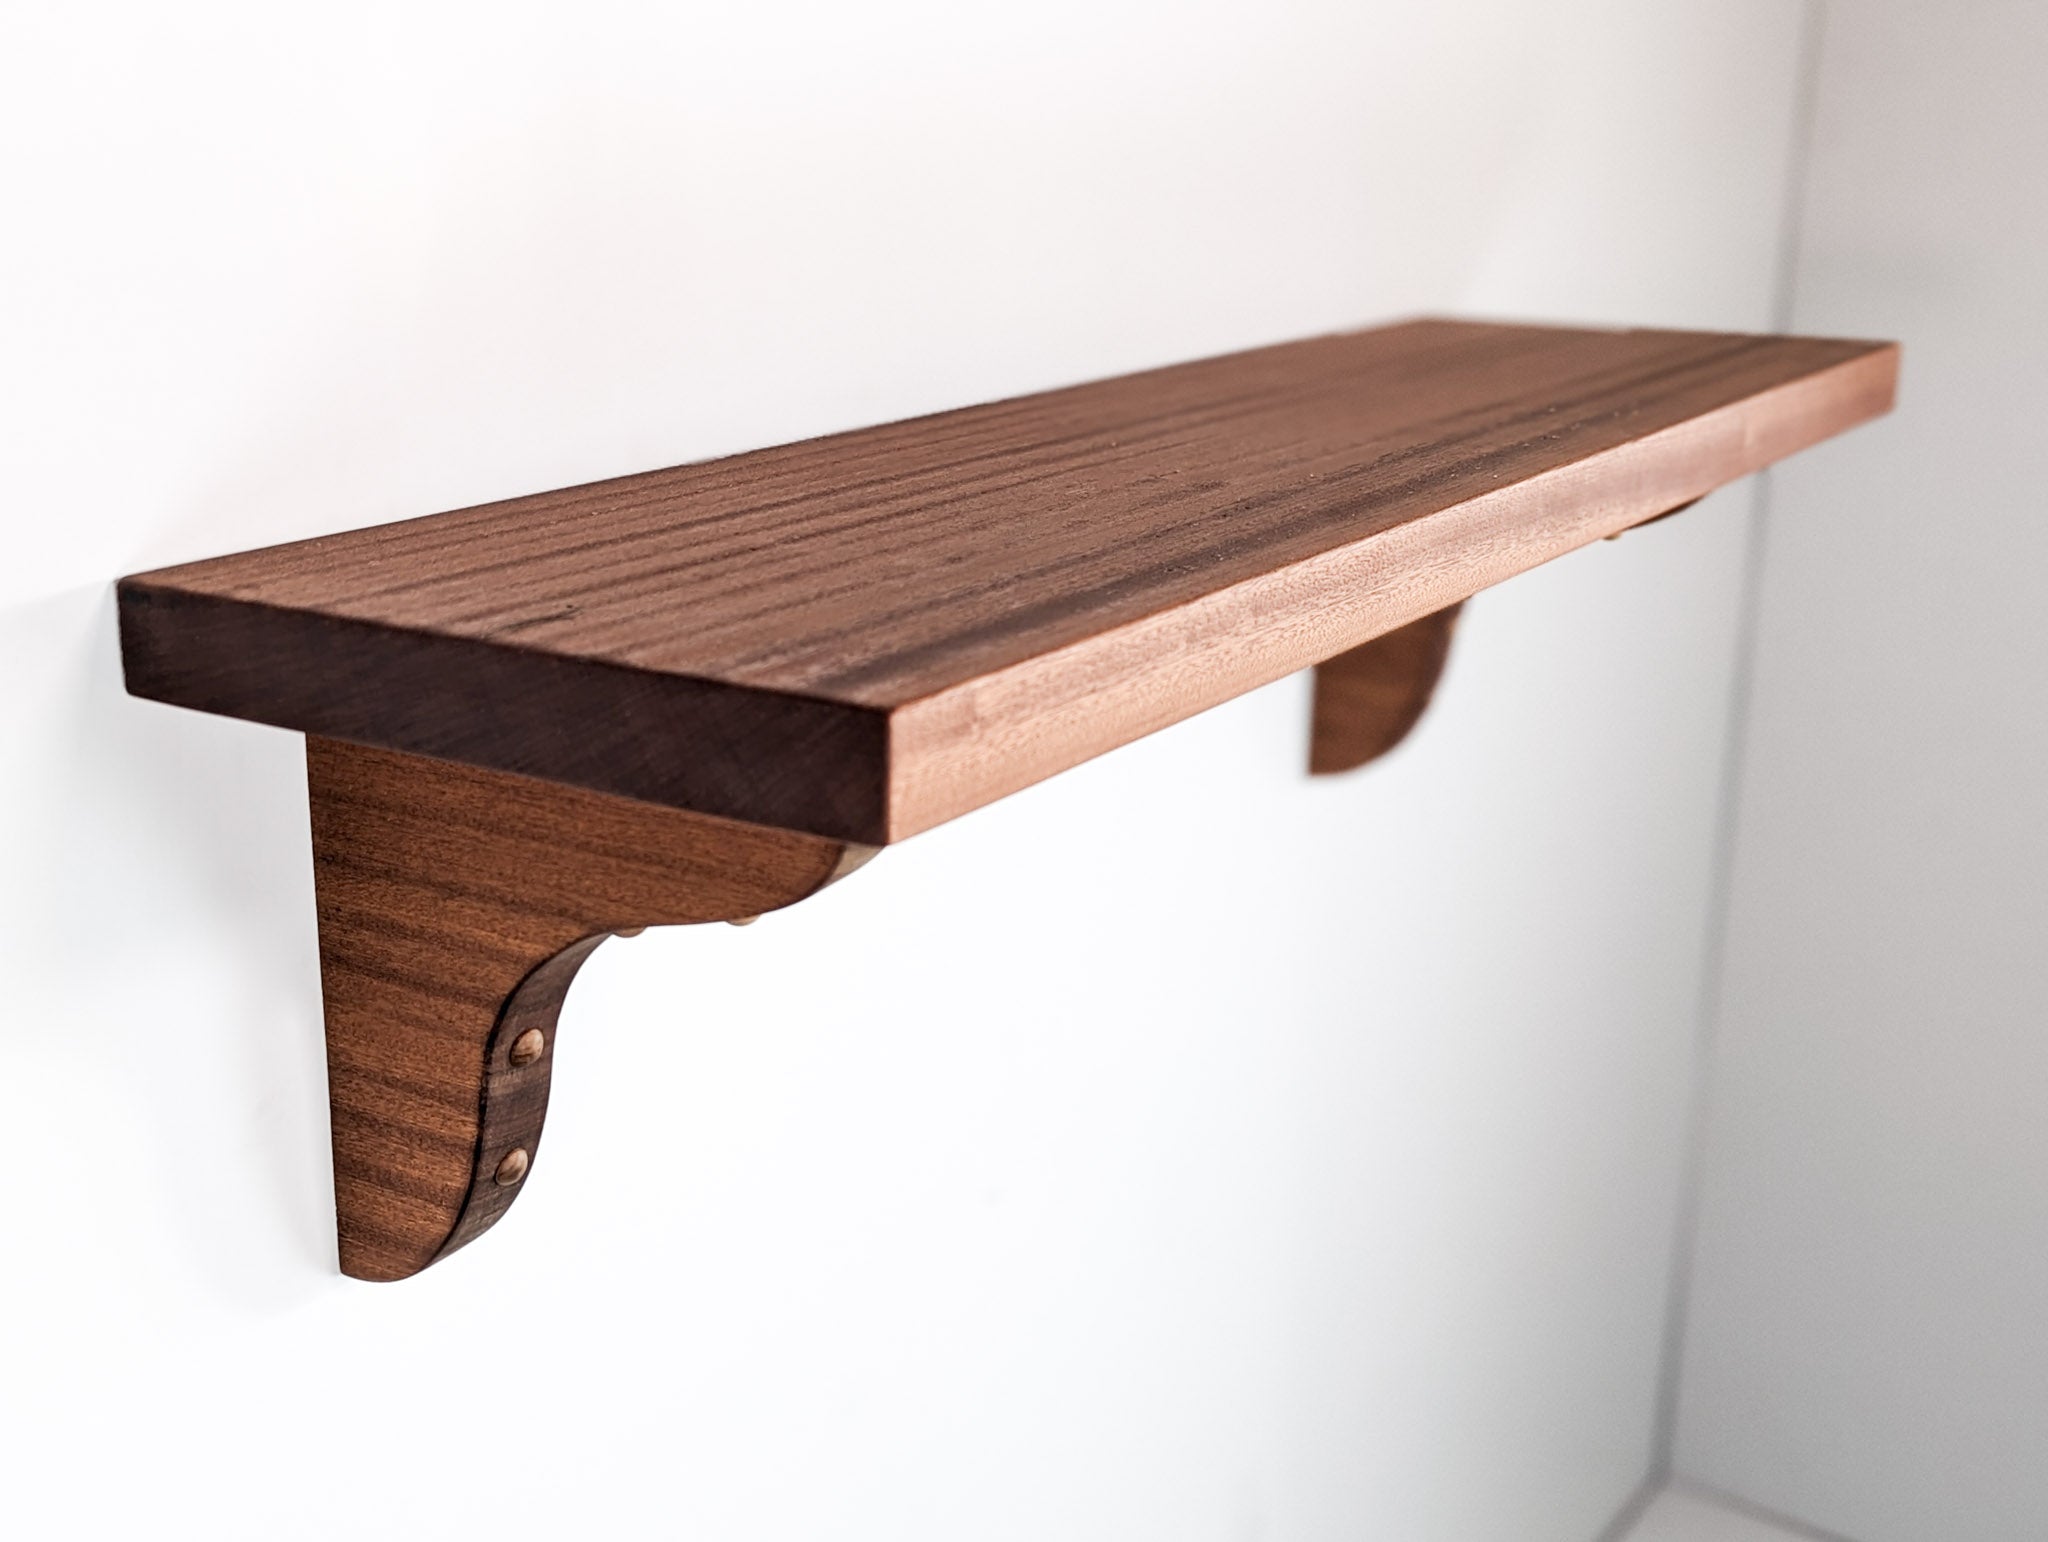

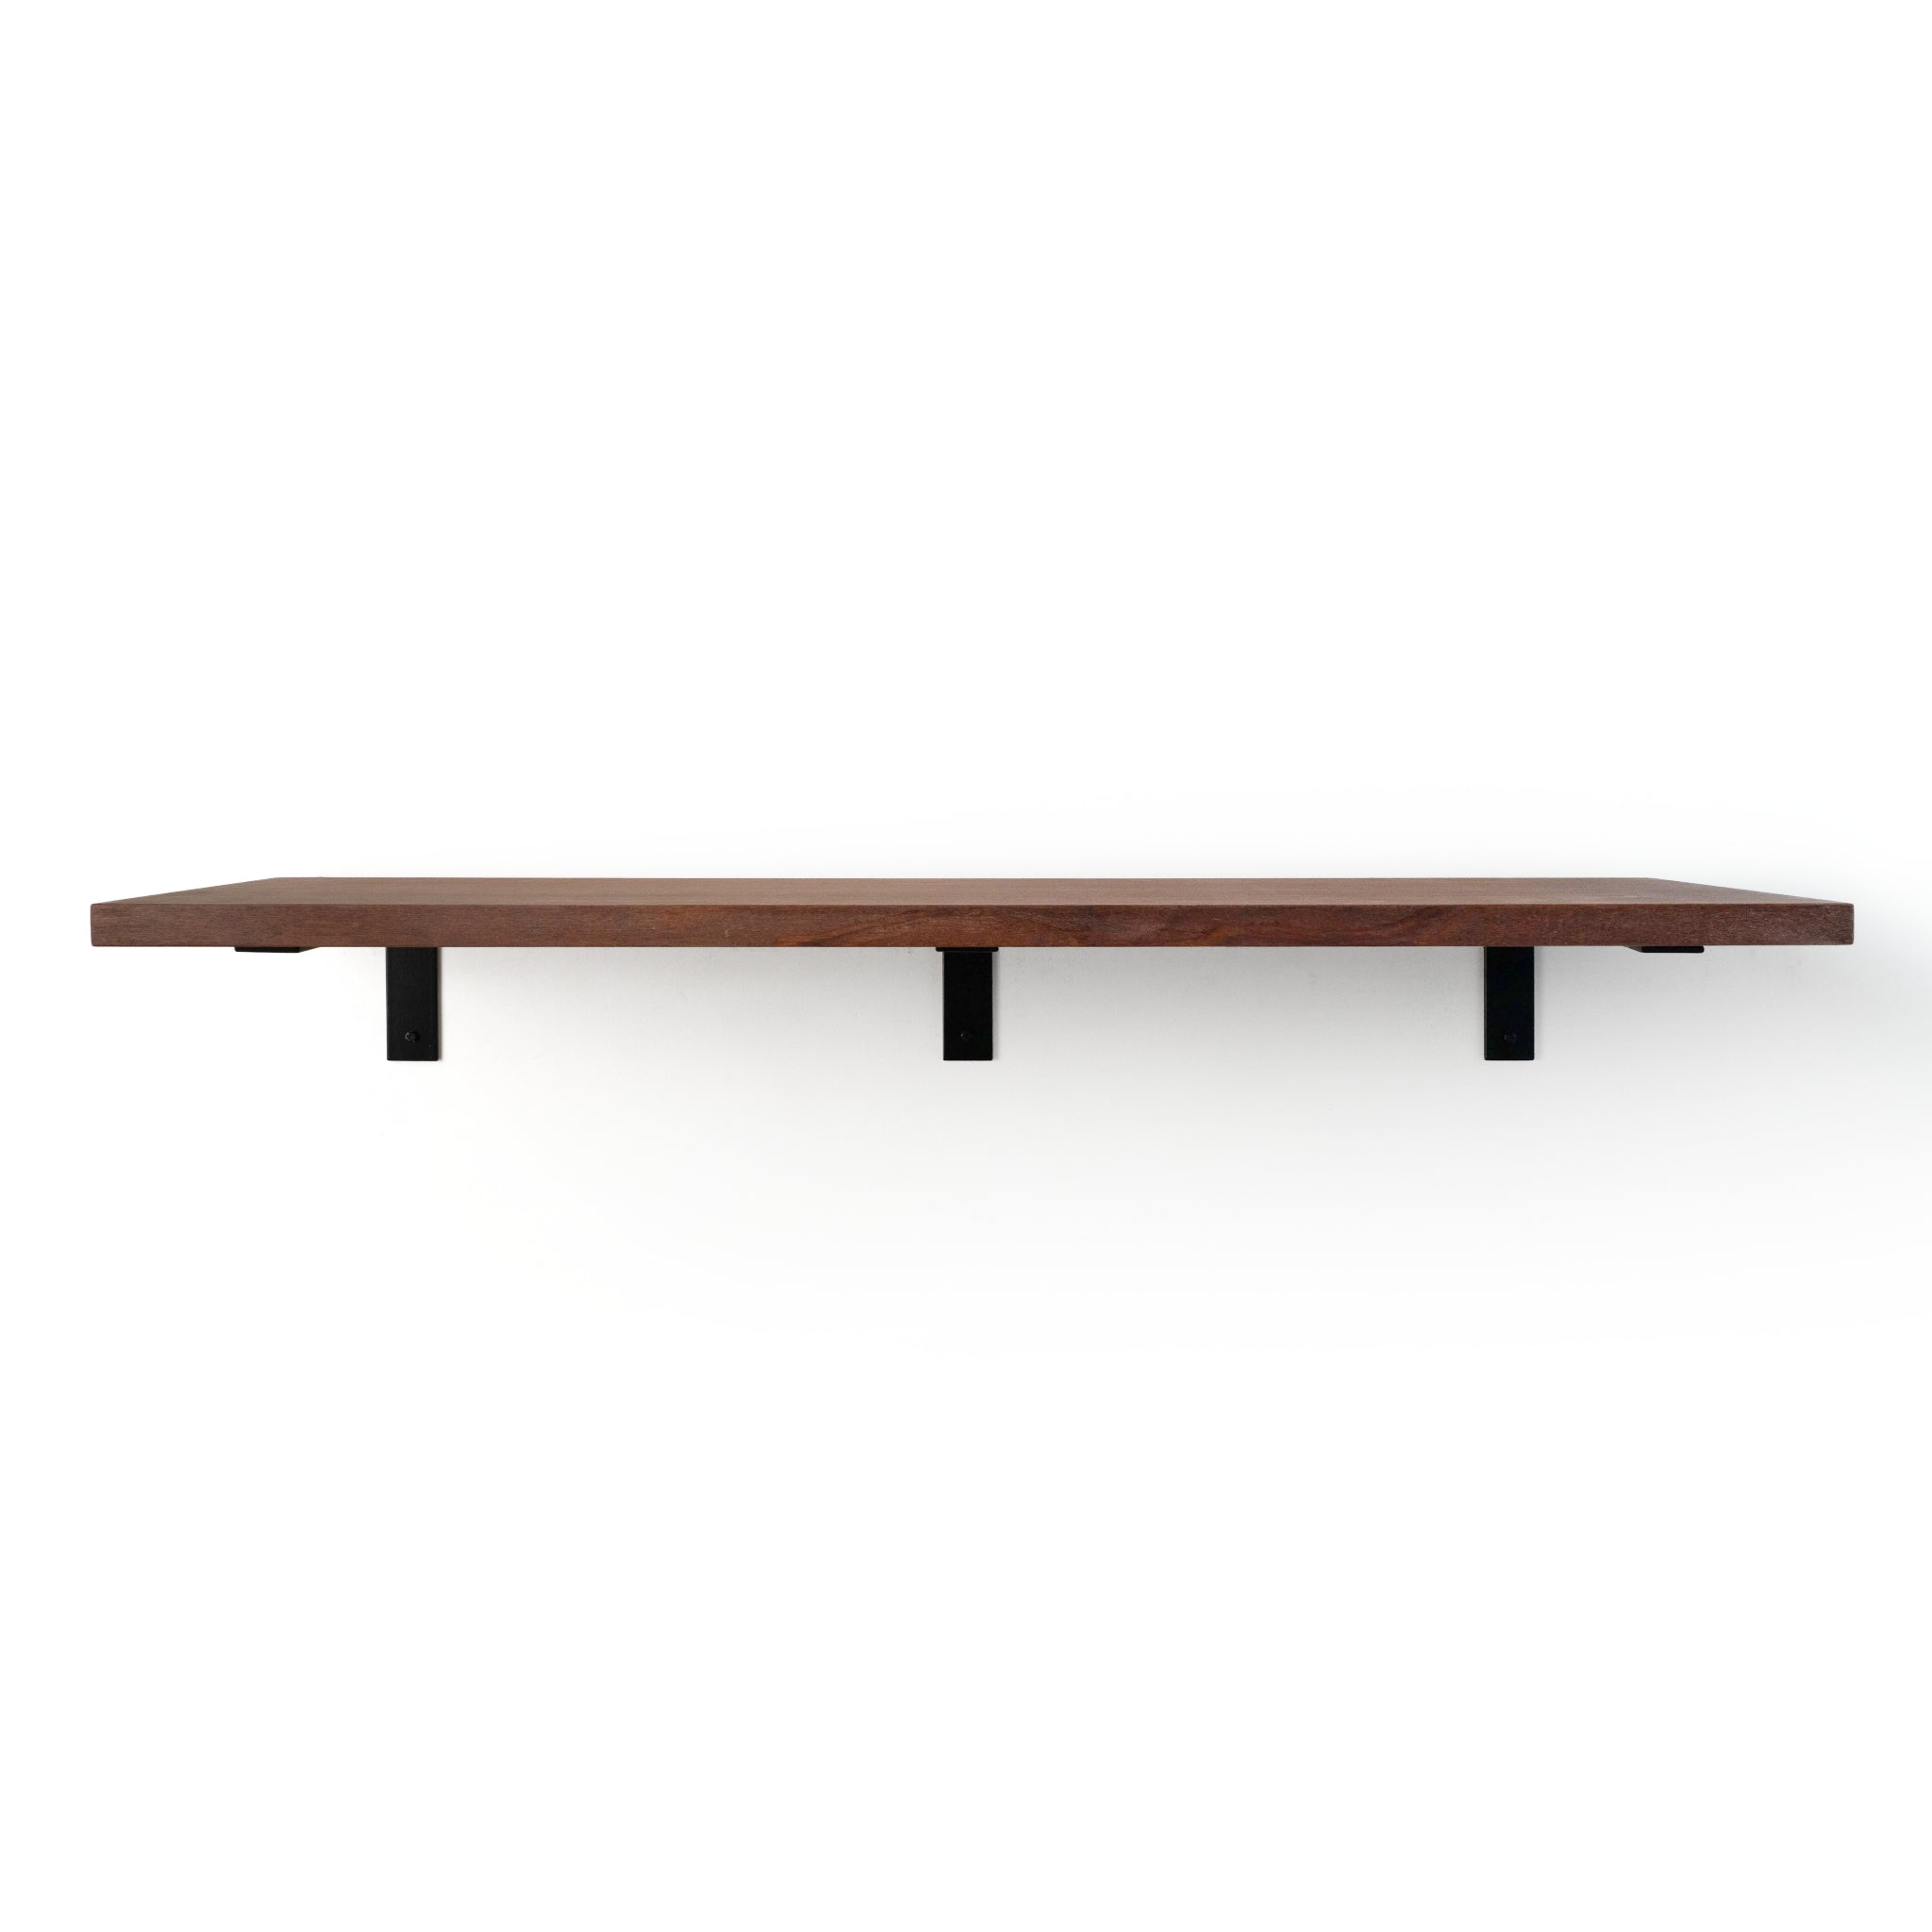
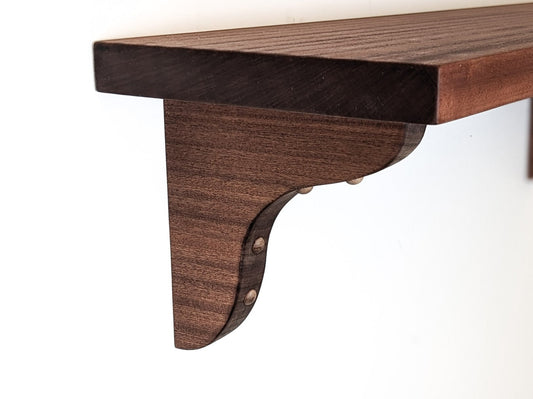
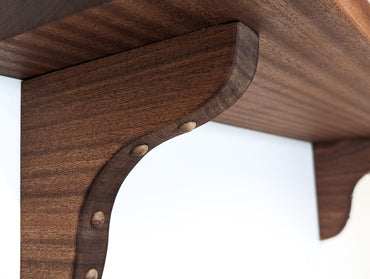
Solid Wood Shelf with Mahogany Brackets
From $100.00From $100.00FREE Shipping in USSolid Hardwood + Wood BracketOrder Any Size -
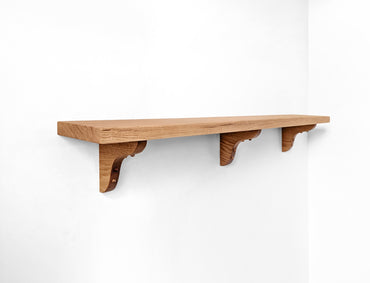
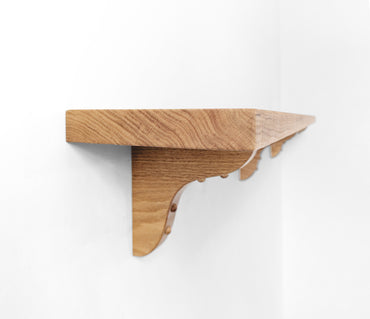
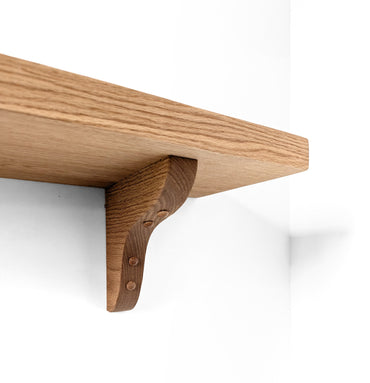
Solid Wood Shelf with Oak Brackets
From $100.00From $100.00FREE Shipping in USSolid Hardwood + Wood BracketOrder Any Size -
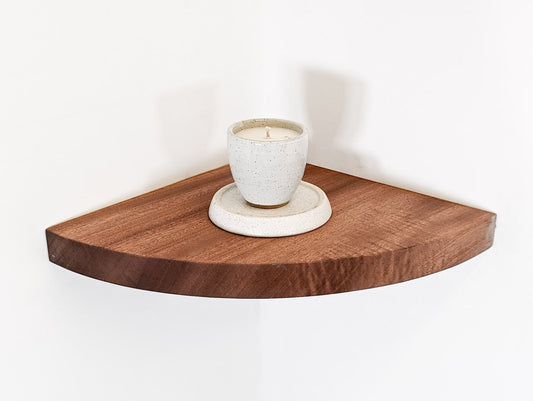

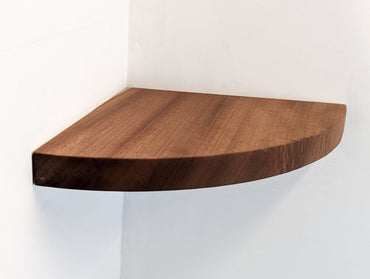
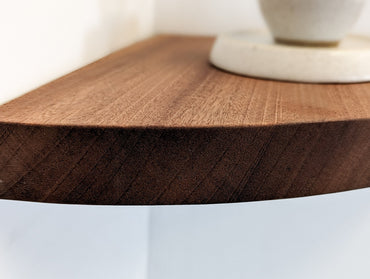
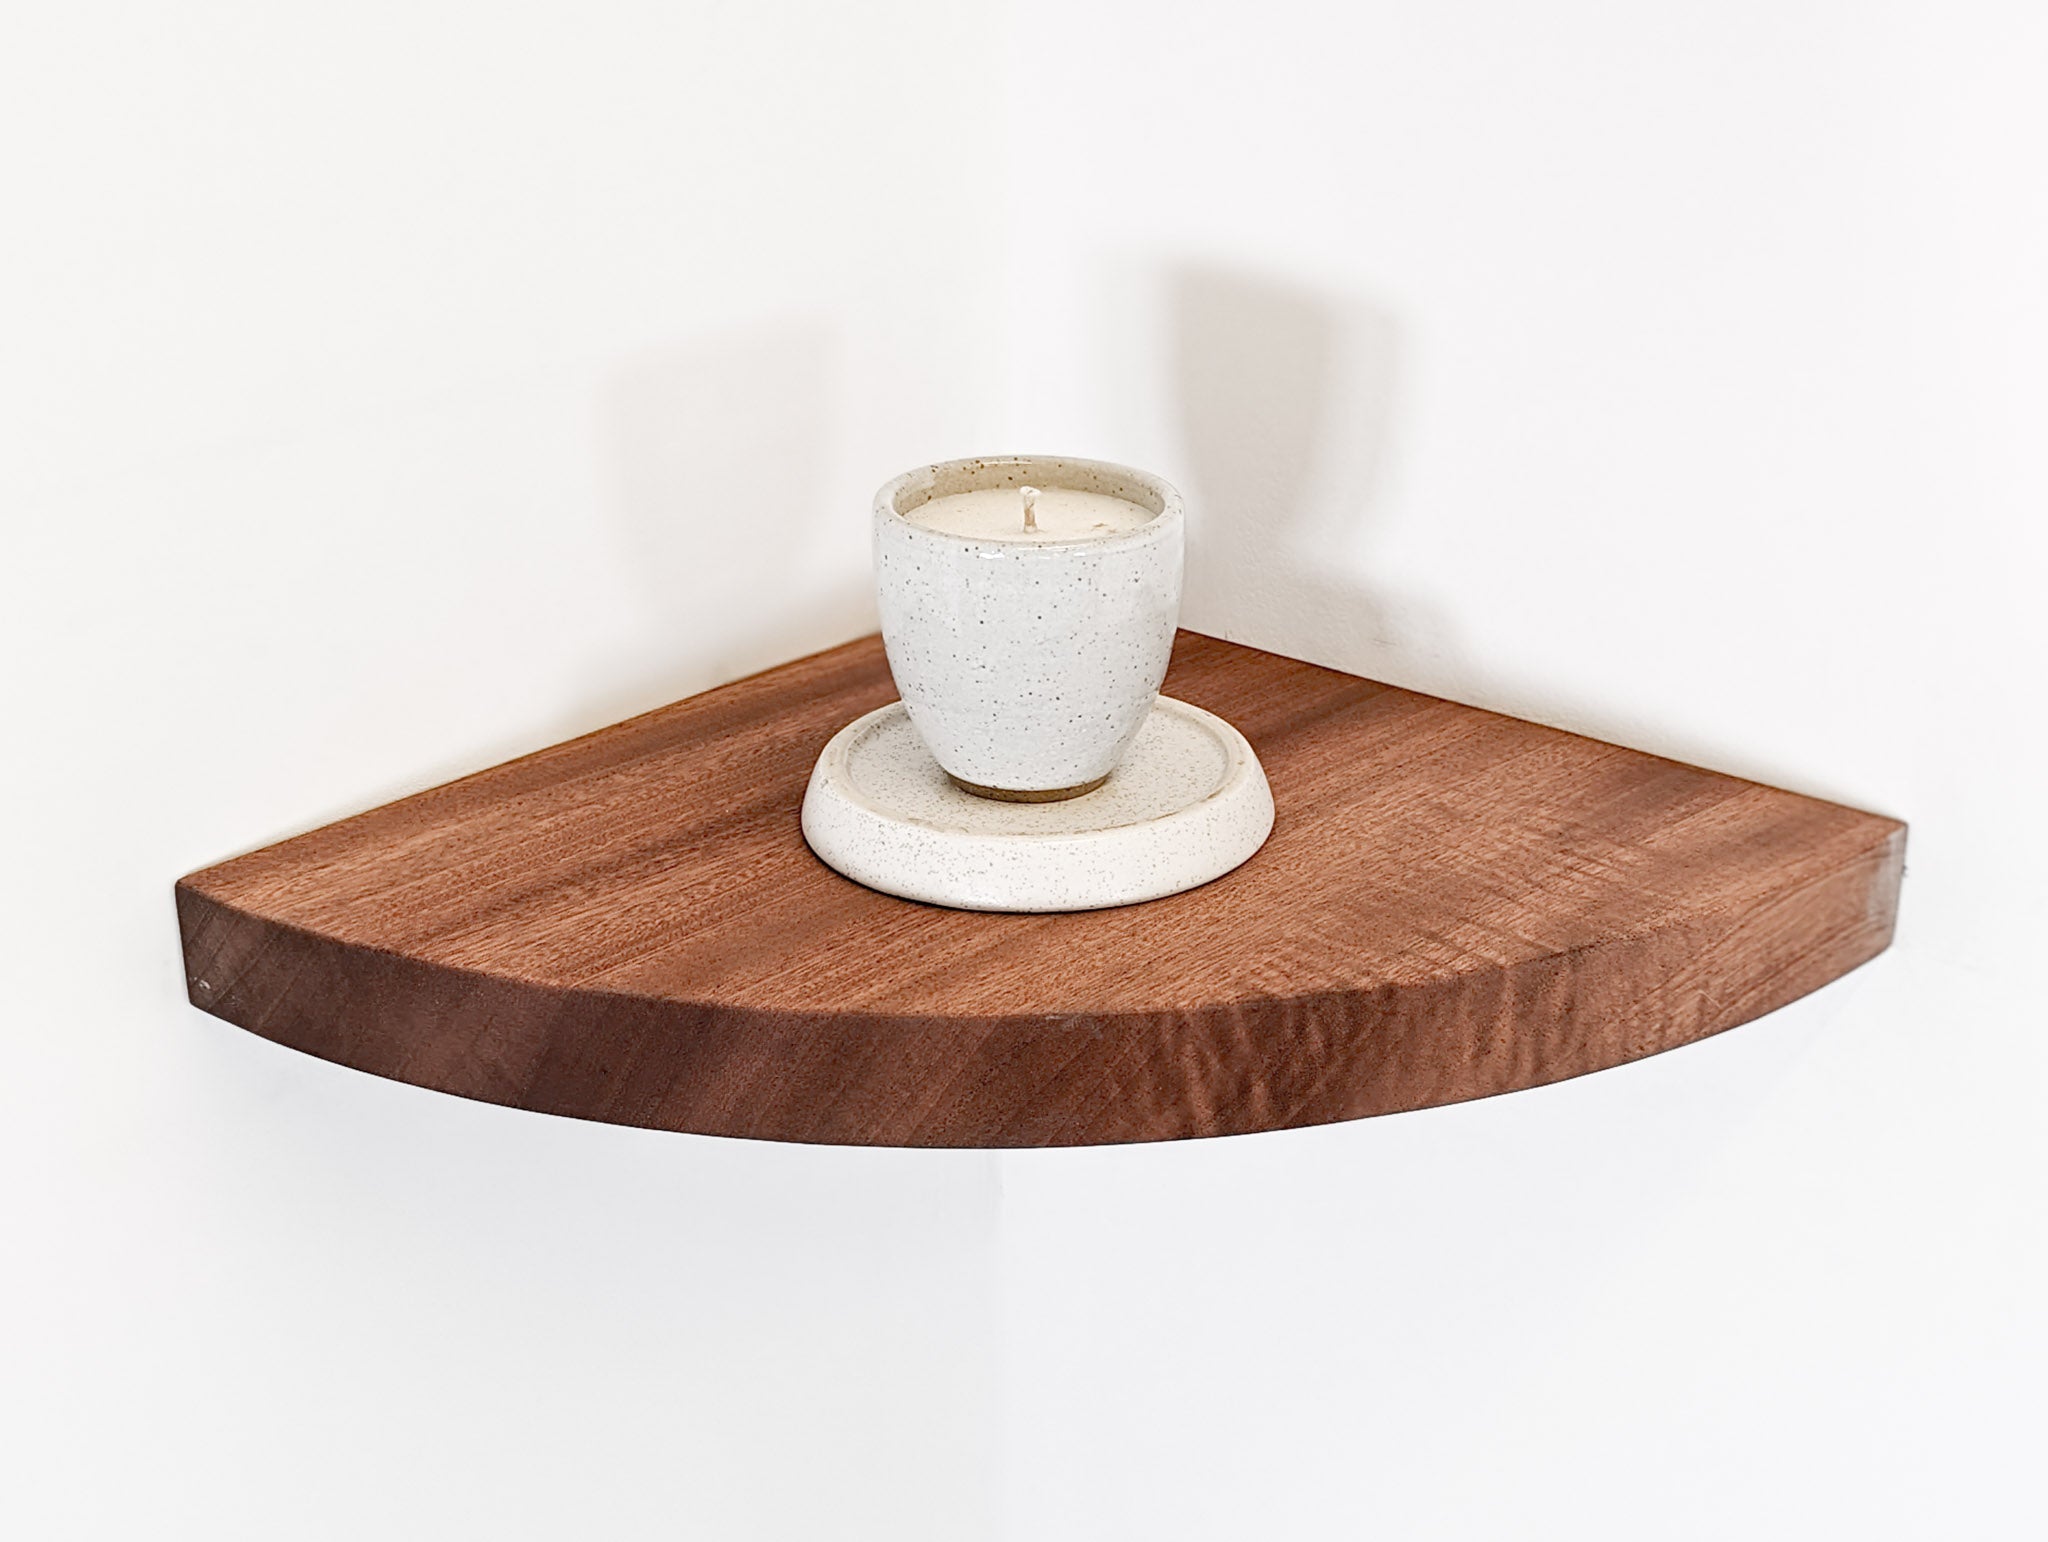
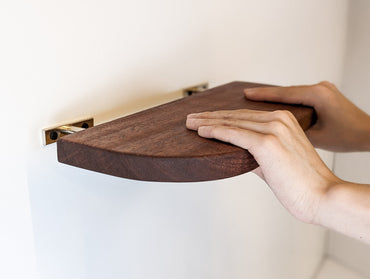
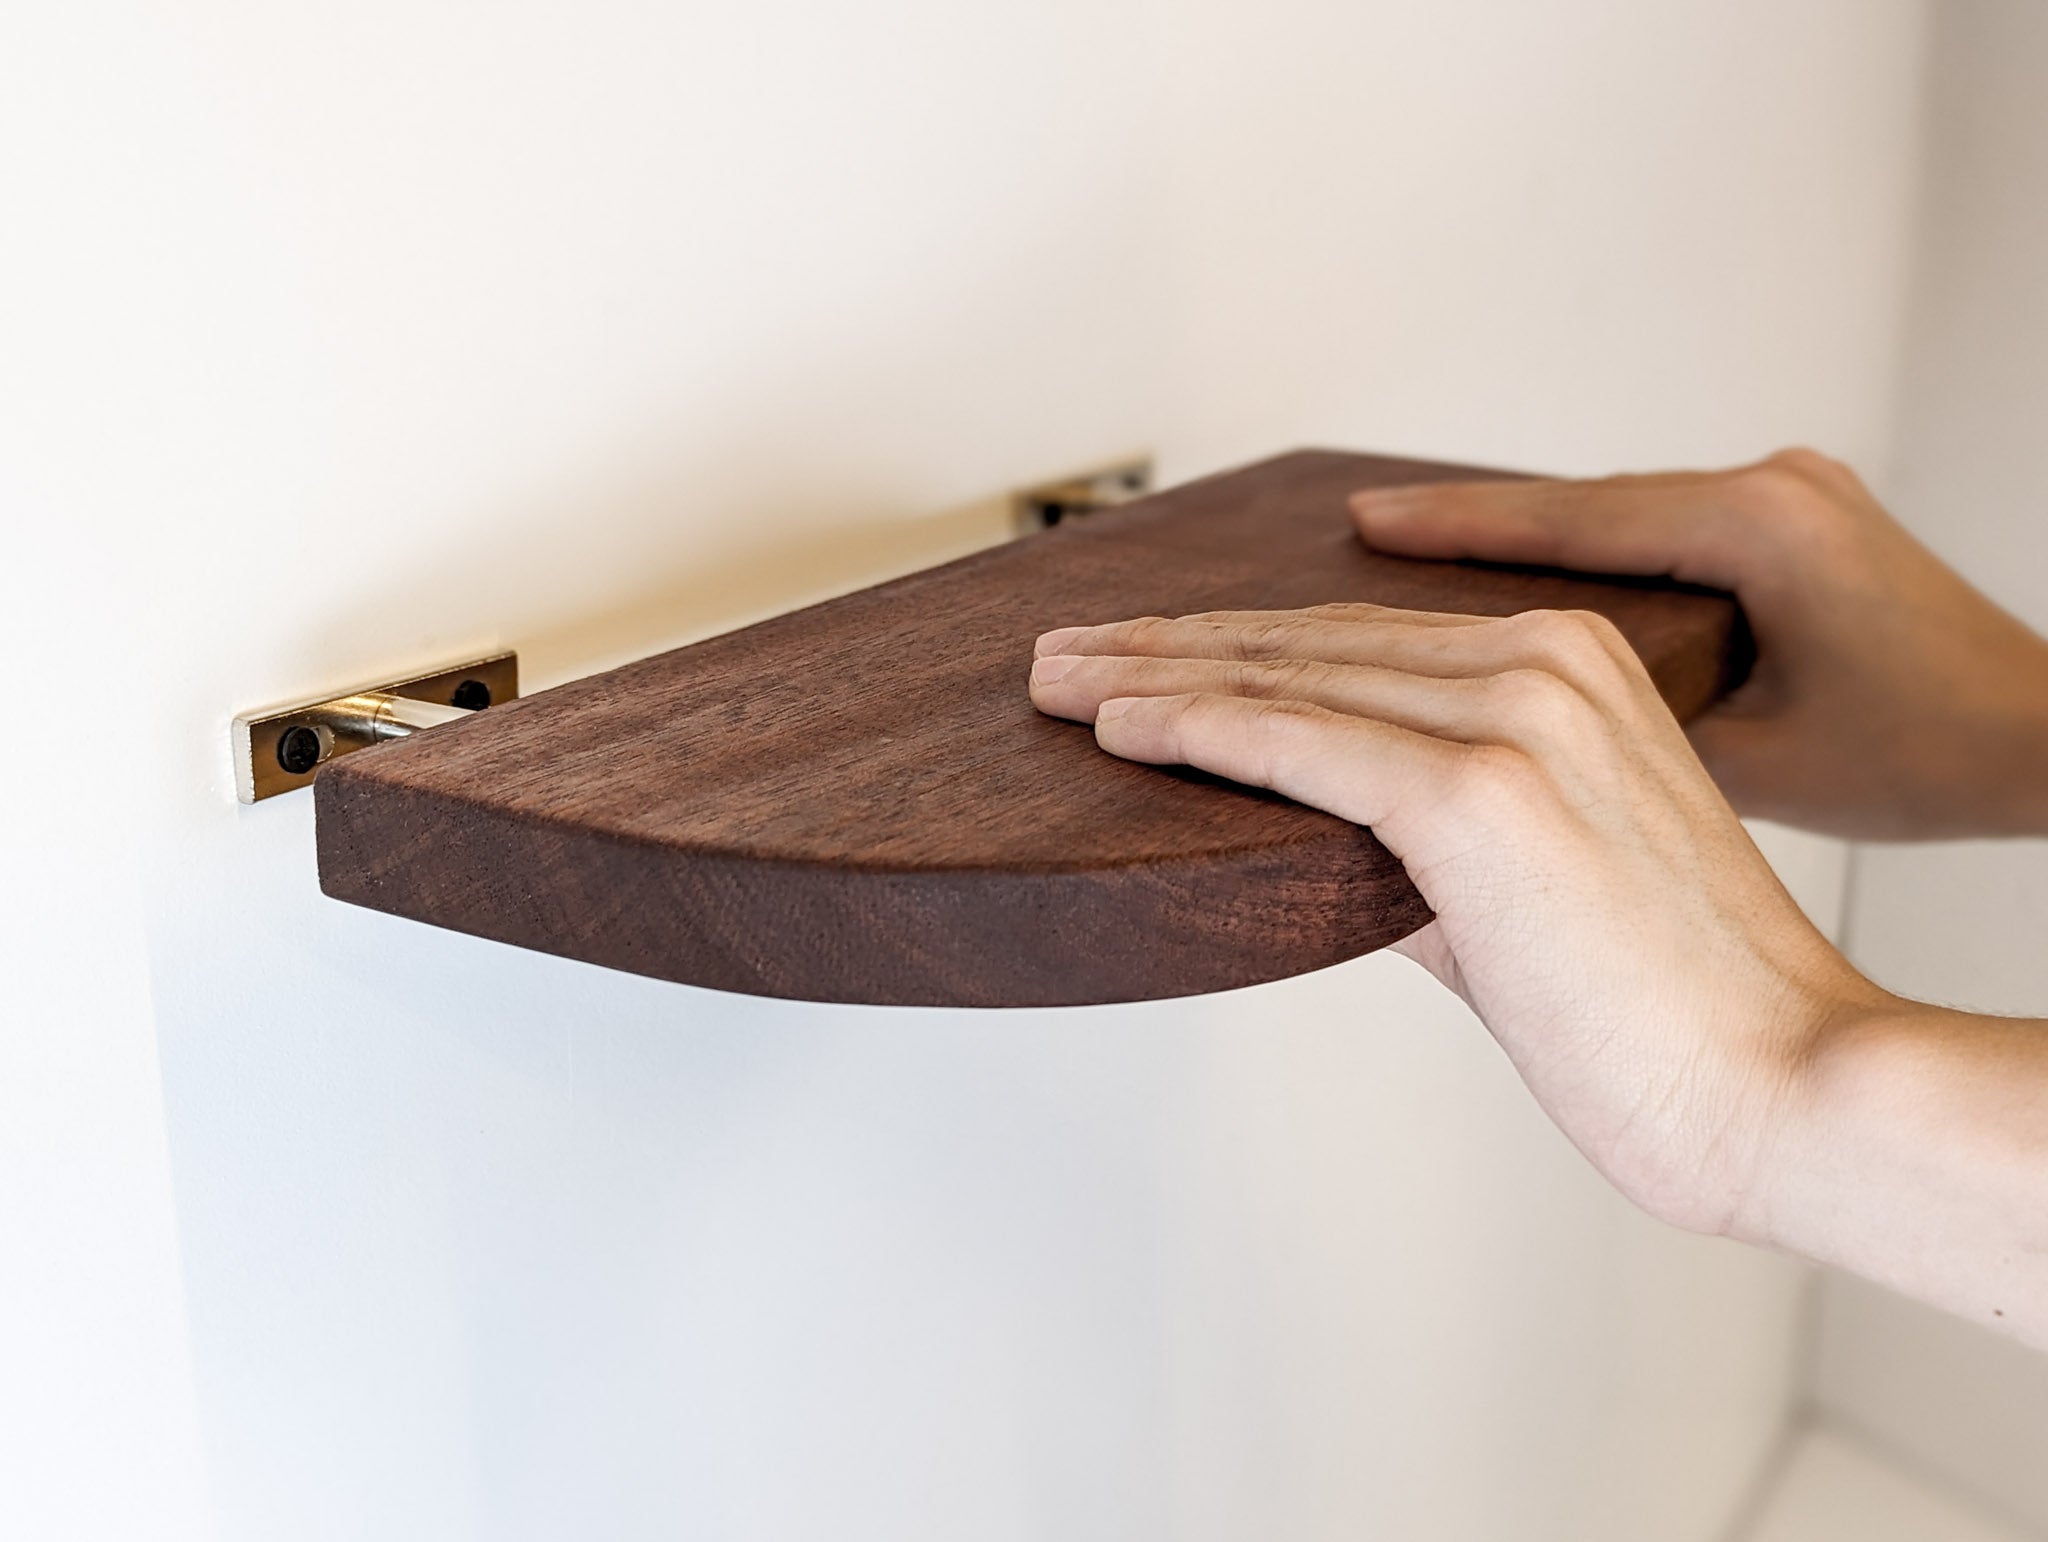
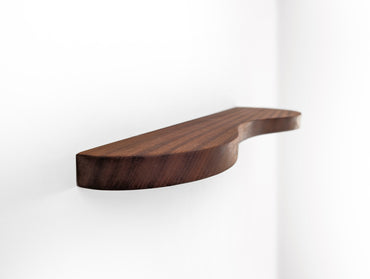
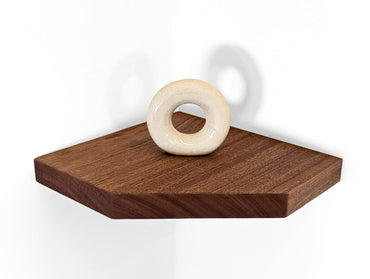
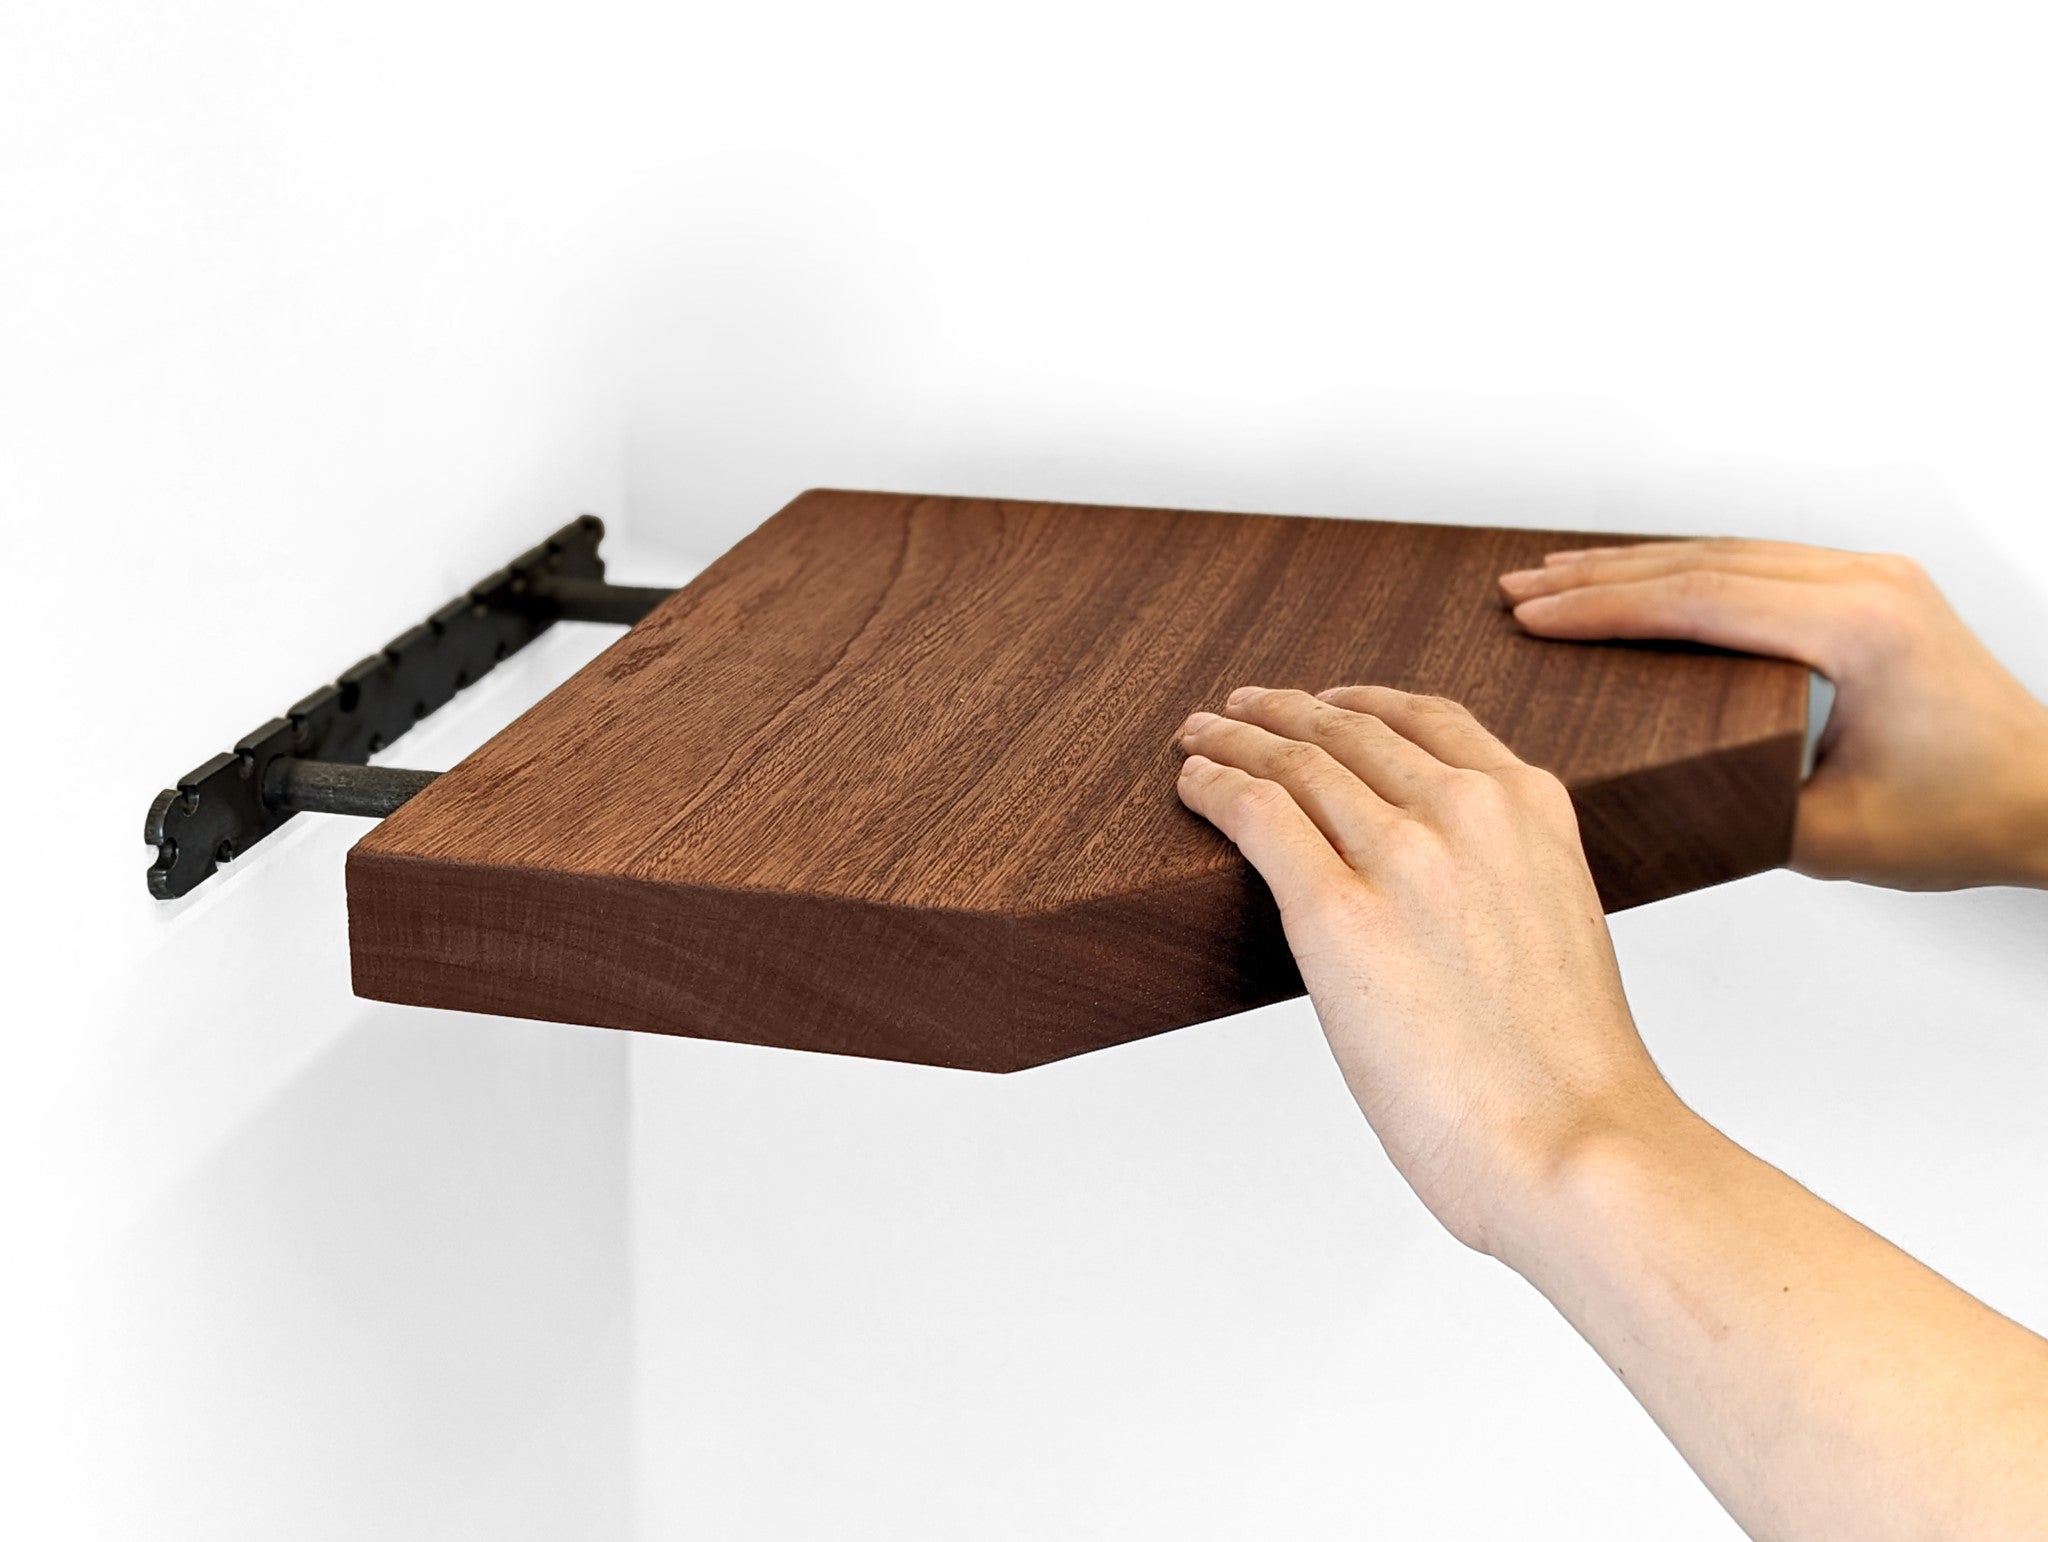
Floating Corner Shelf with Round Edge in Mahogany
From $223.00From $223.00FREE Shipping in USSolid Hardwood + Hidden BracketsRight-angle Corners -

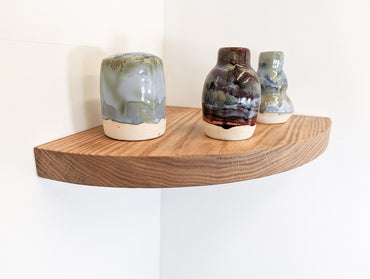
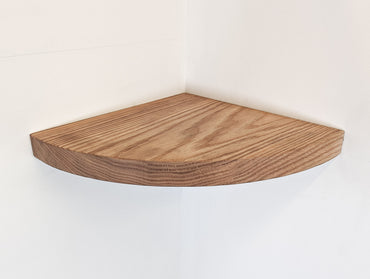

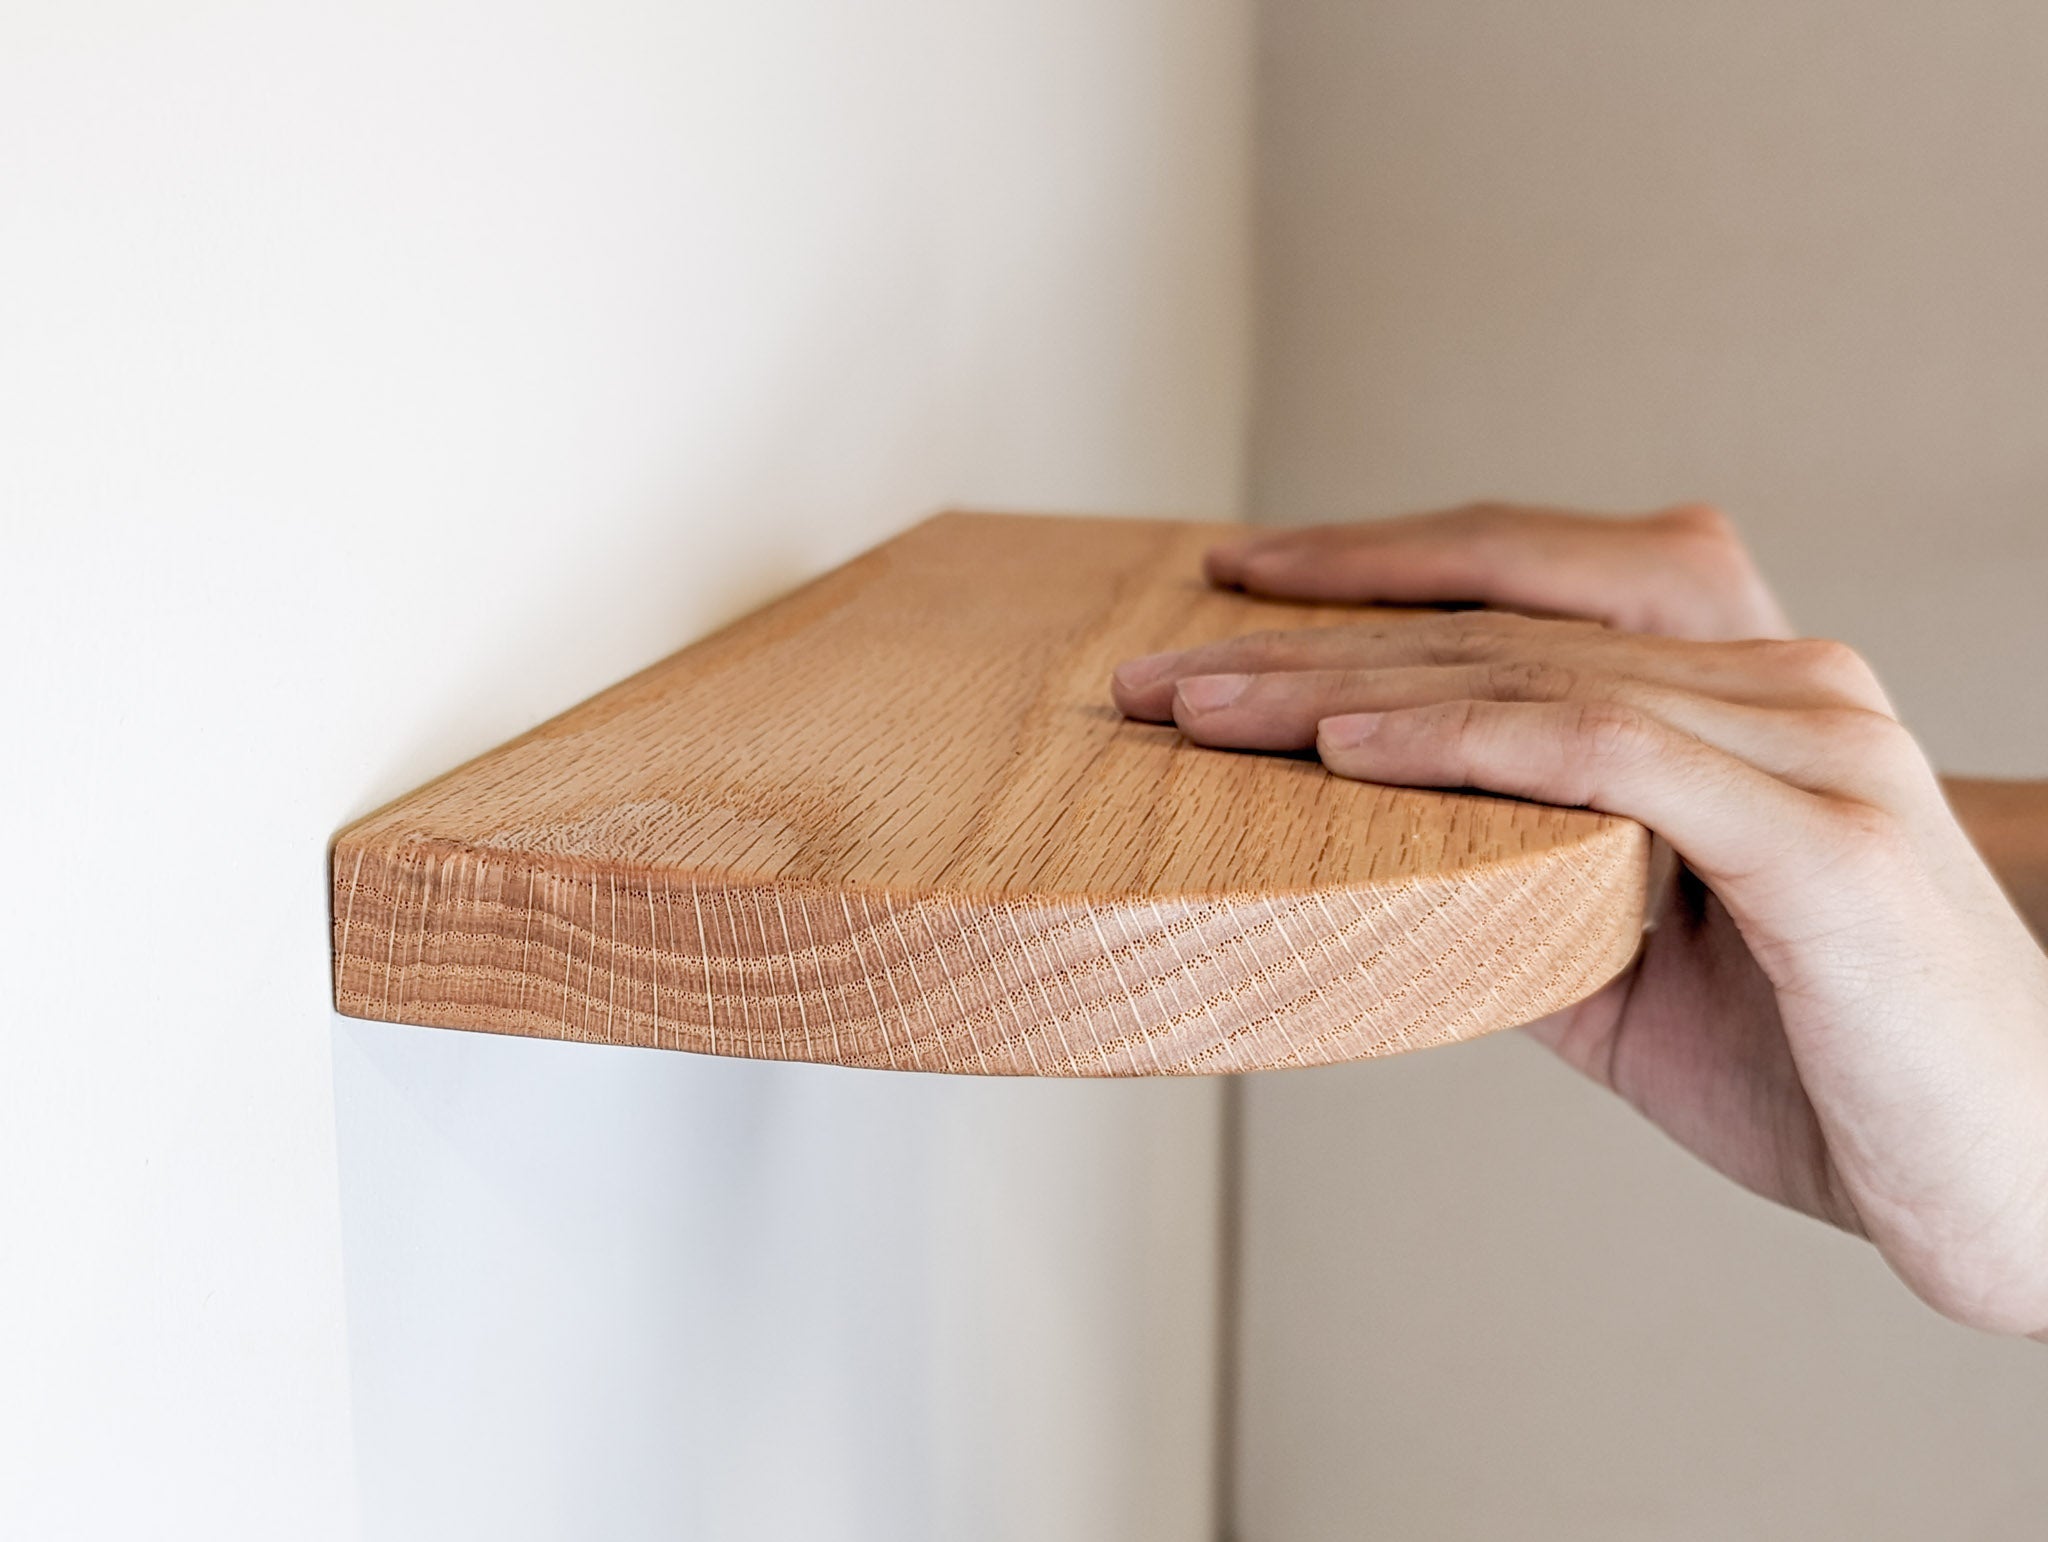
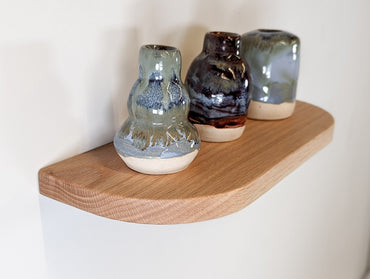
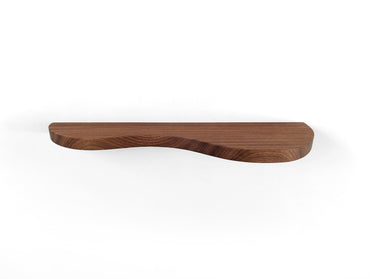
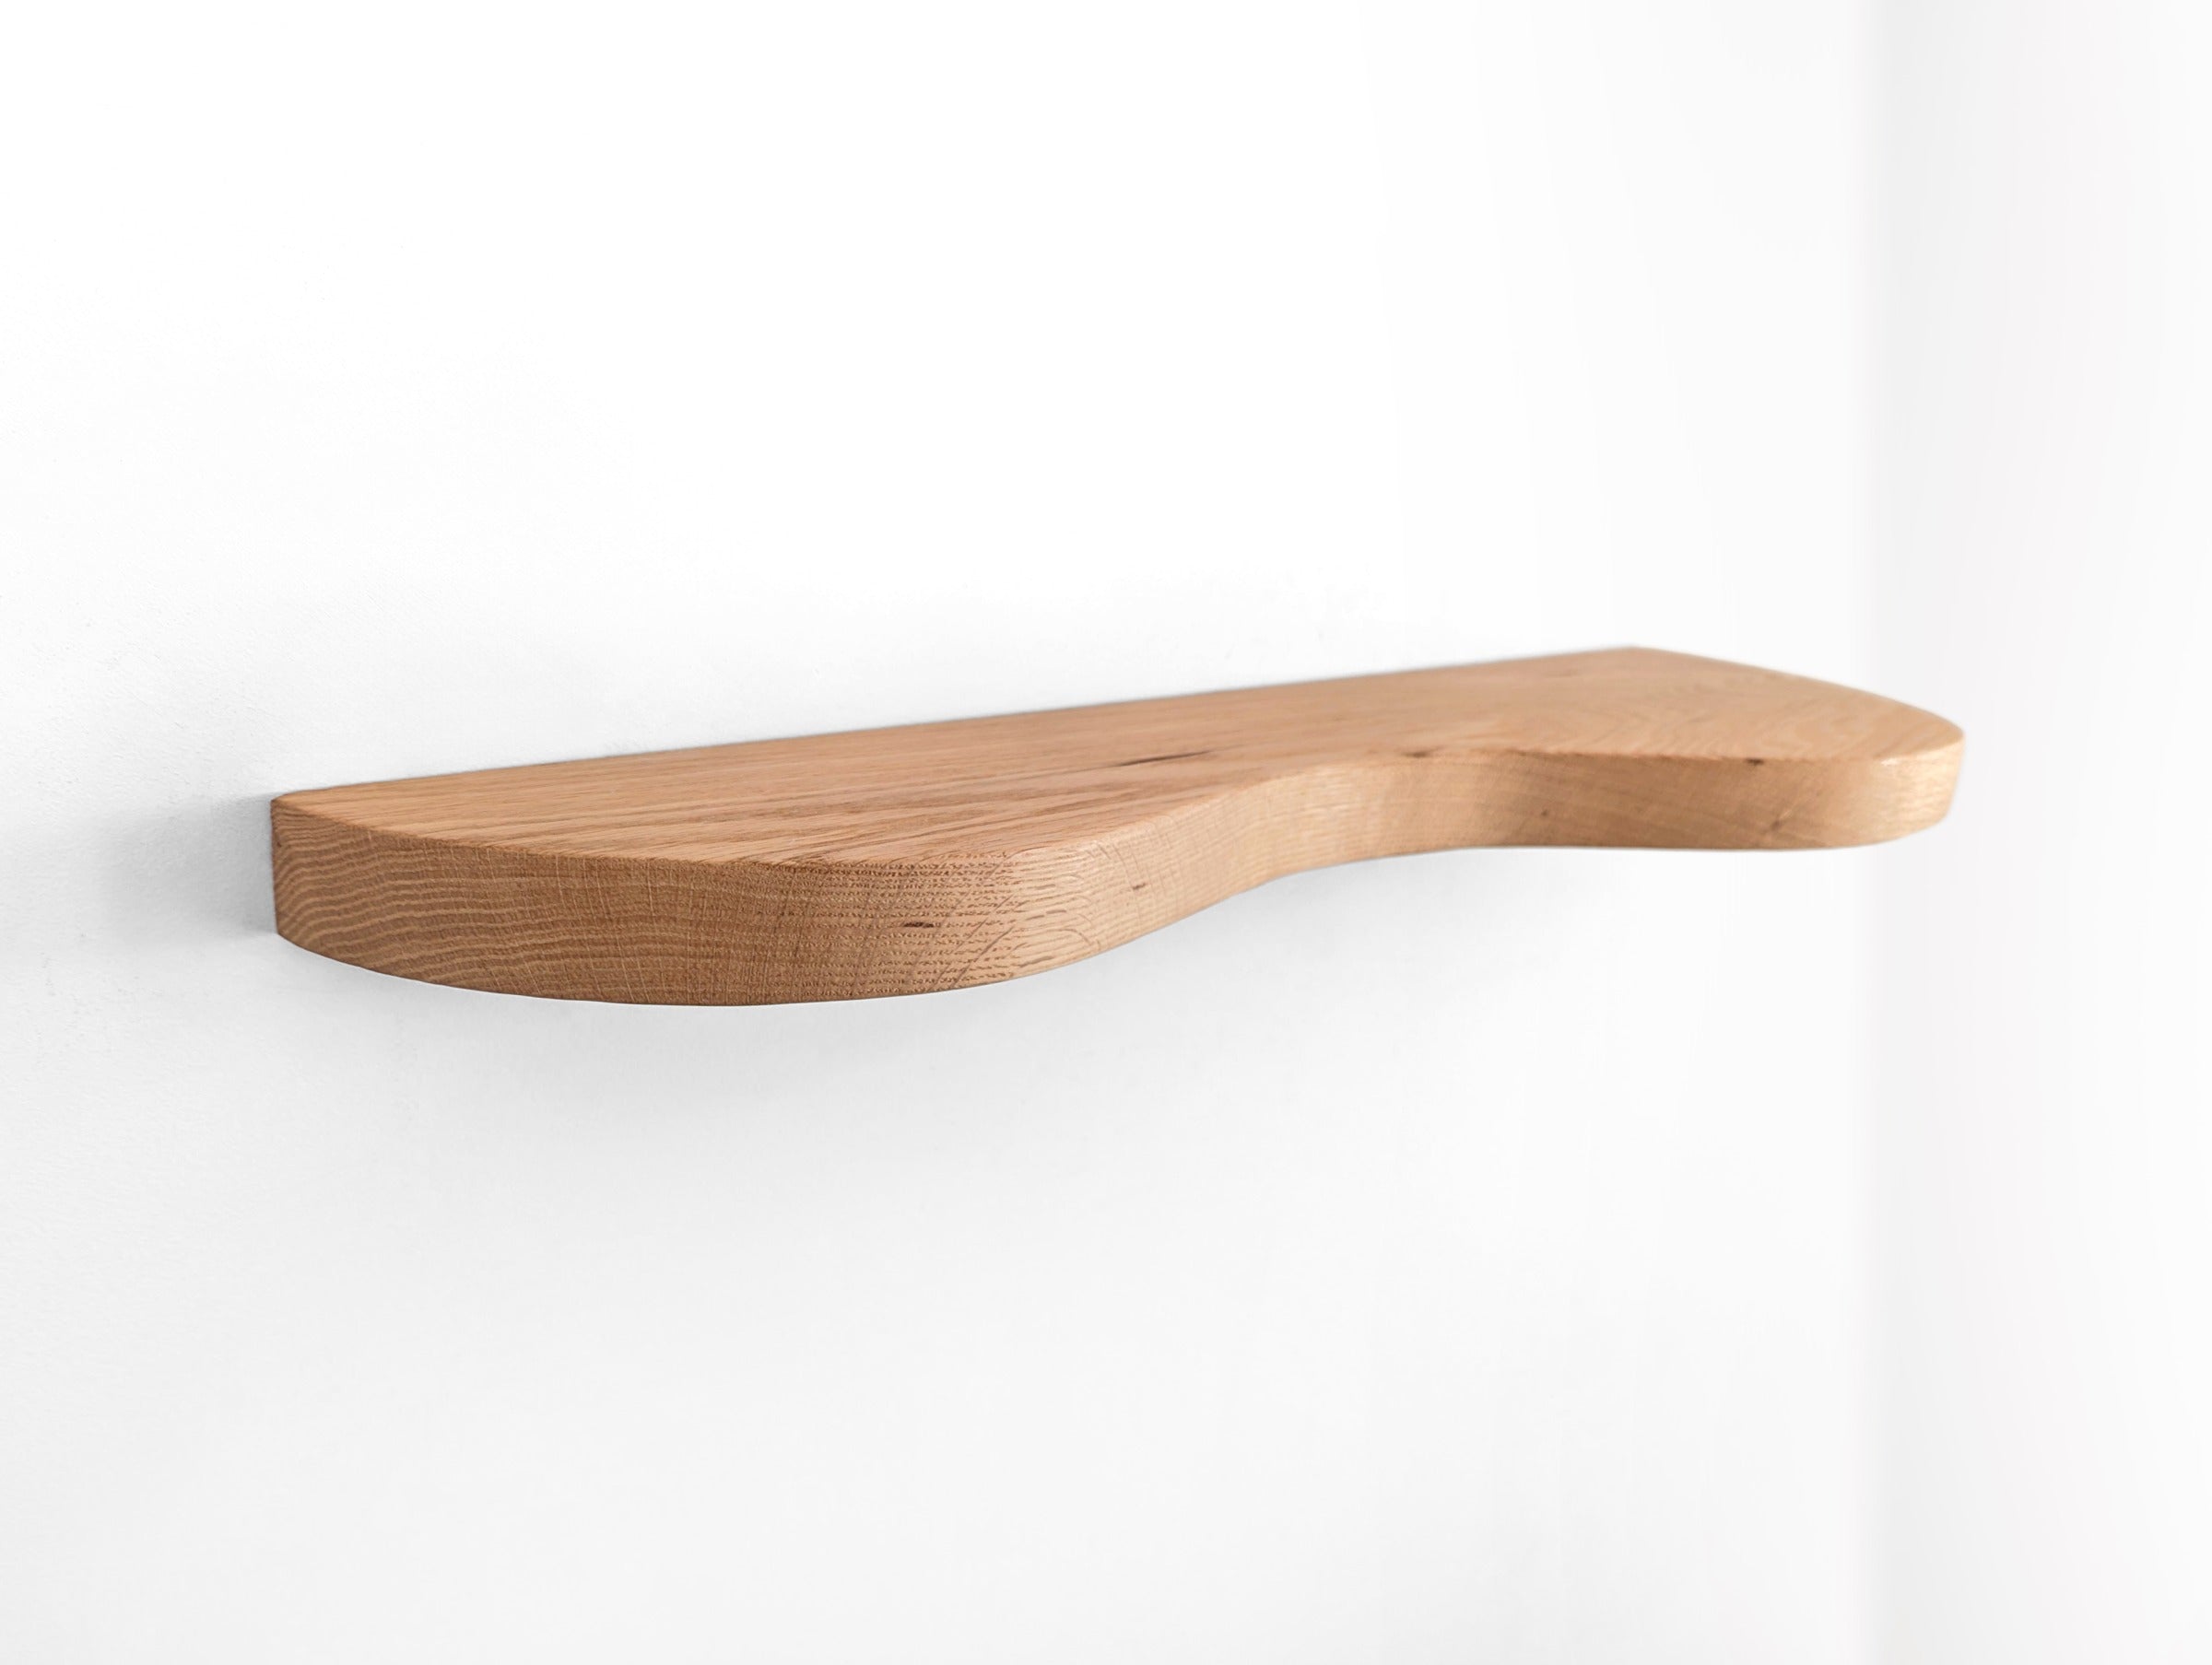
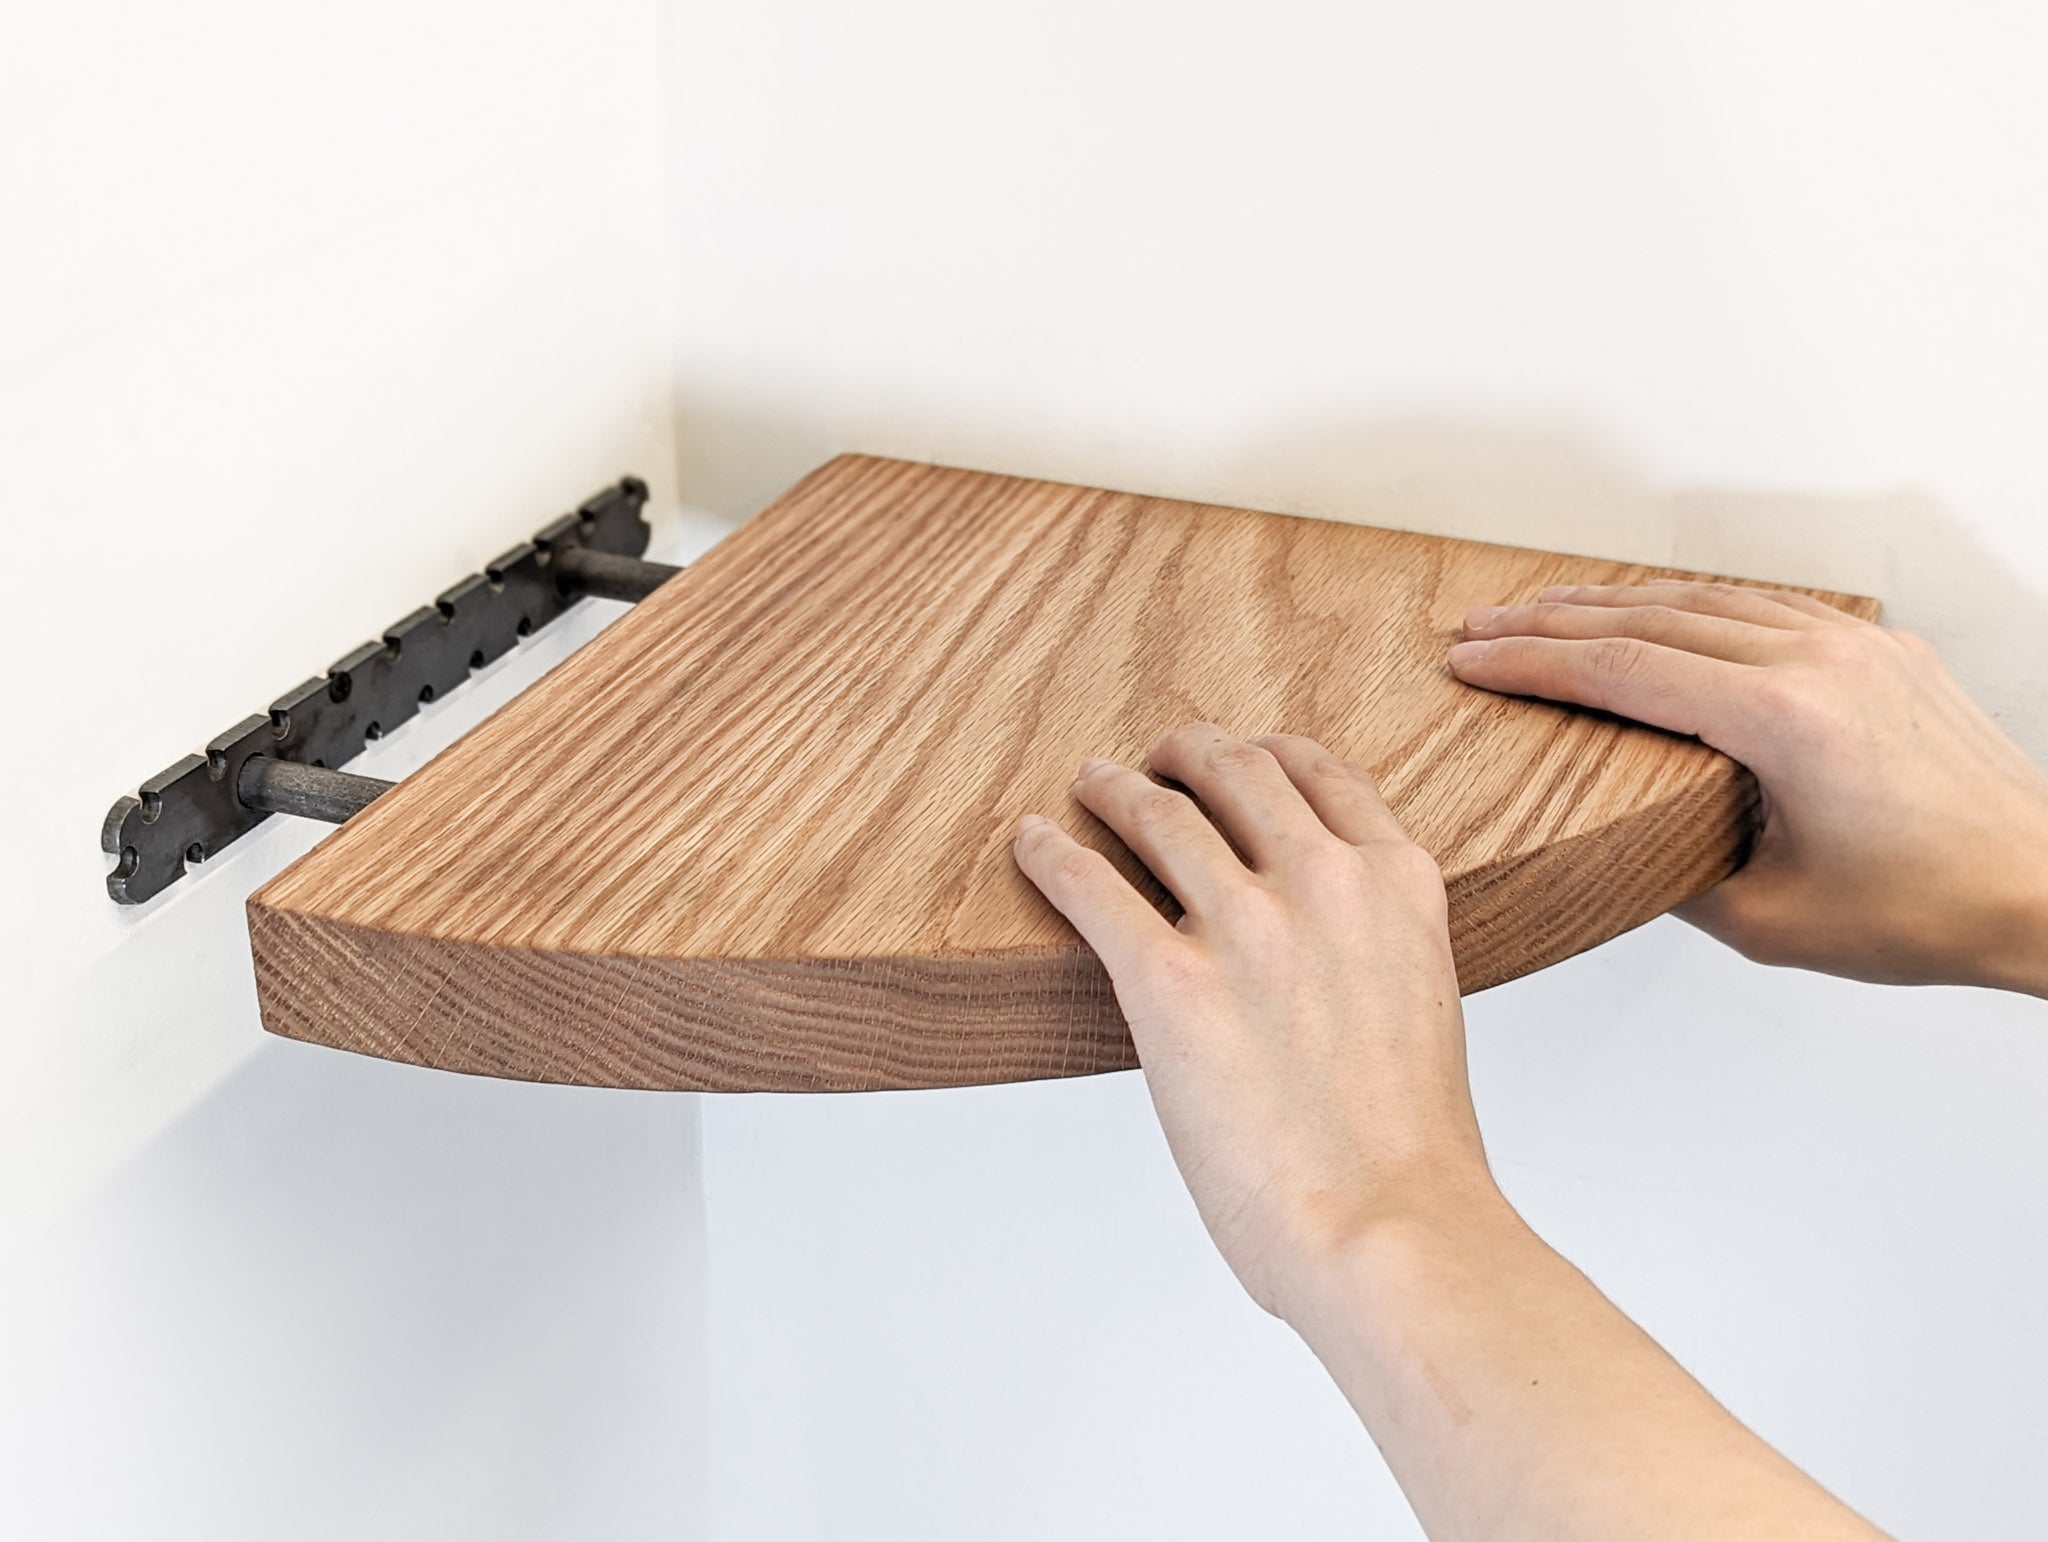
Floating Corner Shelf with Round Edge in Oak
From $223.00From $223.00FREE Shipping in USSolid Hardwood + Hidden BracketsRight-angle Corners -
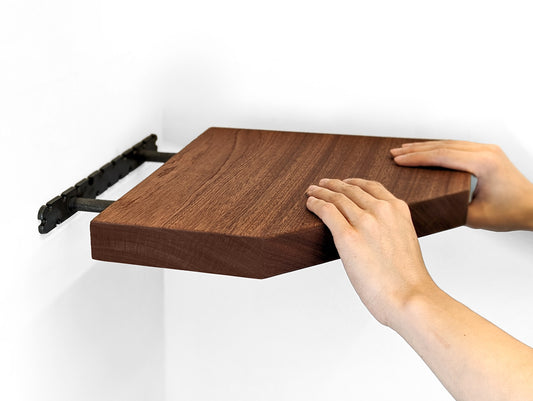

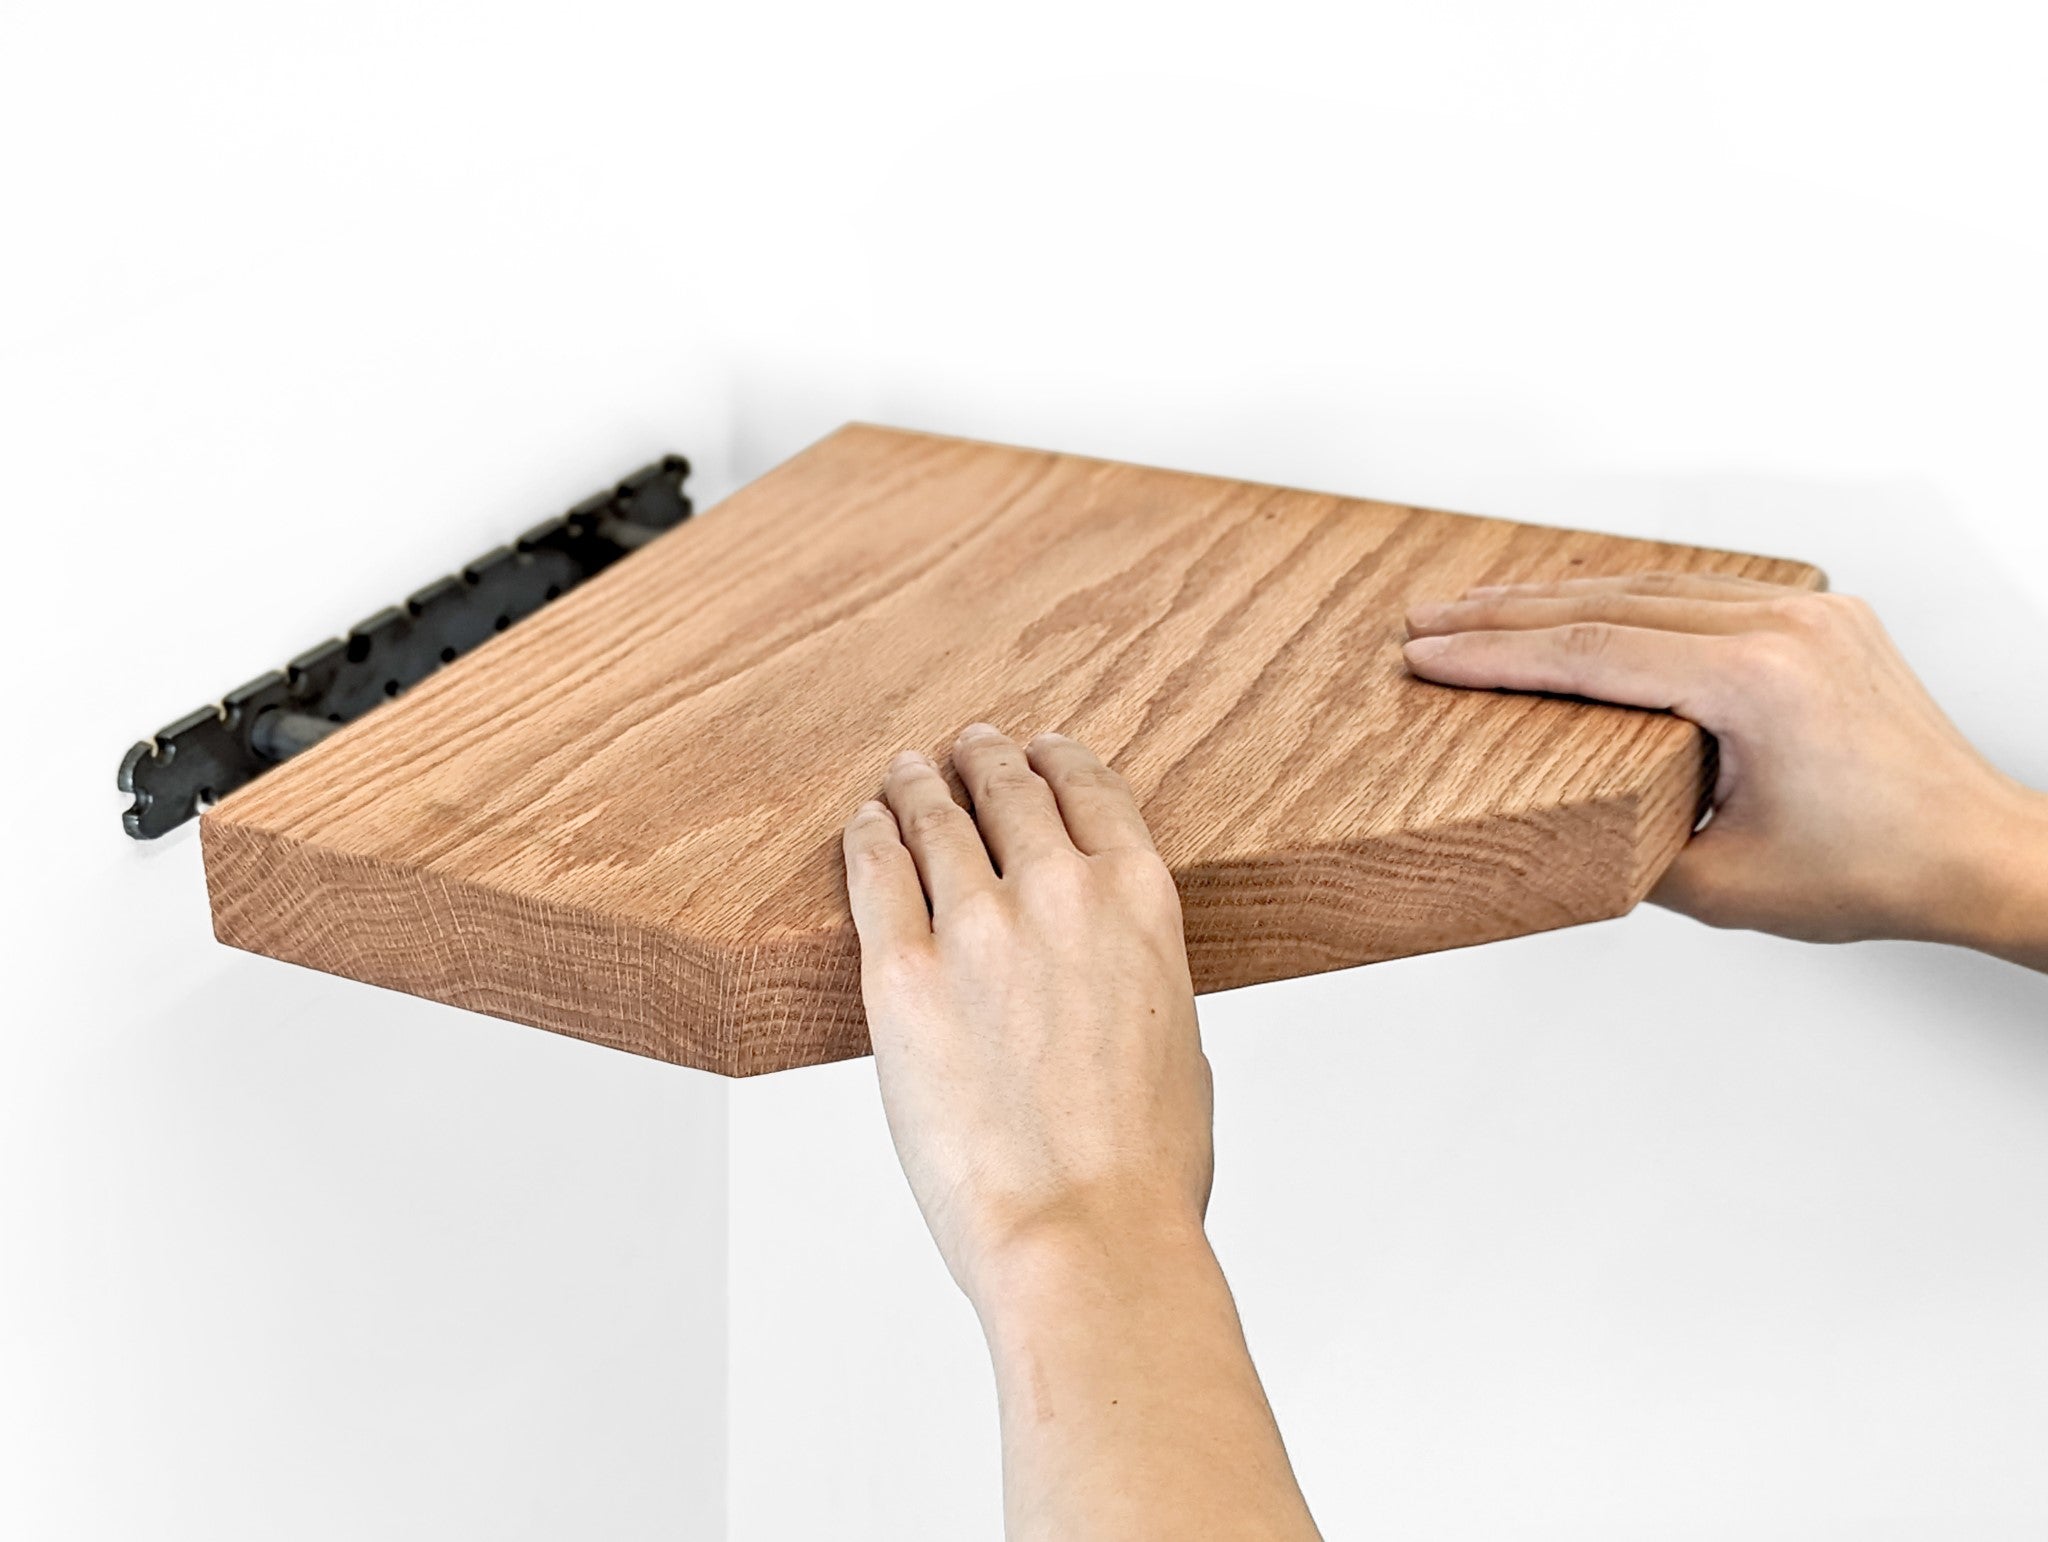
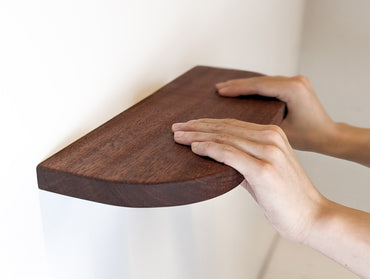
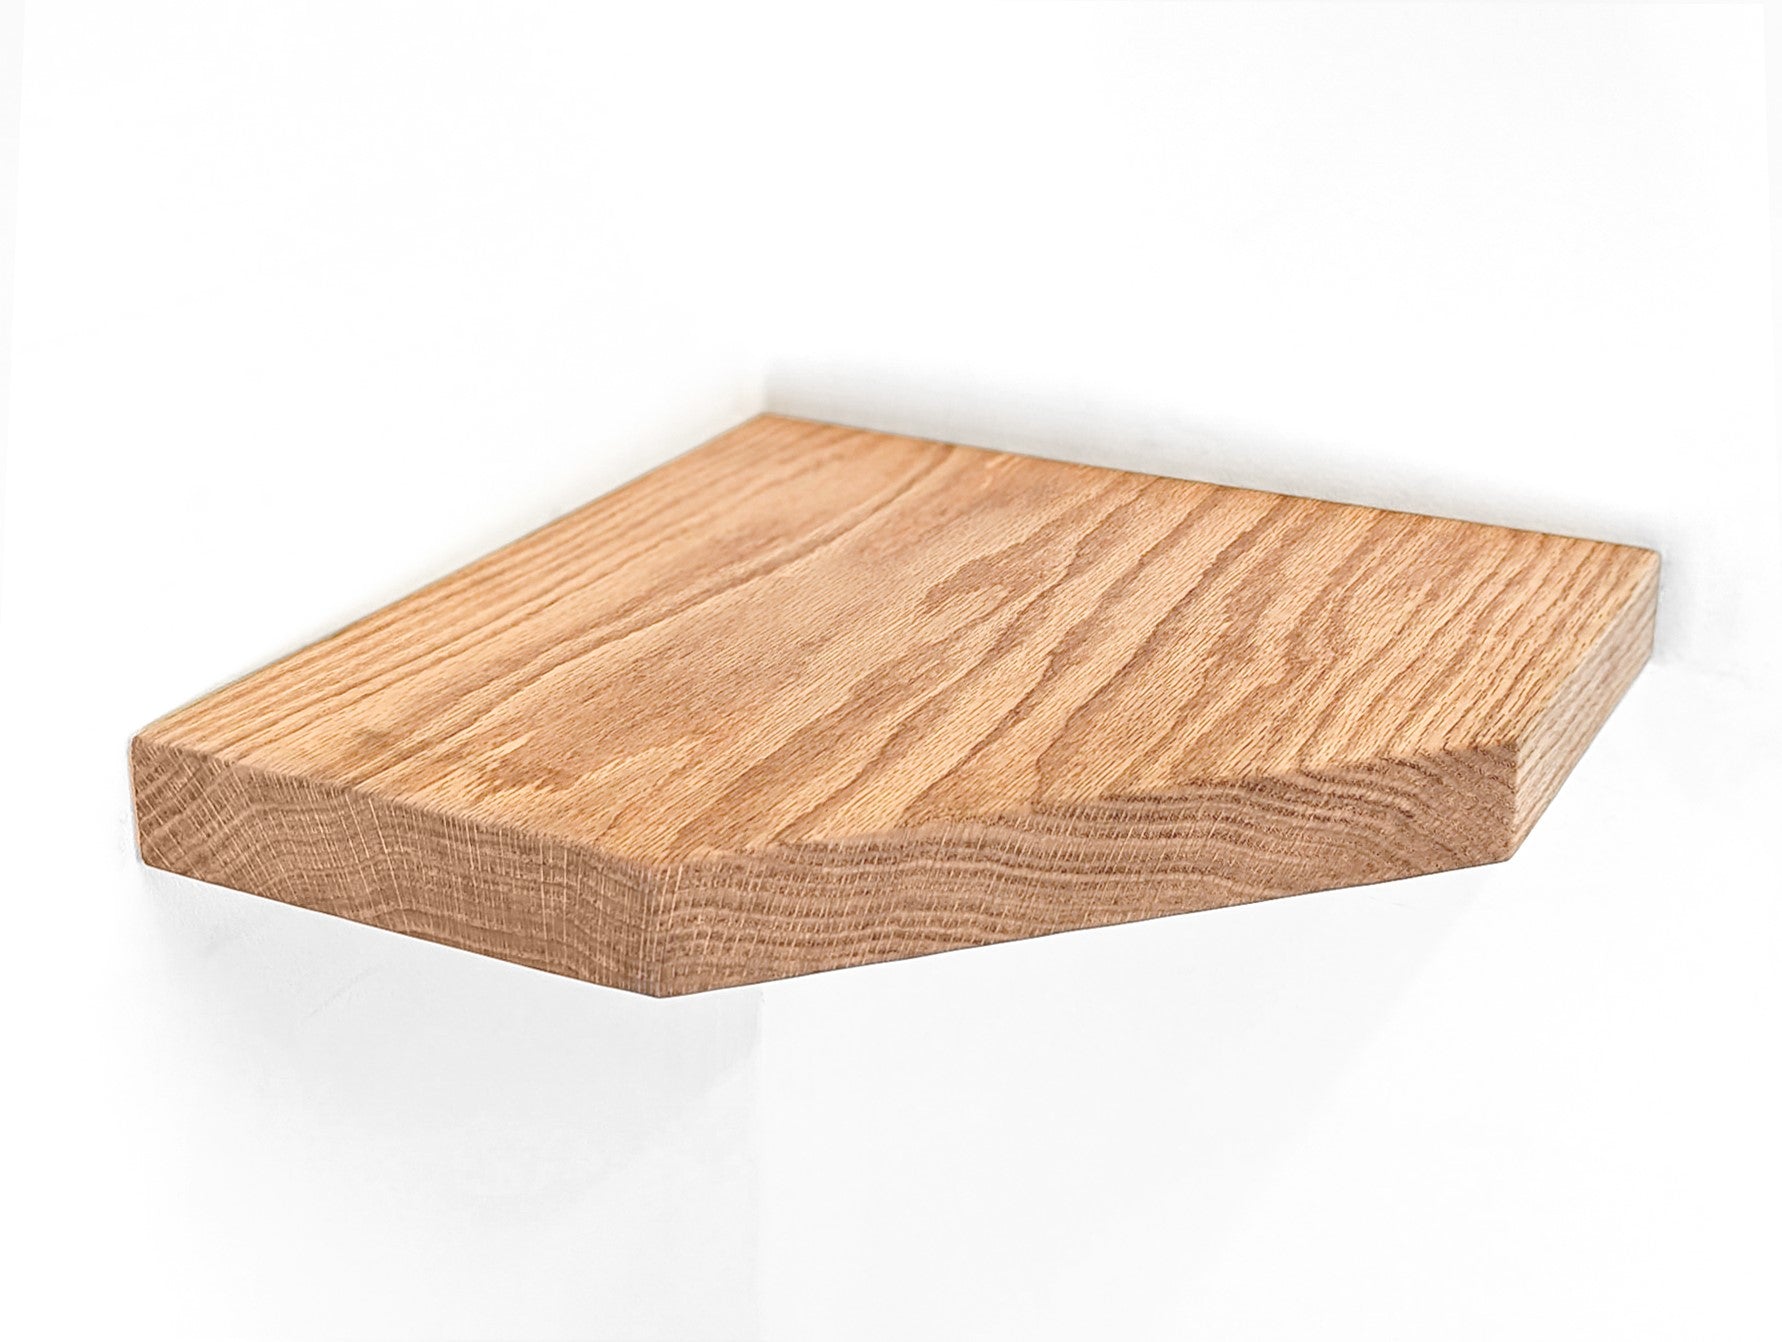
Floating Corner Shelf with Straight Edge in Mahogany
From $223.00From $223.00FREE Shipping in USSolid Hardwood + Hidden BracketsRight-angle Corners -
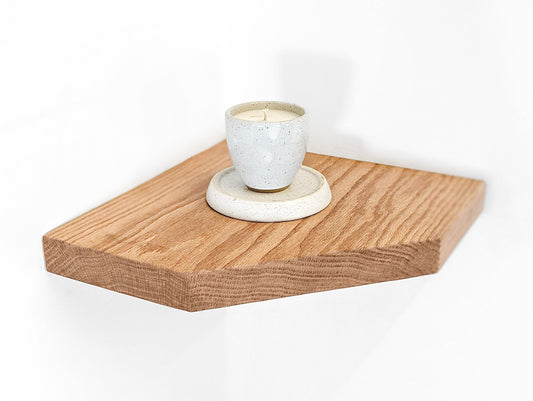
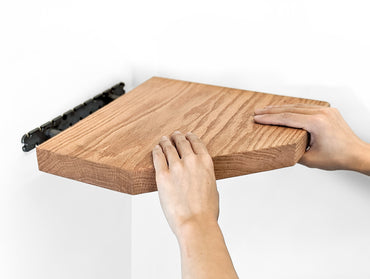
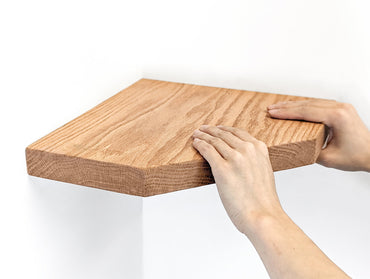


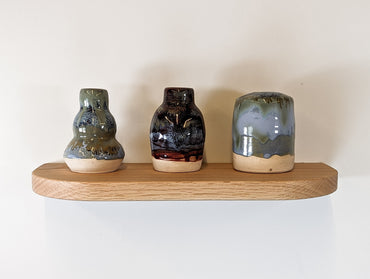
Floating Corner Shelf with Straight Edge in Oak
From $223.00From $223.00FREE Shipping in USSolid Hardwood + Hidden BracketsRight-angle Corners -


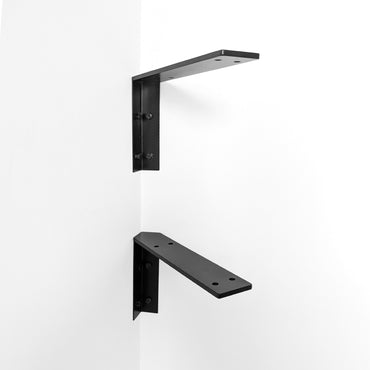
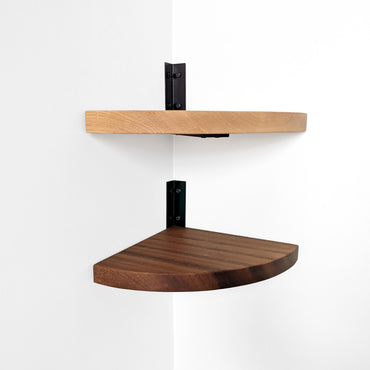
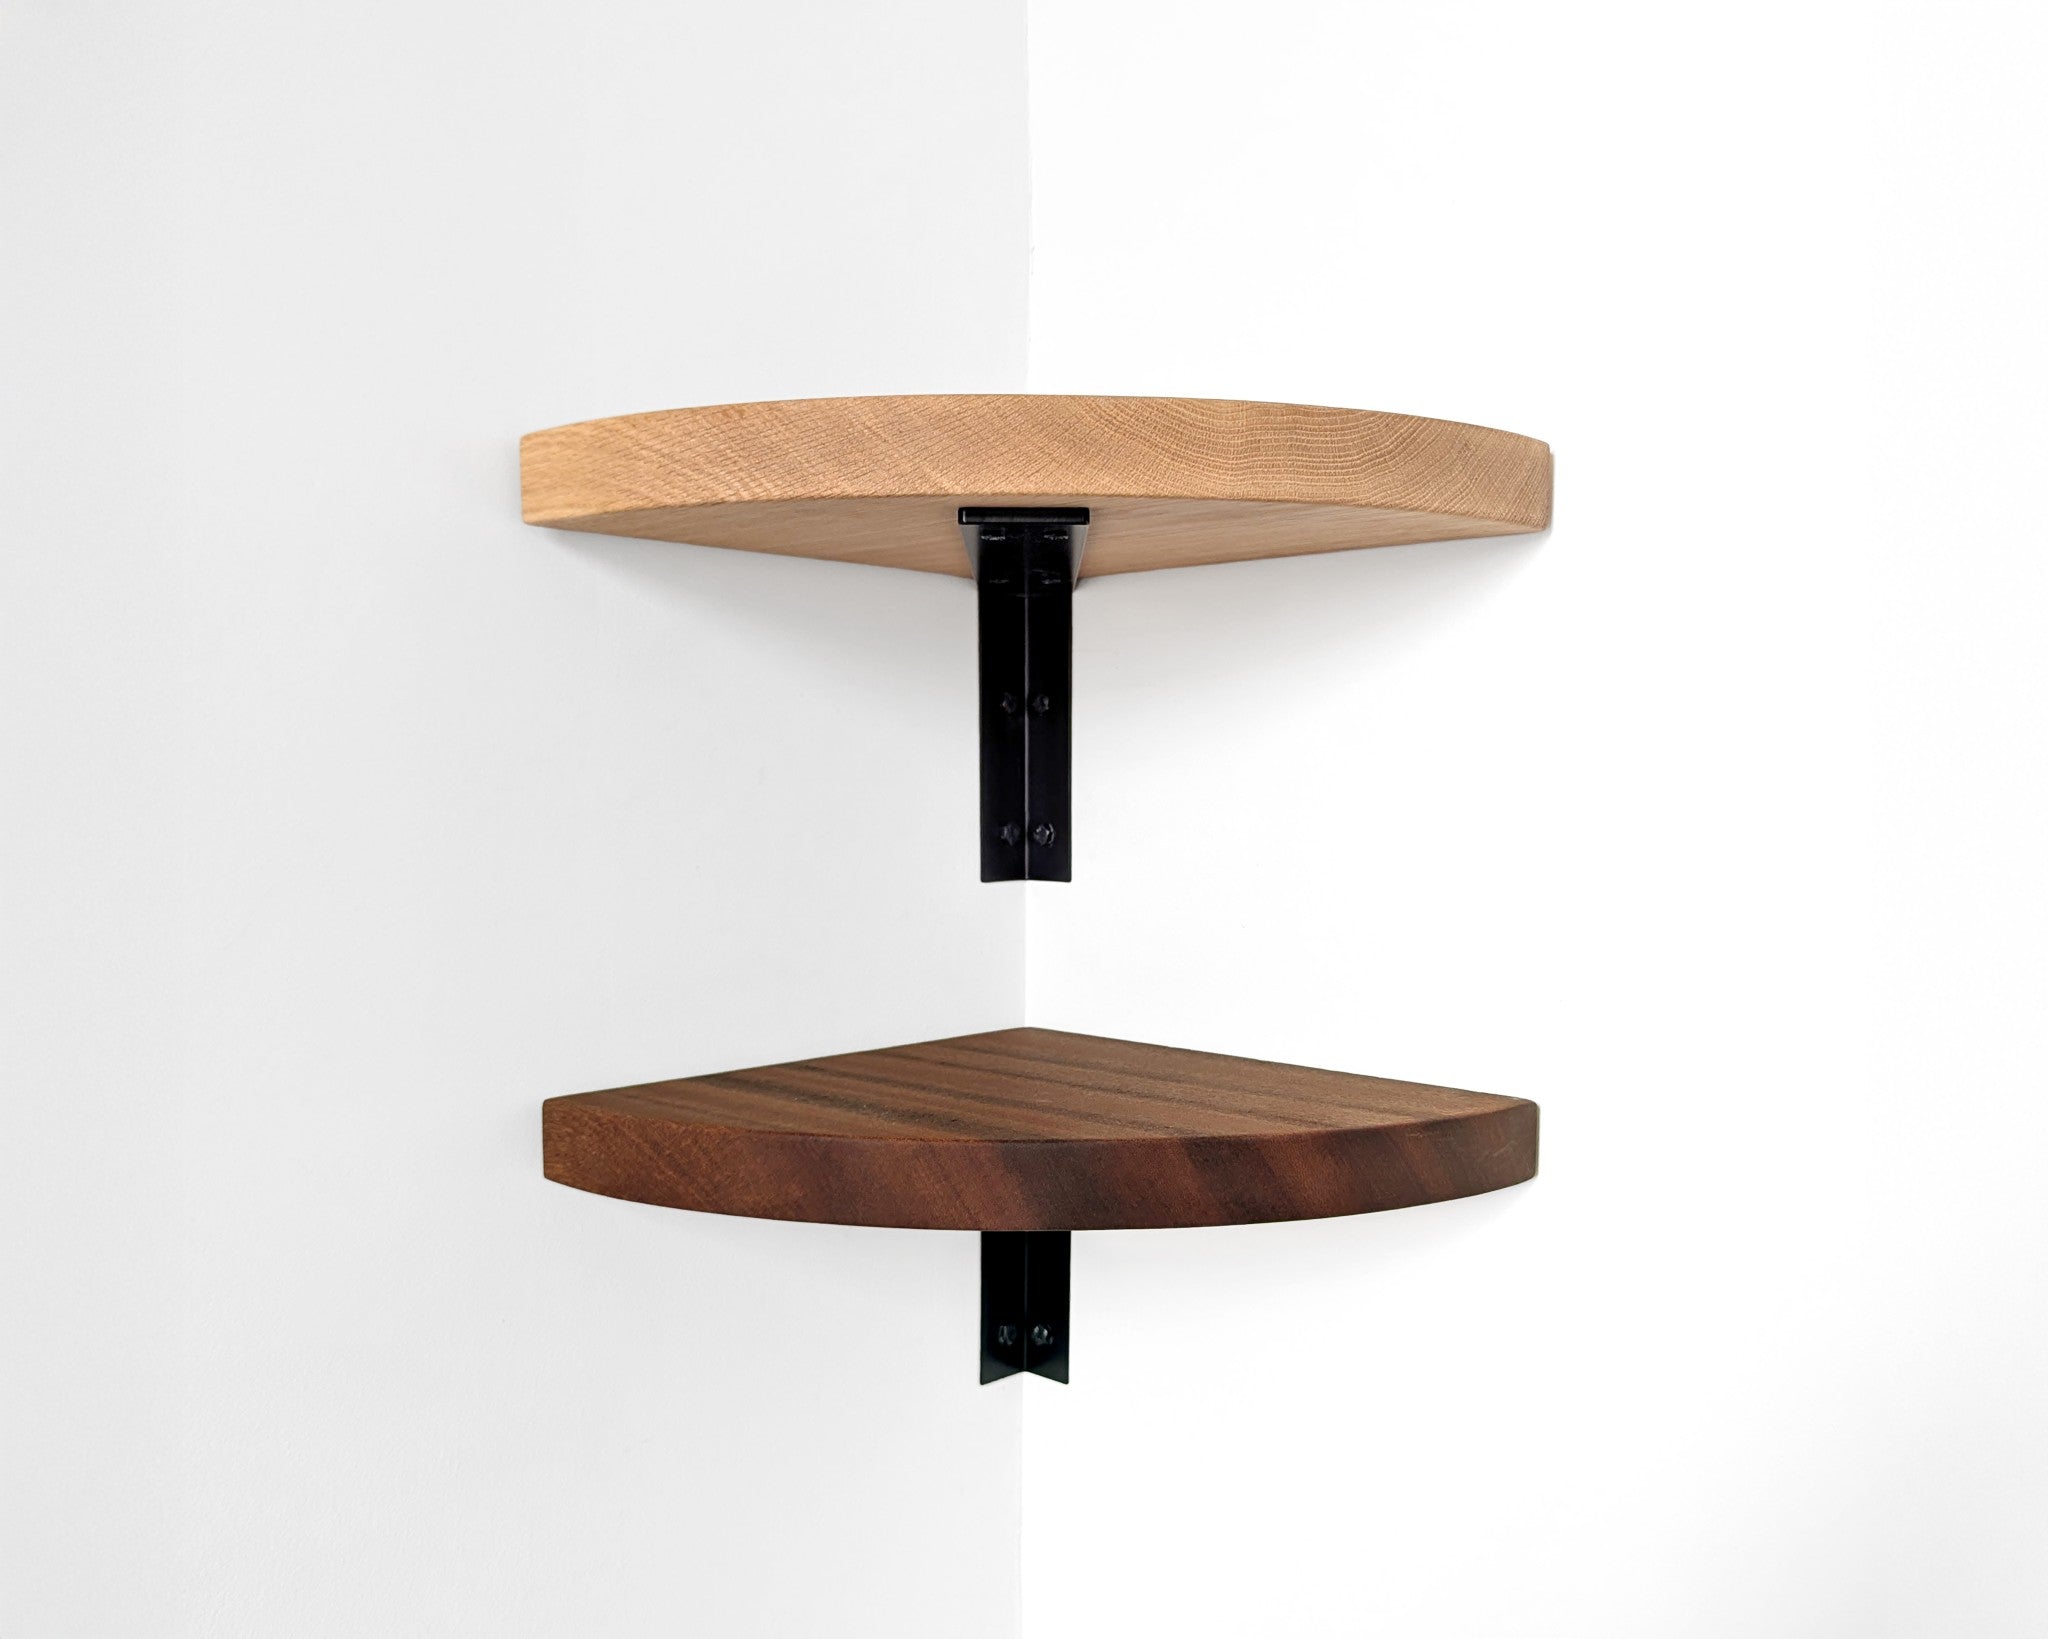

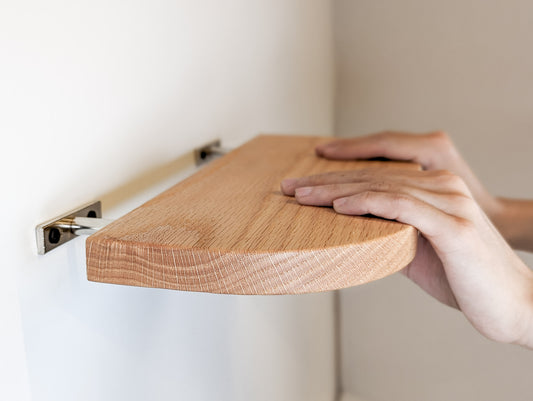
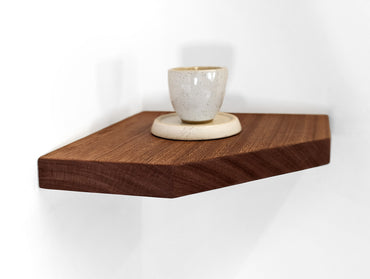
Corner Shelf with Visible Bracket
From $203.00From $203.00FREE Shipping in USSolid Hardwood + Visible BracketRight-angle Corners -

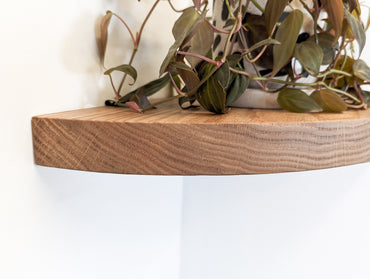
Live Edge Wood Shelf in Mahogany
From $45.00From $45.00FREE Shipping in USSolid Mahogany + Hidden BracketsOrder Any Size -

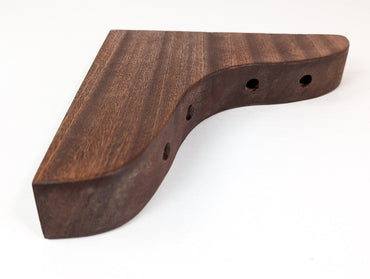

Solid Wood Brackets in Mahogany or Oak
From $39.99From $39.99FREE Shipping in USSolid Hardwood BracketsOrder Any Size