
Between the confusing hardware names (sorry, a stud what?), sizes, and sheer weight of shelves, installing floating shelves can be a real pain. Not to fear, however, because at NookWoodworking, floating shelf installation is as easy as can be. In fact, you can expect to hang your floating shelves in just three easy steps. Don’t believe us? We break it all down below.
Ensure Your Wall Shelf Came With All the Included Hardware

Before you begin mounting your shelf it's incredibly important to make sure that it was shipped to you with all the included hardware. All of our shelves will arrive with a bracket or support system and (if needed) screws and anchors. We provide three types of brackets:
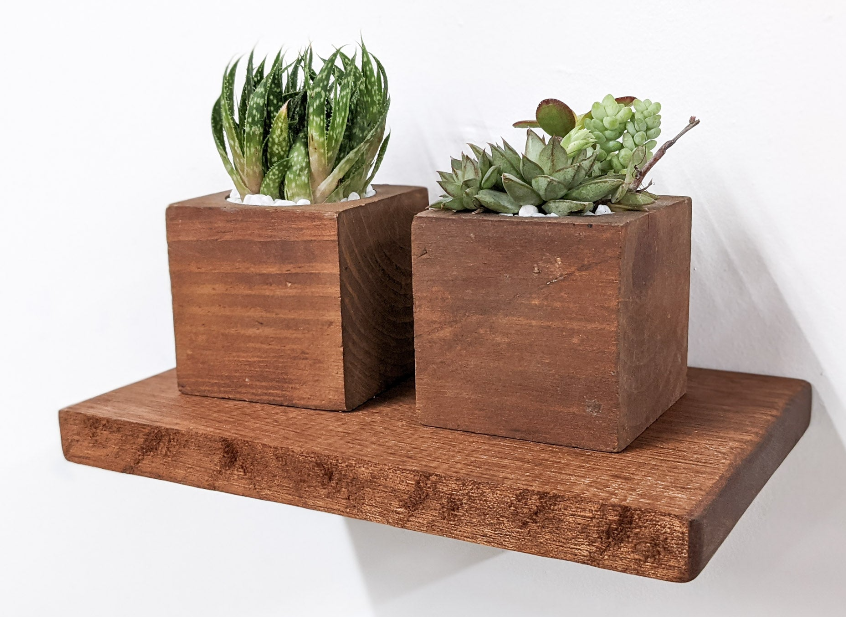
Thick Floating Shelf Brackets
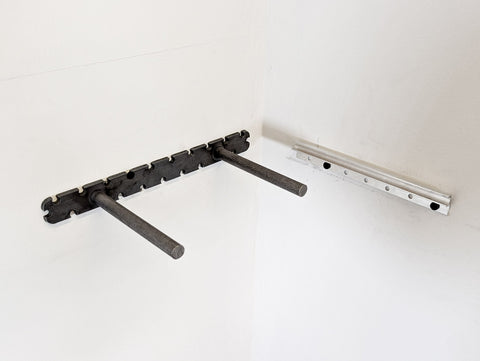
Order a thick floating shelf from us, and you're guaranteed to receive a matching thick floating shelf bracket. Expertly crafted, these elongated brackets feature strategically placed, compact mounting points for your screws, ensuring a secure fit and flawless display of your floating shelf. By aligning the bracket's design with the shelf's thickness, we provide you with a harmonious, durable setup, perfect for showcasing your display items with the peace of mind you deserve.
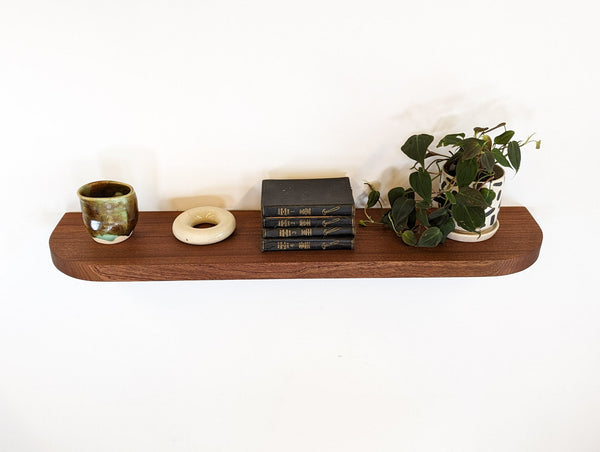
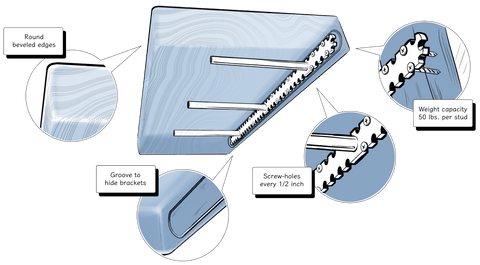
T-Brackets
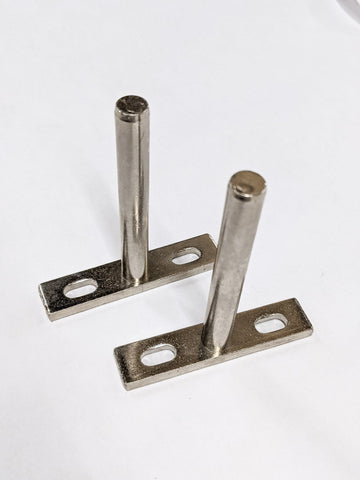
T-brackets are another solid choice in our line of shelf support systems and are used to successfully mount our thin floating shelves and some thick floating shelves. Ingeniously designed in the shape of the letter 'T', these brackets distribute weight evenly, resulting in a sturdy and safe platform shelf. Ideal for a range of shelf sizes, T-brackets assure dependable, invisible support for your prized items on display.
Geometric Shelf Brackets
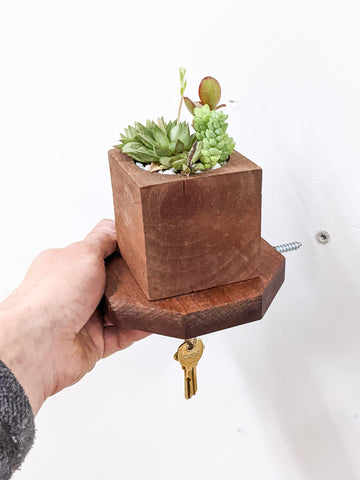
Our Geometric Shelves come with built-in brackets that simply twist into your wall. The result is a secure and beautiful shelf that is ready to hold all of your favorite things.
Screws
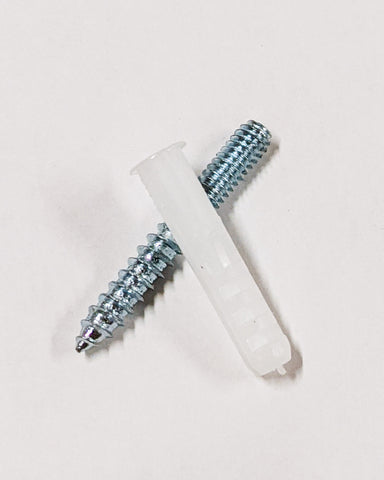
Finally, your wall shelf will have arrived with a number of loose screws. These screws secure your brackets to the wall, thus ensuring a stable, safe, and sleek looking shelf.
Wall Anchors

A wall anchor is a device that aids in distributing load from a screw or nail, providing additional support and stability in drywall or similar materials. It's crucial for hanging heavier items such as shelves, as it prevents them from pulling out of the wall. However, not every shelf package from NookWoodworking includes wall anchors. For example, our heavy-duty shelves are meant only for studs. So, it's important to check your shelf instructions to determine if you’ll need them.
I am missing a part! What do I do?!
Don't panic! If you are missing any of the included floating shelf hardware simply reach out to us. We will be happy to send you a replacement part. Just let us know which piece you are missing and we will get it out to you right away!
Gather Your Tools

Now that you've checked all of the included tools, it's time to make sure that you have everything else you need. Gathering your tools before you start installation is the best way to ensure a simple installation job. And trust us, you really don't want to be mid-shelf hanging when you realize you desperately need a pencil.
Other mount hardware tools that you will need include:
-
A Stud Finder
As its name suggests, stud finders help you identify and locate studs in your wall. If you don't have a stud finder you can pick one up at your local hardware store or even order it online on Amazon. -
A Drill
You can use a cordless drill or an electric drill, but make sure that it has enough power for the job. If you don't have one already, we recommend getting one with at least 18 volts of power. -
A Level
A level is used to make sure that your shelf brackets are straight. You can use either a bubble level or an electronic one. And, if you have a smartphone you automatically have access to a leveler. For iPhones you can find a level when you search for the integrated 'Measure' app and if you're an Android user you can download the free Bubble Level on Google Play. -
A Pencil
You’ll need a pencil to mark where you want your shelves to go. You can also use a pen or marker, but we recommend using a pencil because it’s easier to erase if you make any mistakes.
Ready? Let's Install Your Floating Shelf!

Alright, you've gathered your materials and made sure you have all the tools you need to succeed...it's go time! With our help, you will be able to install your floating shelf in 10 minutes or less. So get ready and let's get into it.
Installing Heavy Duty Floating Shelves
Our heavy duty wall shelves are the best floating shelves out there and they all happen to be some of the easiest floating shelves to install.
Step 1: Slowly drag your stud finder across the section of wall that you're interested in hanging your floating shelf on. The stud finder will beep or light up when it detects a stud. With your pencil, mark your wall studs.
Step 2: Line your bracket on the wall where you made your mark and, using your drill, screw the bracket into the wall to attach it to the studs.
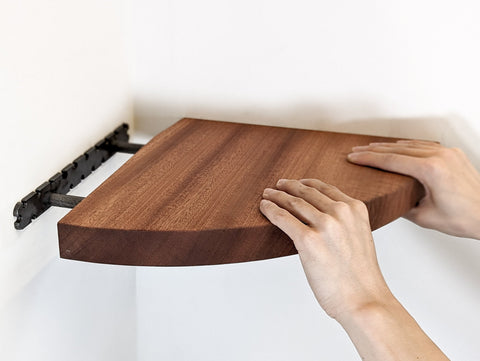
Step 3: Carefully slide your shelf onto the bracket until it is flush against the wall. That's it-you've successfully hung your floating shelf!
Have more questions? Not to fear! Check out our PDF that breaks down heavy-duty shelving installation in even finer detail.
Installing Thin Floating Shelves

As we described above, the primary difference between our thick floating shelves and thin floating shelves lies in the brackets. While our heavy-duty thick floating shelves come with a solitary bracket, our longer floating shelves can come with as many brackets as needed to secure your shelf. Luckily, the t-brackets are still easy to install.
To install your thin floating shelves:
Step 1: Your t-brackets will arrive inside of your floating shelf. Pull them halfway out of the shelf to reveal the screw hole locations and, with your pencil, position the shelf where you want it to go on your wall and mark the screw hole locations.
Step 2:Drill pilot holes where you’ve marked your wall. Install the included anchors into these holes then place your t-bracket back over the holes and drill your screws into the holes and anchors. Your t-bracket should now be installed onto the wall.
Step 3: Gently slide your shelf onto your t-bracket. Ensure that it is level with your leveler and make any adjustments. Now your thin floating shelf can hold up to its weight capacity so style away and enjoy!
Have more questions? Not to fear! Check out our PDF that breaks down thin floating shelving installation in even finer detail.
Installing Twist-On Floating Shelves

Our twist-on floating shelves are the easiest of the bunch to install!
Step 1: Mark where you would like to hang your floating shelf with a pencil.
Step 2: Drill a hole over the spot that you have marked on your wall. Insert your anchor
then place the included threaded insert bolt into your anchor.
Step 3: Align your shelf with the anchor then carefully twist the shelf into place until it is flush against the wall. Stand back and admire your handiwork -you’re done!
Have more questions? Not to fear! Check out our PDF that breaks down twist-on floating shelving installation in even finer detail.
Helpful Tips and Tricks

Have a question or are still confused? The following tips and tricks can help you ensure that your sleek and modern shelf is as durable as it is stylish.
Leveling Your Shelf
No one wants a crooked shelf. To ensure your shelf is level, place your leveler on top of it. When balanced perfectly, your leveler will remain steady with its bubble positioned dead center.
But what should you do if your shelf isn't level? That's where shims come into play. These thin wedges of material, often wood or cardboard, can be subtly yet effectively used to correct any slant in your shelf.
Begin by determining which side of your shelf is higher. Then, place shims behind the lower side of the shelf, inserting them between the wall and the shelf. Start with thinner shims and gradually increase their thickness until your leveler is balanced in the middle, indicating that your shelf is now perfectly horizontal.
Remember to be patient; fine-tuning the leveling might take a few adjustments. But the end result—a beautifully level shelf—is well worth the effort.
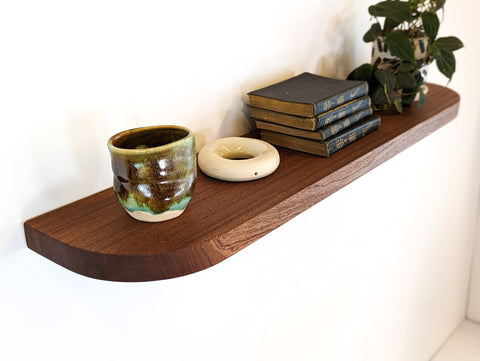
In no time at all, you'll have a perfectly balanced shelf for showcasing your favorite decorations, books, or cherished keepsakes. Now that's putting precision to great use!
Stabilizing Your Shelf
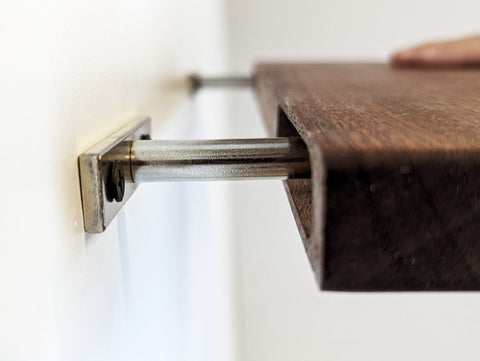
Securing your floating shelf isn't just about a great appearance; it's also about safety and stability. After mounting the shelf, it's crucial to prevent any vertical movement that could lead to wobbling or, worse, your shelf coming loose.
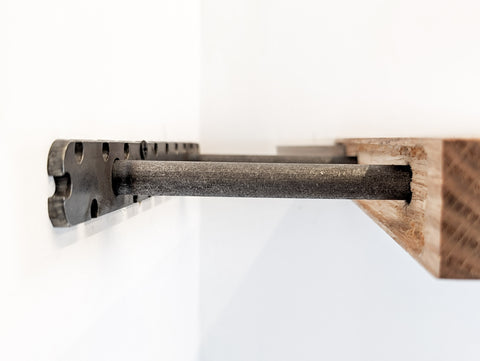
Once you’ve attached the brackets and settled the shelf onto them, there's a handy trick to ensure extra security. Take a closer look at where the shelf rests on the bracket rods. If you notice any play or vertical movement, that's your cue for a quick fix using electrical tape.
Here’s what to do: Remove the shelf and wrap a bit of electrical tape around the end of each bracket rod where the shelf sits. This adds slight thickness, providing a snug fit. When you slide your shelf back onto the rods, you'll feel a tighter grip. Repeat the process until the shelf sits firmly without any vertical give. This small step acts like an anchor, providing peace of mind that once your items are placed on the shelf, everything remains stable and secure.
Anchoring Your Shelf
Remember, numerous types of walls require different approaches, and using the right anchors is key to a secure and stable shelf.
Whether dealing with drywall, plaster, brick, or even concrete, each surface presents its unique challenges. For instance, drywall might necessitate sturdy toggle bolts or drywall anchors, while brick walls could call for masonry anchors.
To make sure you're prepared, stay tuned for our upcoming posts specifically dedicated to common wall types. We'll delve deep into the nuances of each, offering tailored advice on the best types of anchors to use for each scenario and step-by-step instructions on how to ensure your shelf stays put.
Have More Questions? We Can Help!
Have an installation question or a specific wall issue you can't seem to figure out? We've got your back. Simply reach out to us and we'll be happy to help you out. We're here to make sure your project goes smoothly and that you're happy with the final result.